

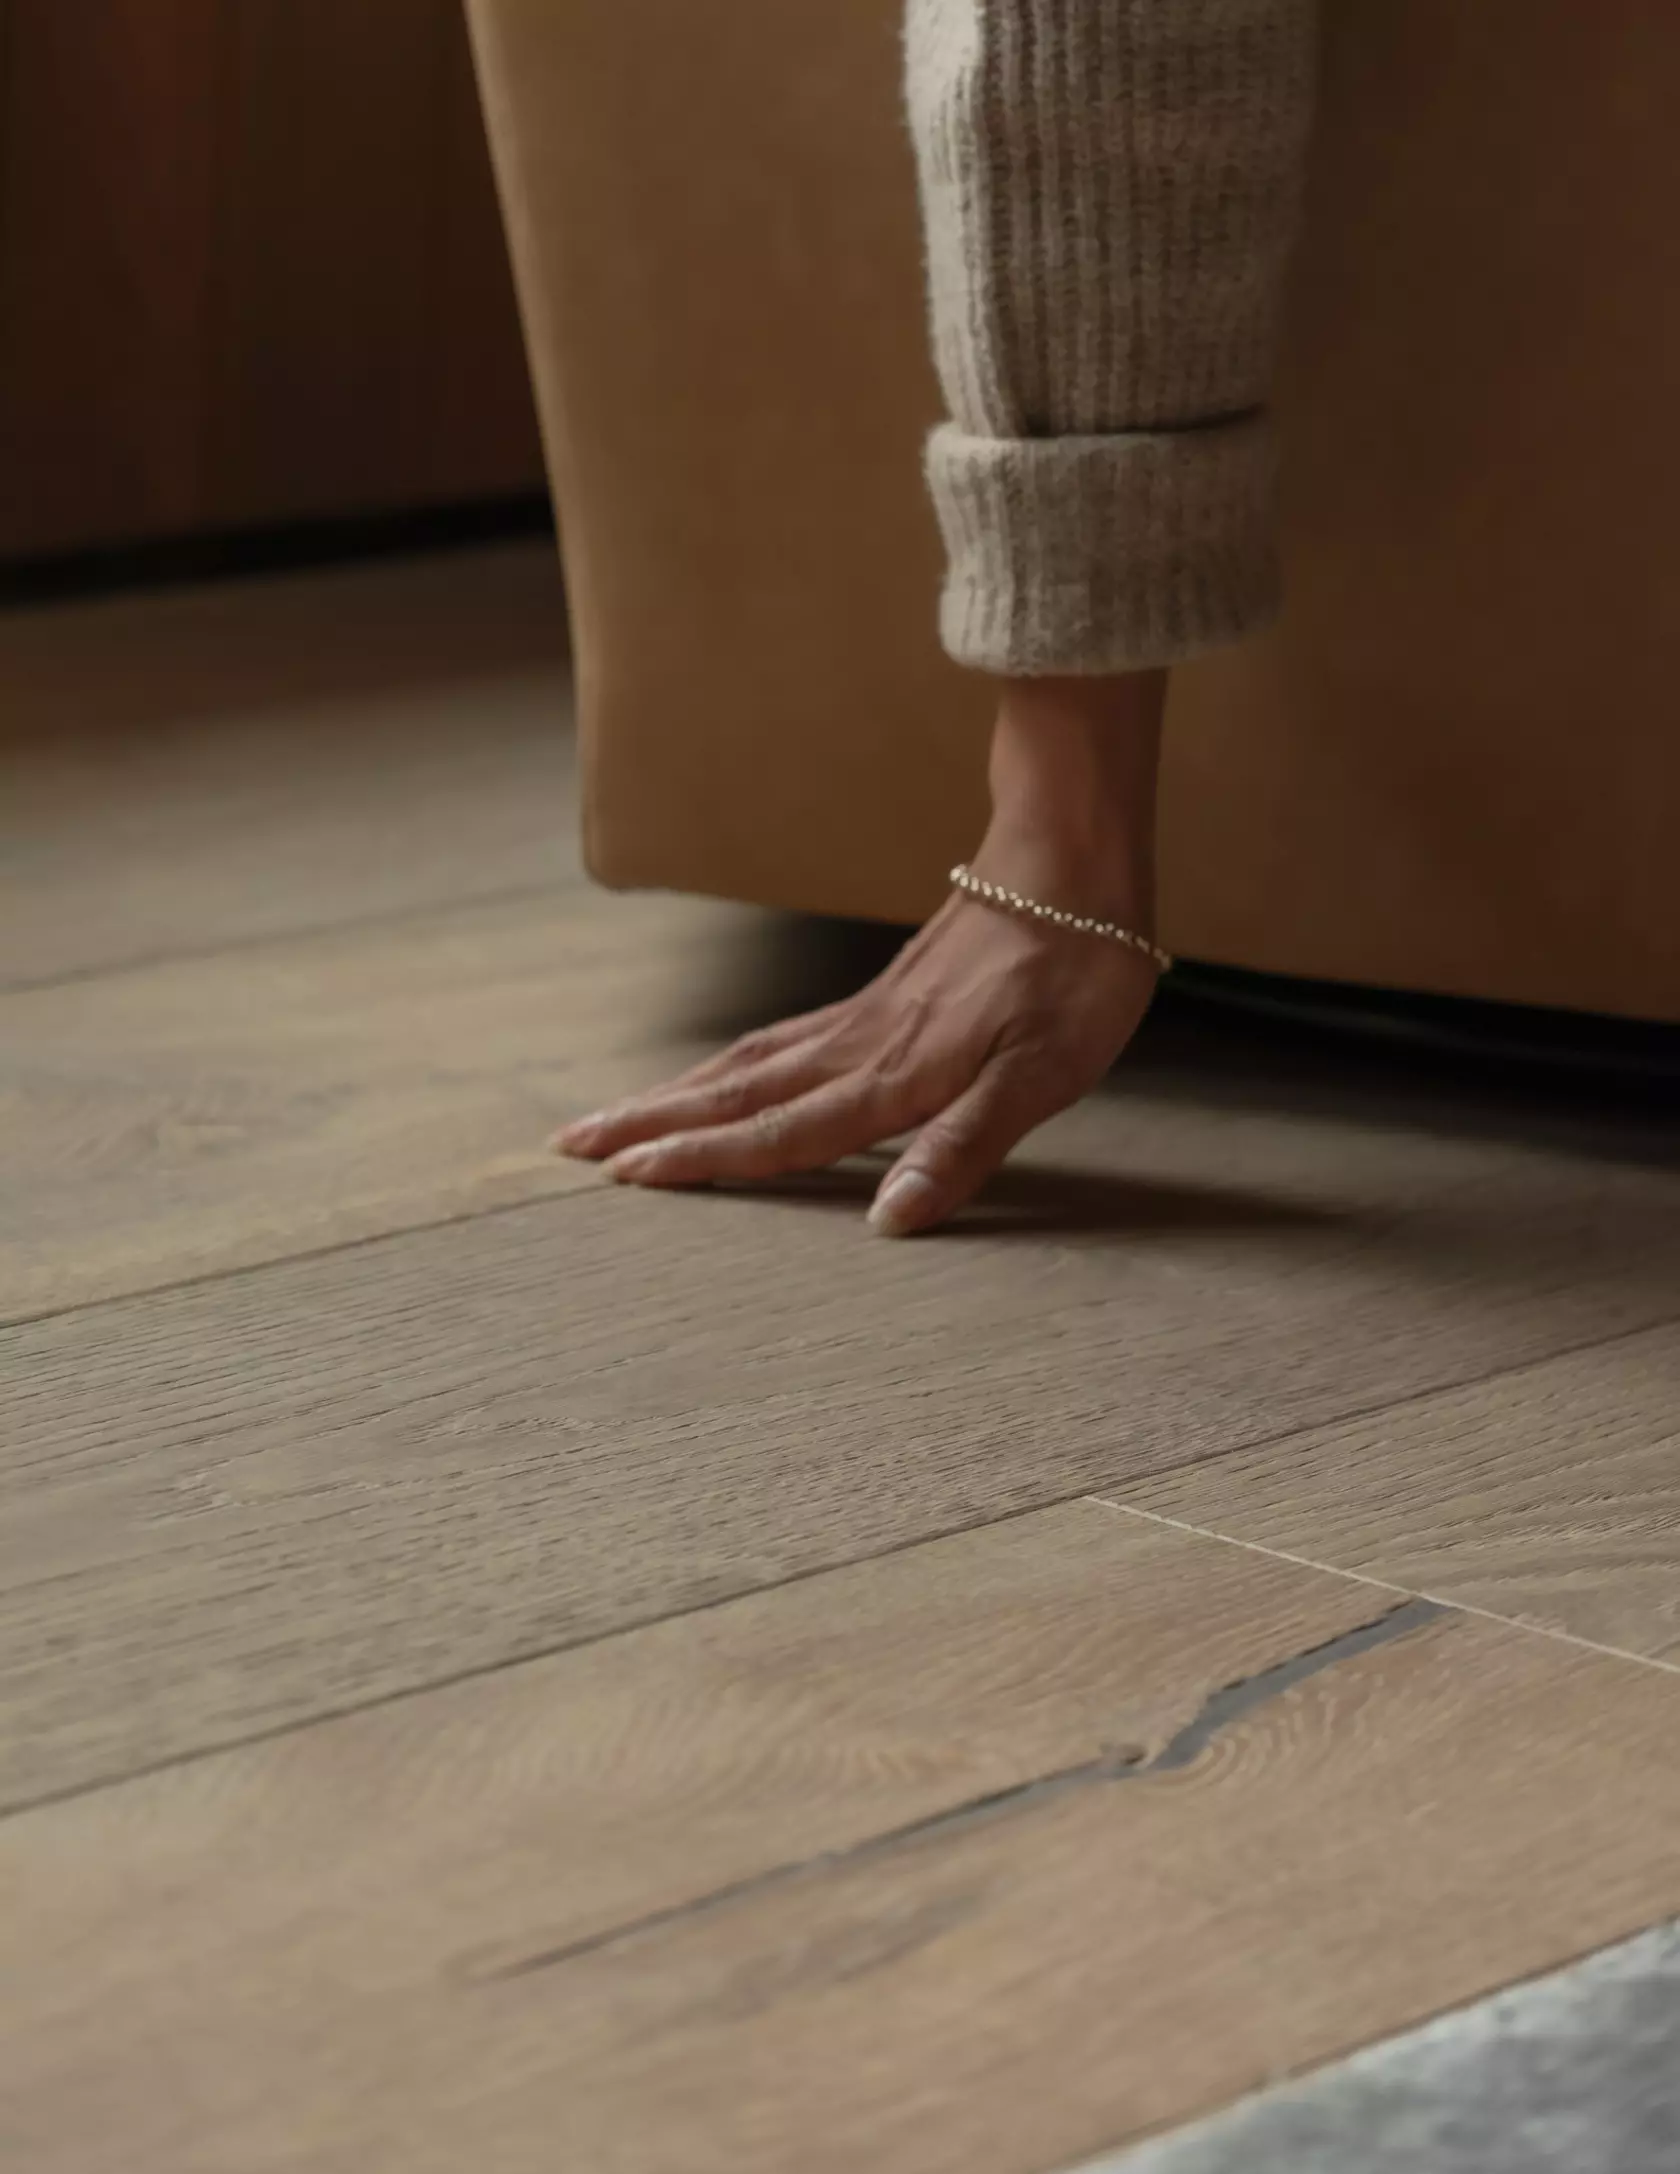


Protecting and Repairing your Timber Floor
All our flooring products are crafted with great attention to detail, and we know their integrity and lifespan will benefit greatly from regular care and maintenance. Forté floors are made to last, so with just a little tender loving care you’ll enjoy years of beauty beneath your feet.
We have carefully selected a range of cleaning products to enhance your Forté floor’s longevity and to keep it looking beautiful throughout the years. Please take the time to read the information below to understand how best to care for your floor.
Protecting Your Timber Floor
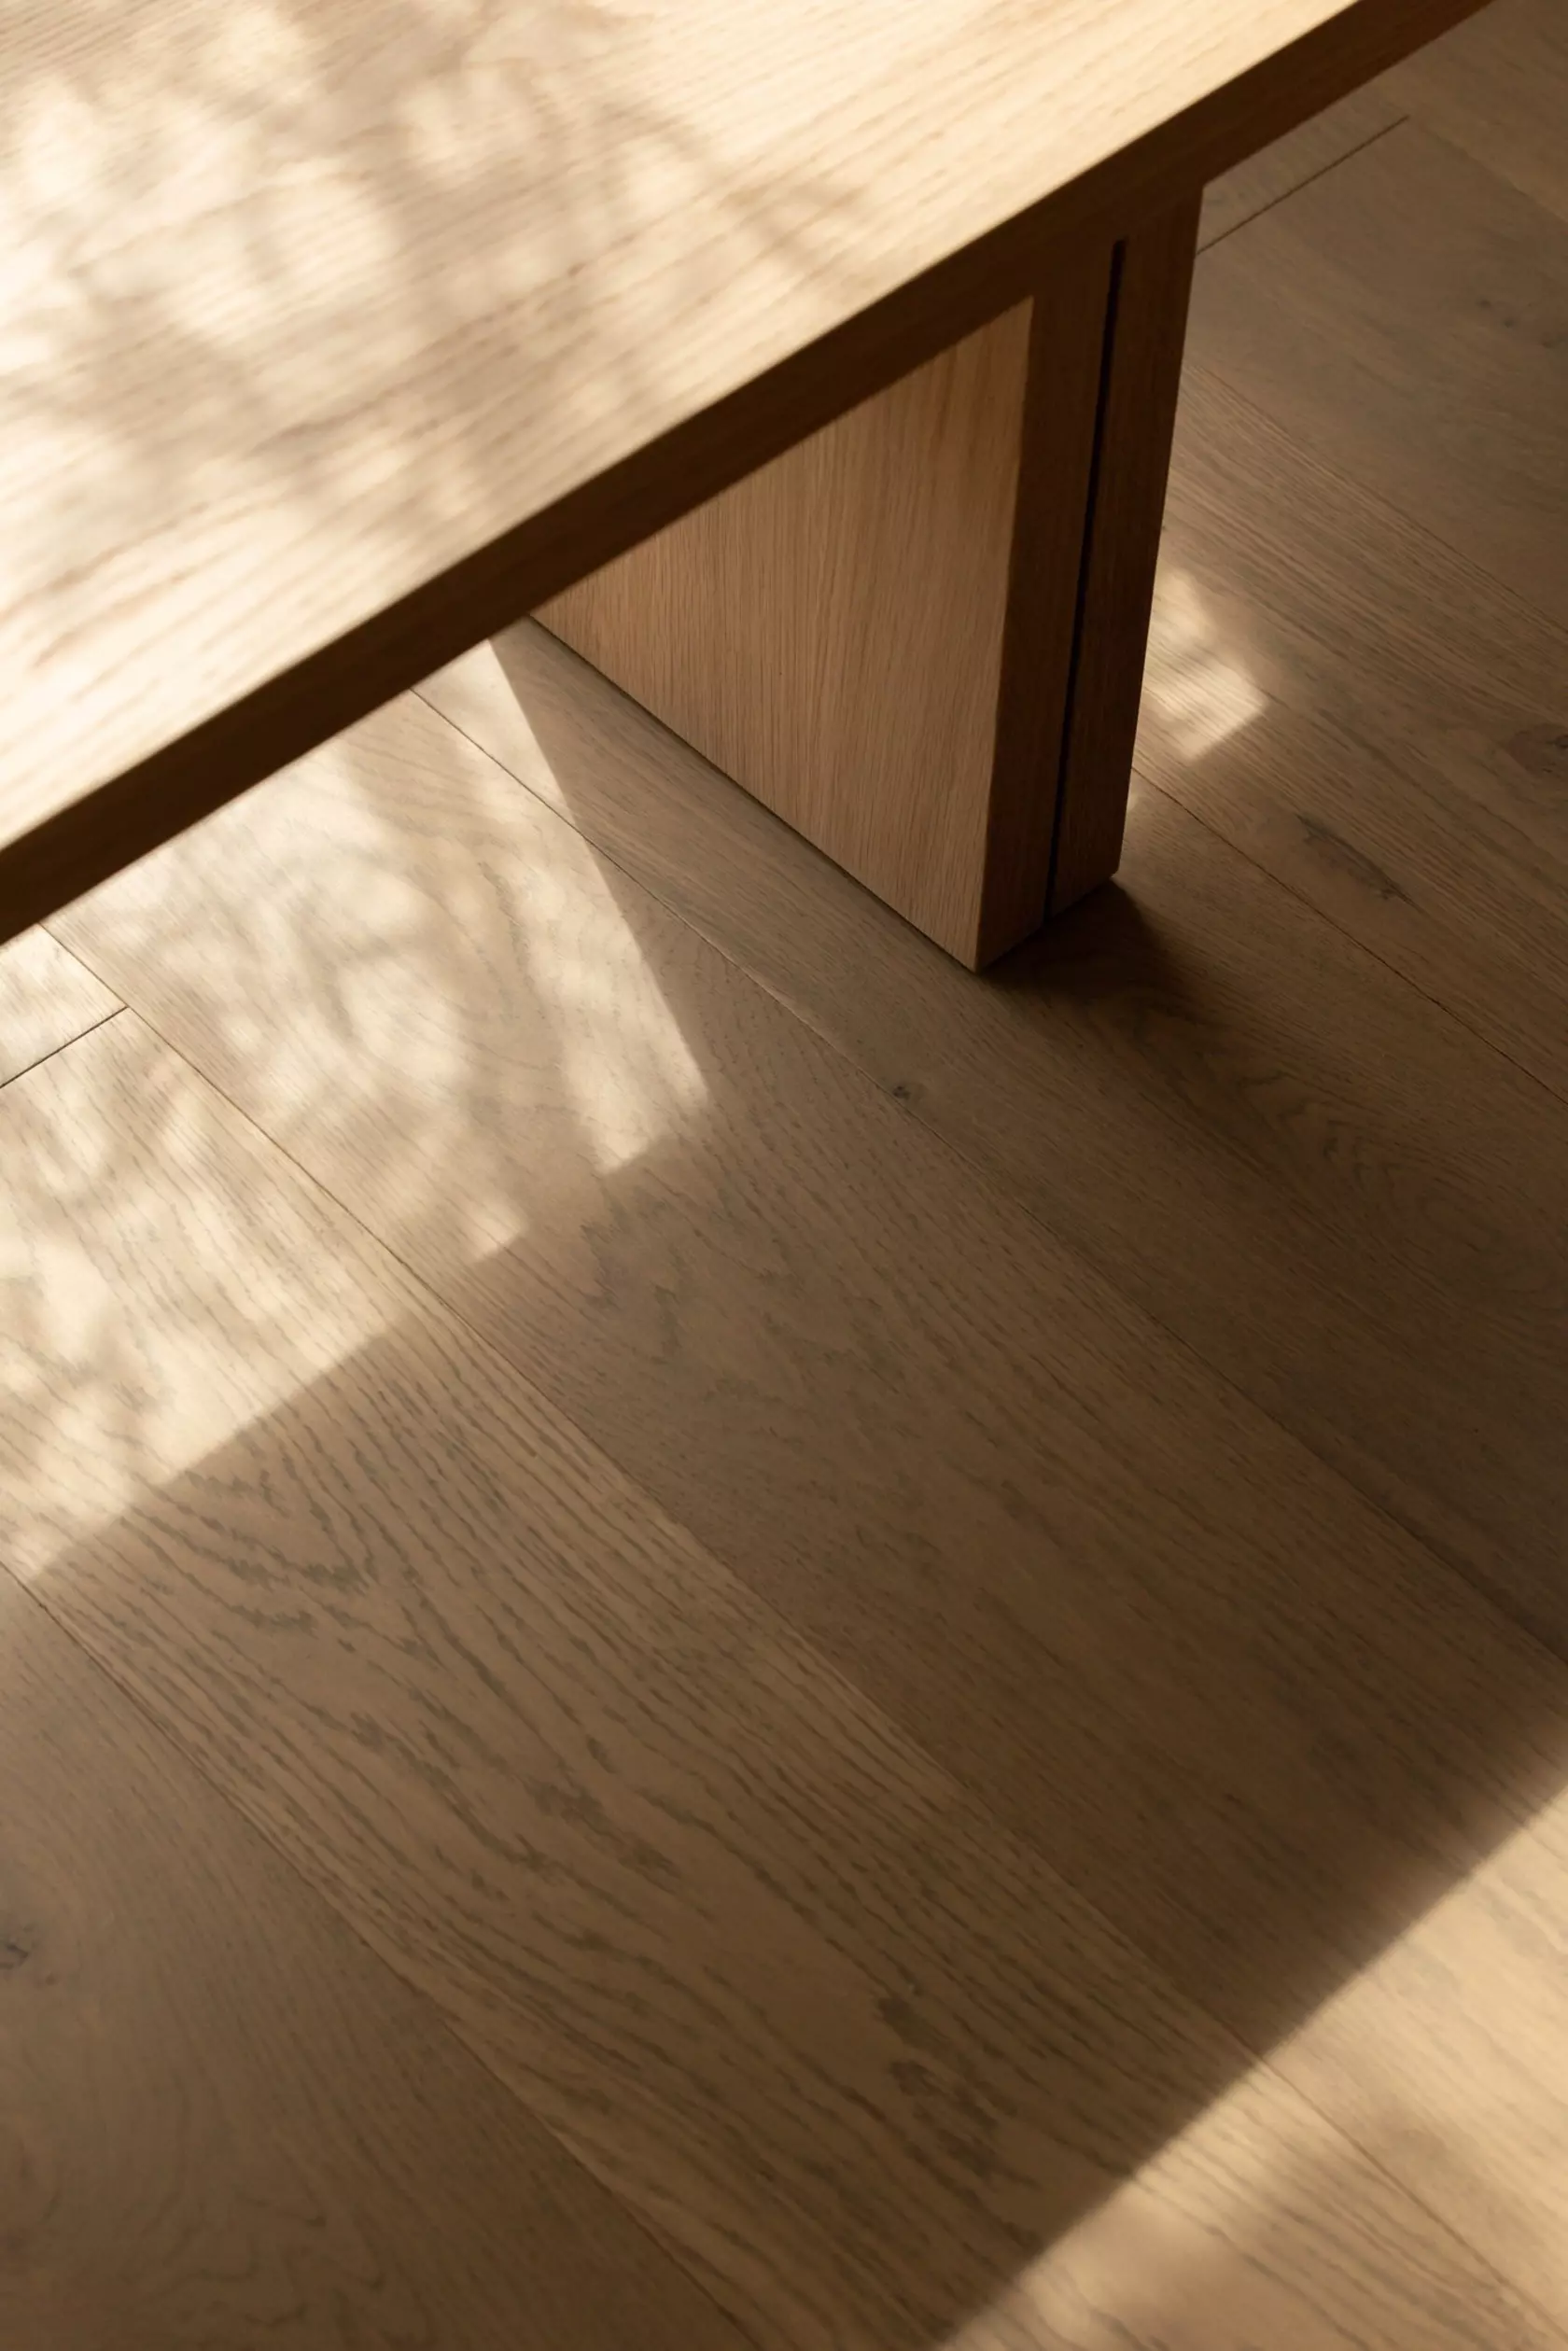
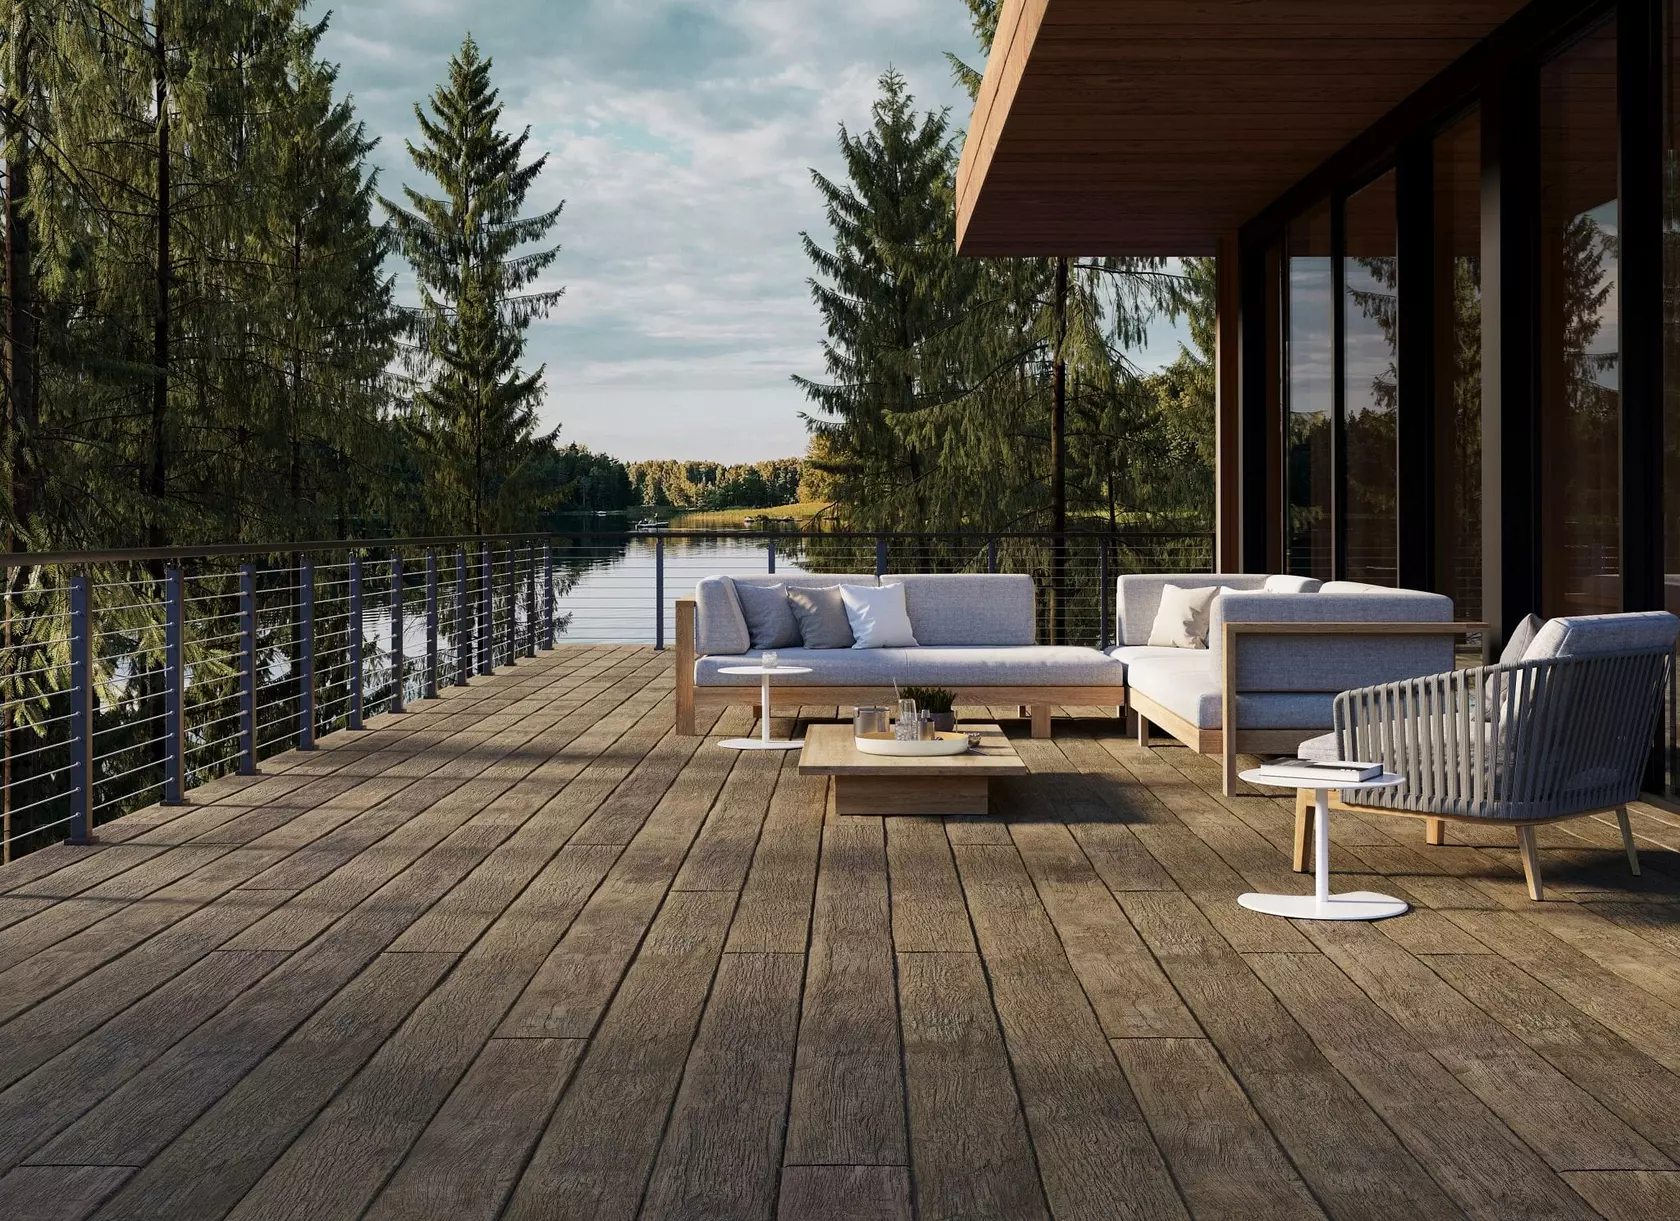
Timber is a natural product which is affected by its surrounding conditions. Proper cleaning and protection from UV rays, heat and moisture will significantly prolong your floors longevity.
Protecting against changes in climate
Maintaining a proper environment is important before, during and after installation of your floor. A professional installer will take care of the phases before and during installation, and ongoing adherence to the parameters below will keep your floors in good shape for years to come.
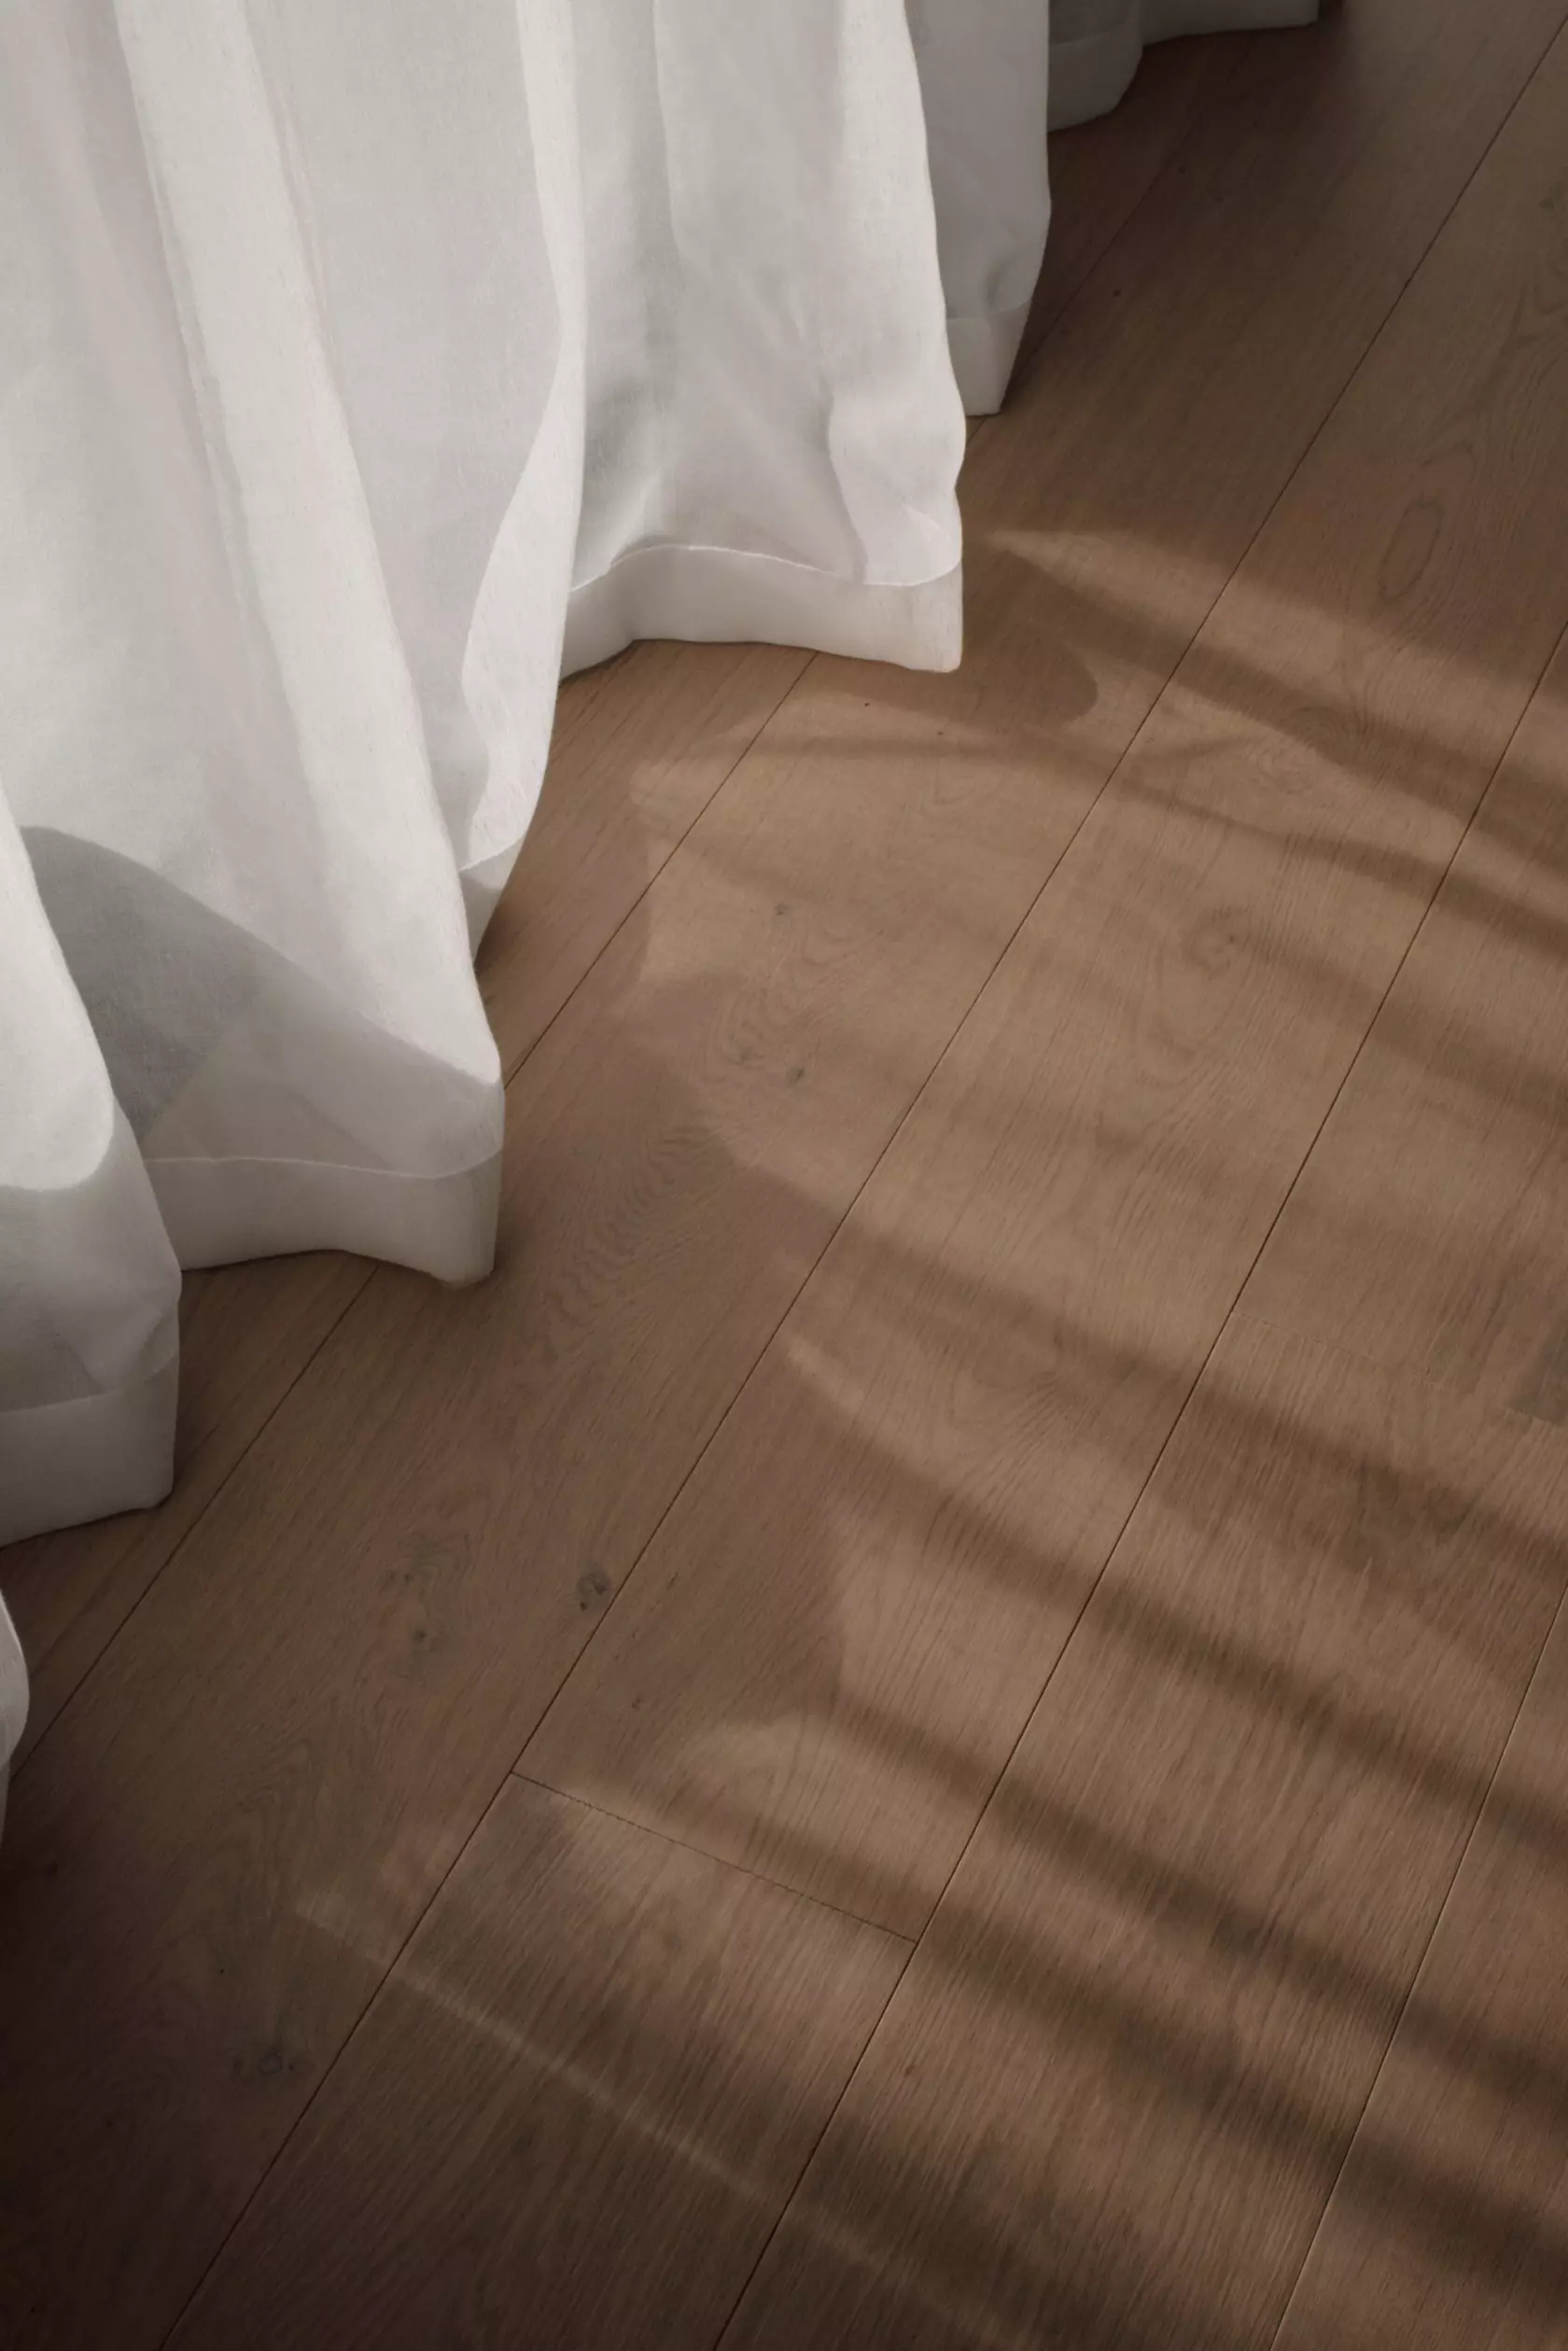
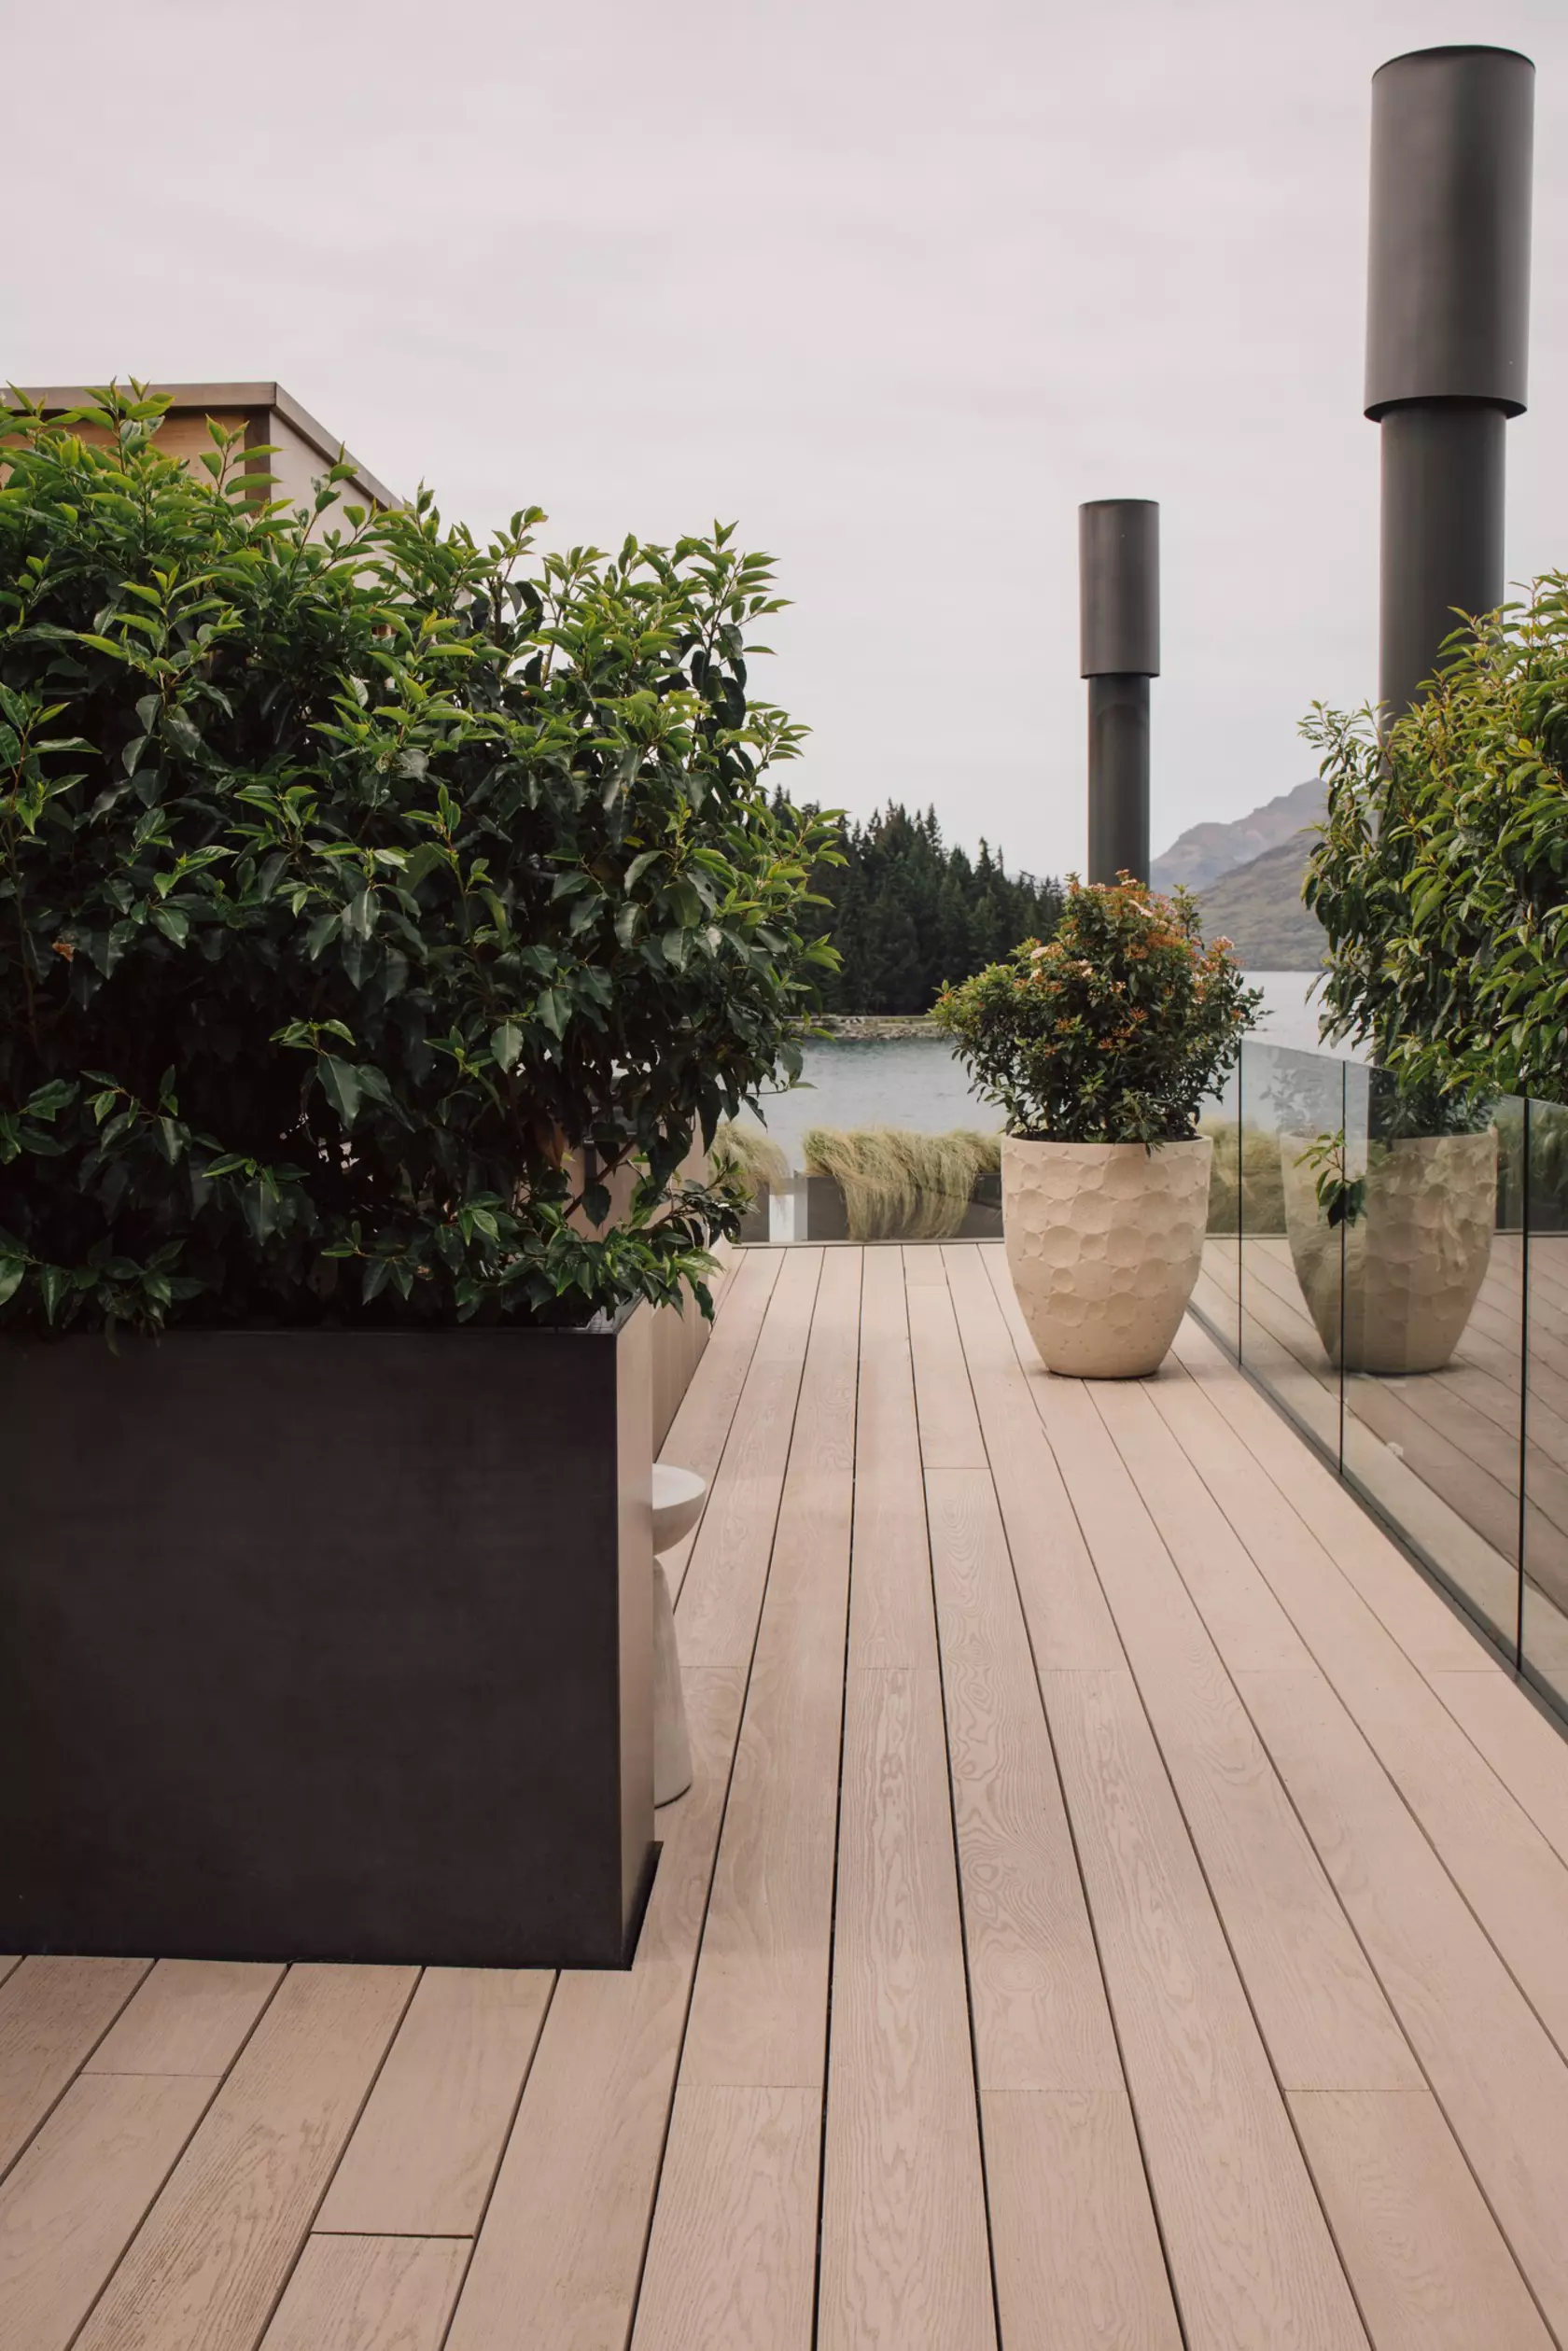
Floor to ceiling windows coupled with the New Zealand sun can create floor surface temperatures of over 70oC. It is important to protect your floor from these extreme temperatures, strong direct sunlight, rapid changes in temperature, and humidity which may result in movement or shrinkage, breakdown of the surface coating, hairline cracks in the veneer, and/or fading.
Use interior temperature and humidity controls, window tinting, awnings and/or curtains or blinds to maintain the following conditions:
Internal ambient temperature: should not exceed 27oC
Humidity: relative humidity should be maintained between approximately 30% - 60% (but never below 25% or exceed 85%). We strongly recommend the use of a humidification or dehumidification system to prevent relative humidity going outside of these parameters.
If these conditions are not maintained, the Forté warranty may be voided.
Protecting against sun / UV exposure
While timber is a natural product and some colour change is inevitable over time, failure to protect your floor against the effects of UV will result in extreme colour change and shorten the lifespan of its coating.
Timber is affected by UV light; a process known as oxidation. Timber left exposed to direct, unfiltered UV rays will noticeably change in colour in the first 1-3 months. Changes in appearance may include darkening, lightening, or yellowing of the timber.
Floor coverings such as rugs should not be placed immediately after laying. Flooring installed under rugs will not be exposed to UV light and will not allow the timber to oxidise. We recommend that rugs and furniture are moved around regularly to maintain even colour variation. This is particularly important in the first 6 months after the floor being laid.
To prevent oxidation, ensure coating longevity and structural integrity, we also recommend UV-protected windows (at a minimum). Drapes or blinds can also be used as an extra preventative measure.
Simple ways to protect your timber
Here are a few simple things you can do to keep your floors looking as good as new for years to come:
Furniture and appliances:
Do not drag, drop, haul or push heavy furniture or appliances across your floor. Wherever possible, lift heavy furniture to a new location or place a barrier between the furniture and the floor (e.g., wheel over plywood or hardboards over carpet). Keep an eye on debris and dirt that could hide under the furniture. If this gets caught between the furniture and the floor, it could produce heavy scratches when moved.
Do not roll heavy appliances on small wheels (such as refrigerators and freezers) across the floor. This can compress the natural wood strains in the floor, leaving irreversible indentations.
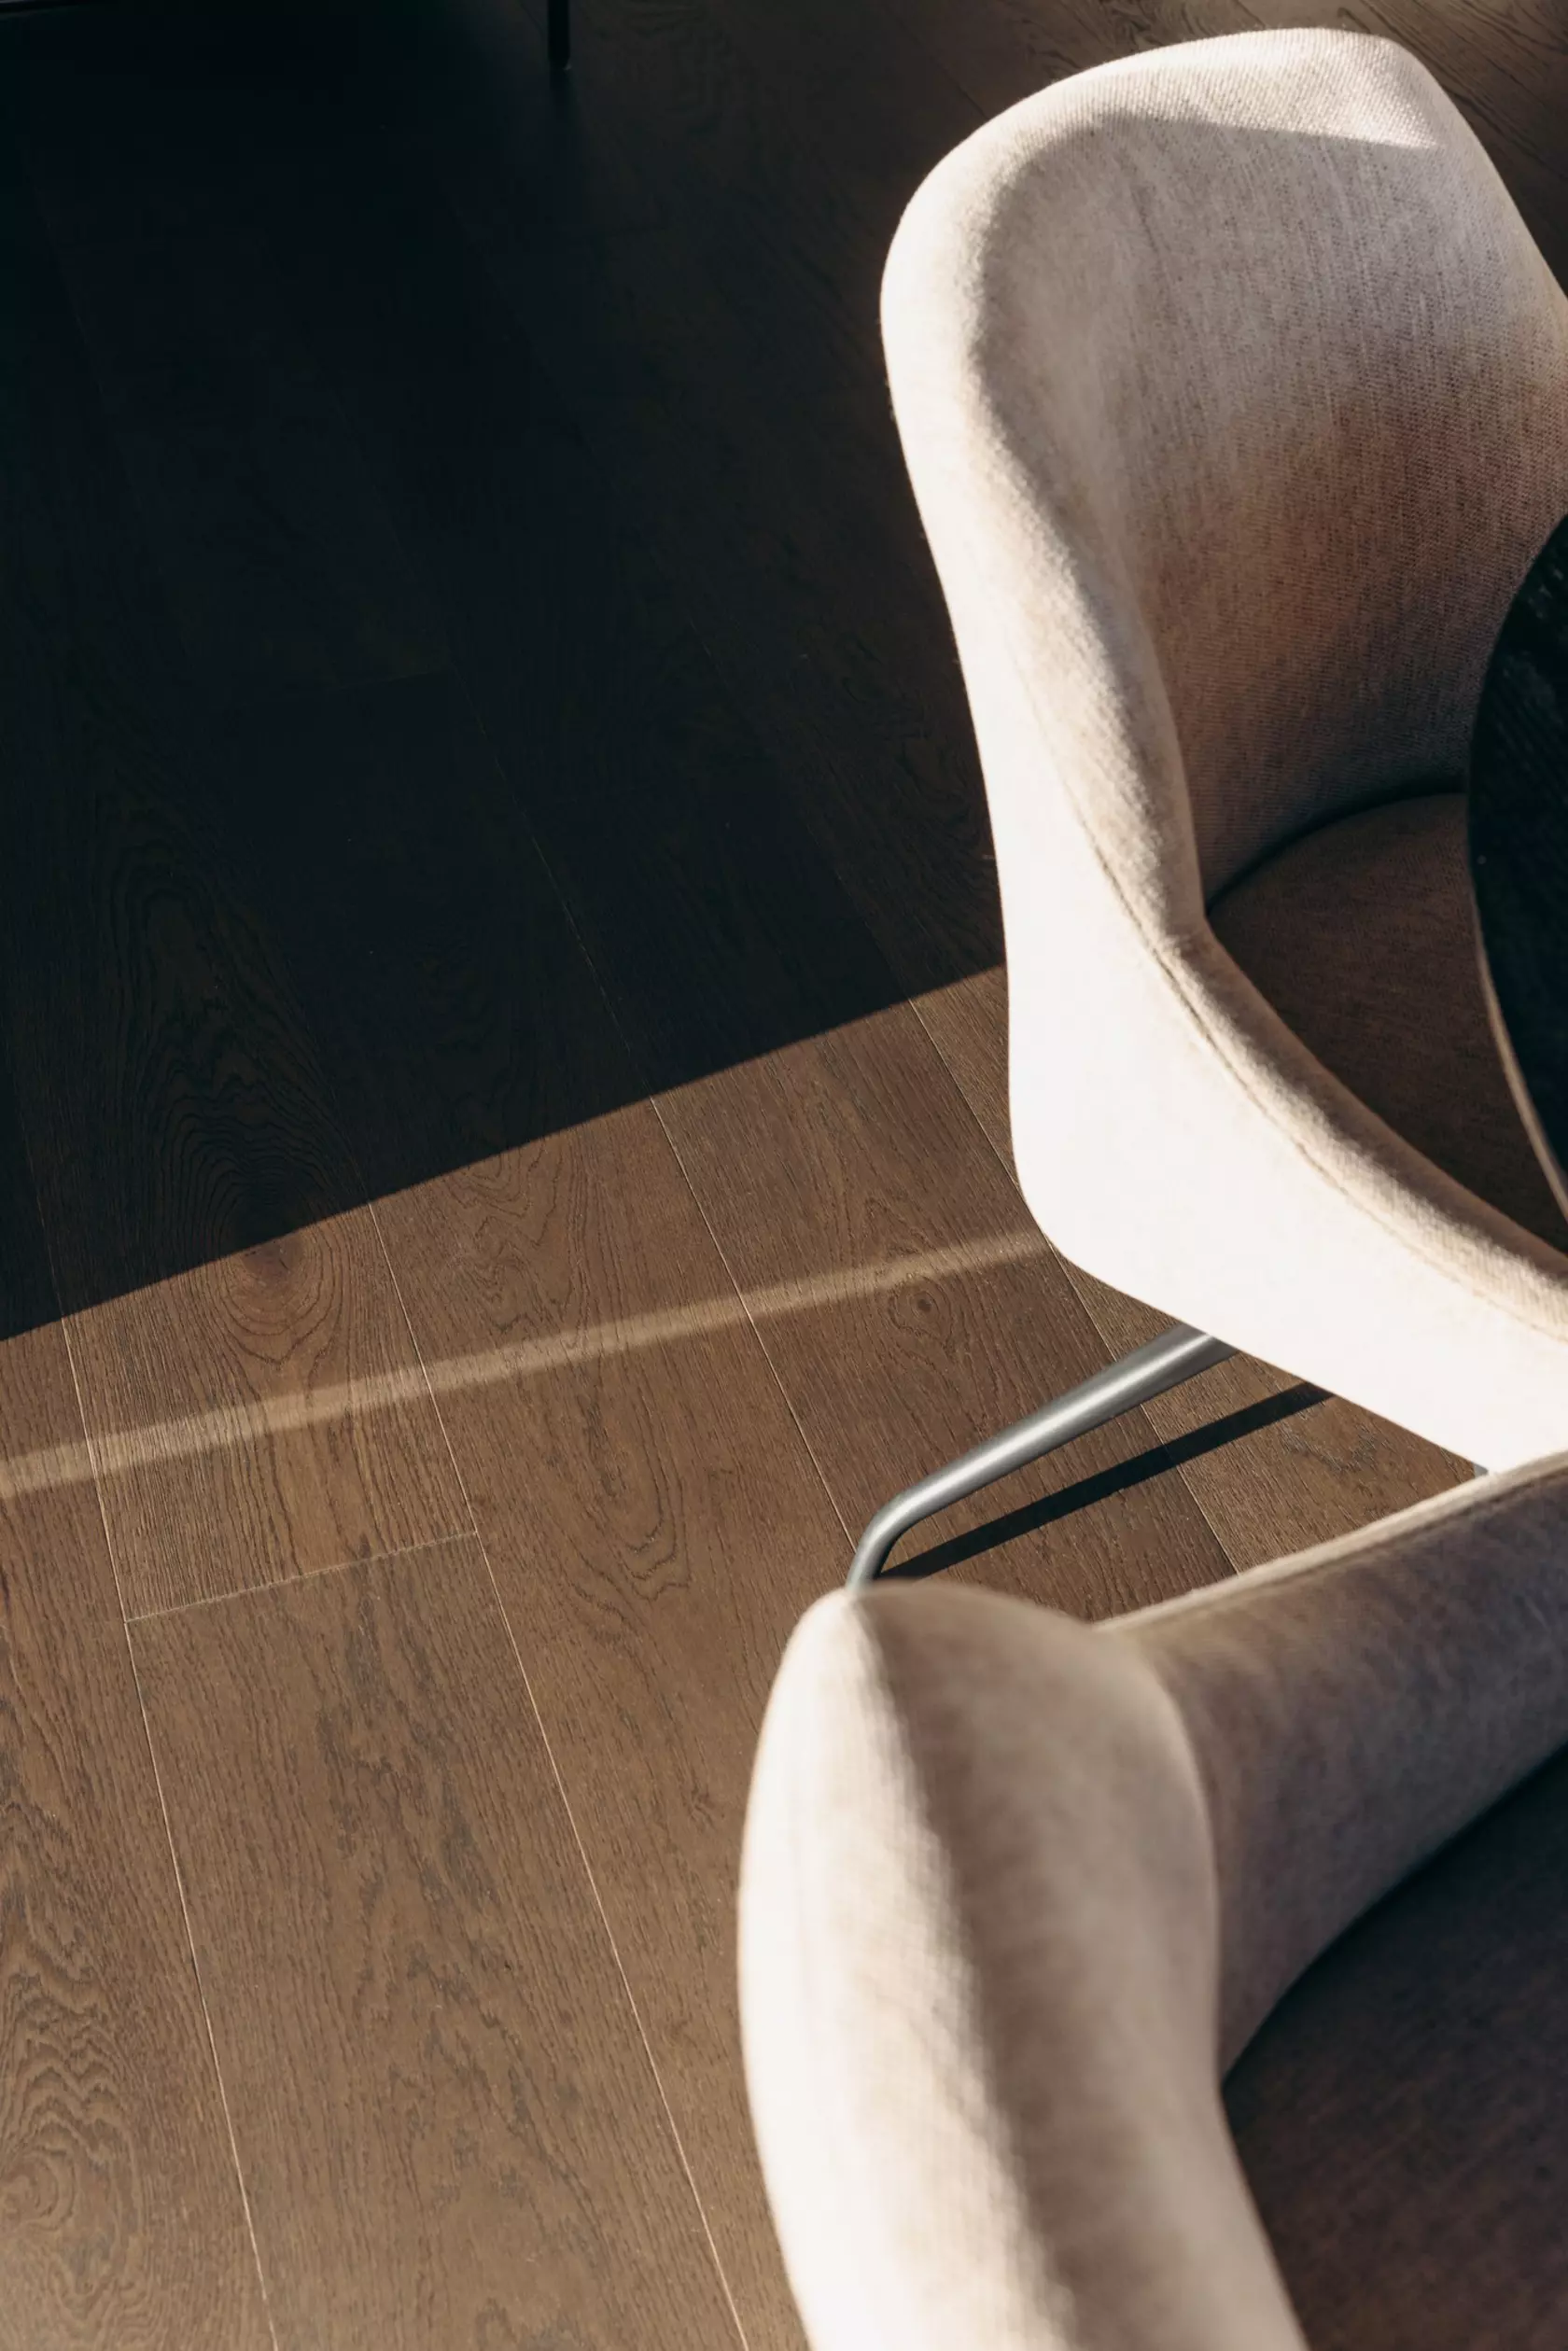
Apply felt protective pads to the feet of all furniture. The feet of dining room chairs is a good place to start, but even large furniture which is rarely moved should have felt pads applied as a safeguard. We recommend Flexi Felt® Protective Felt Pads.
If you don't like the idea of pads on your furniture, incorporate carpets, mats or rugs in your interior design. These can also serve as reliable furniture feet protection.
Mats and rugs:
Timber floors will change colour under the effect of UV light, and this can result in colour differences under mats and rugs. For this reason it is prudent not to use mats and rugs for at least the first six months after the floor has been laid. Alternatively, move mats and rugs on a regular basis over this initial period to aid in reducing these effects.
Use mats and rugs that are made from 'breathable' materials (such as woven fabric), avoiding mats and rugs that have solid rubber or vinyl backings that could trap moisture under the rug. Rearranging or moving mats and rugs on occasion will allow the flooring to age evenly.
Use mats or rugs at entrances to minimise dirt and moisture from being tracked inside. At entrances, mats and rugs should be laid both externally and internally.
Mats and rugs should be kept clean, and the underside free of dirt, grit and other abrasives. As mats and rugs can trap and hold moisture after cleaning, make sure the surface area and mat or rug is completely dry before placing them back on your floor.
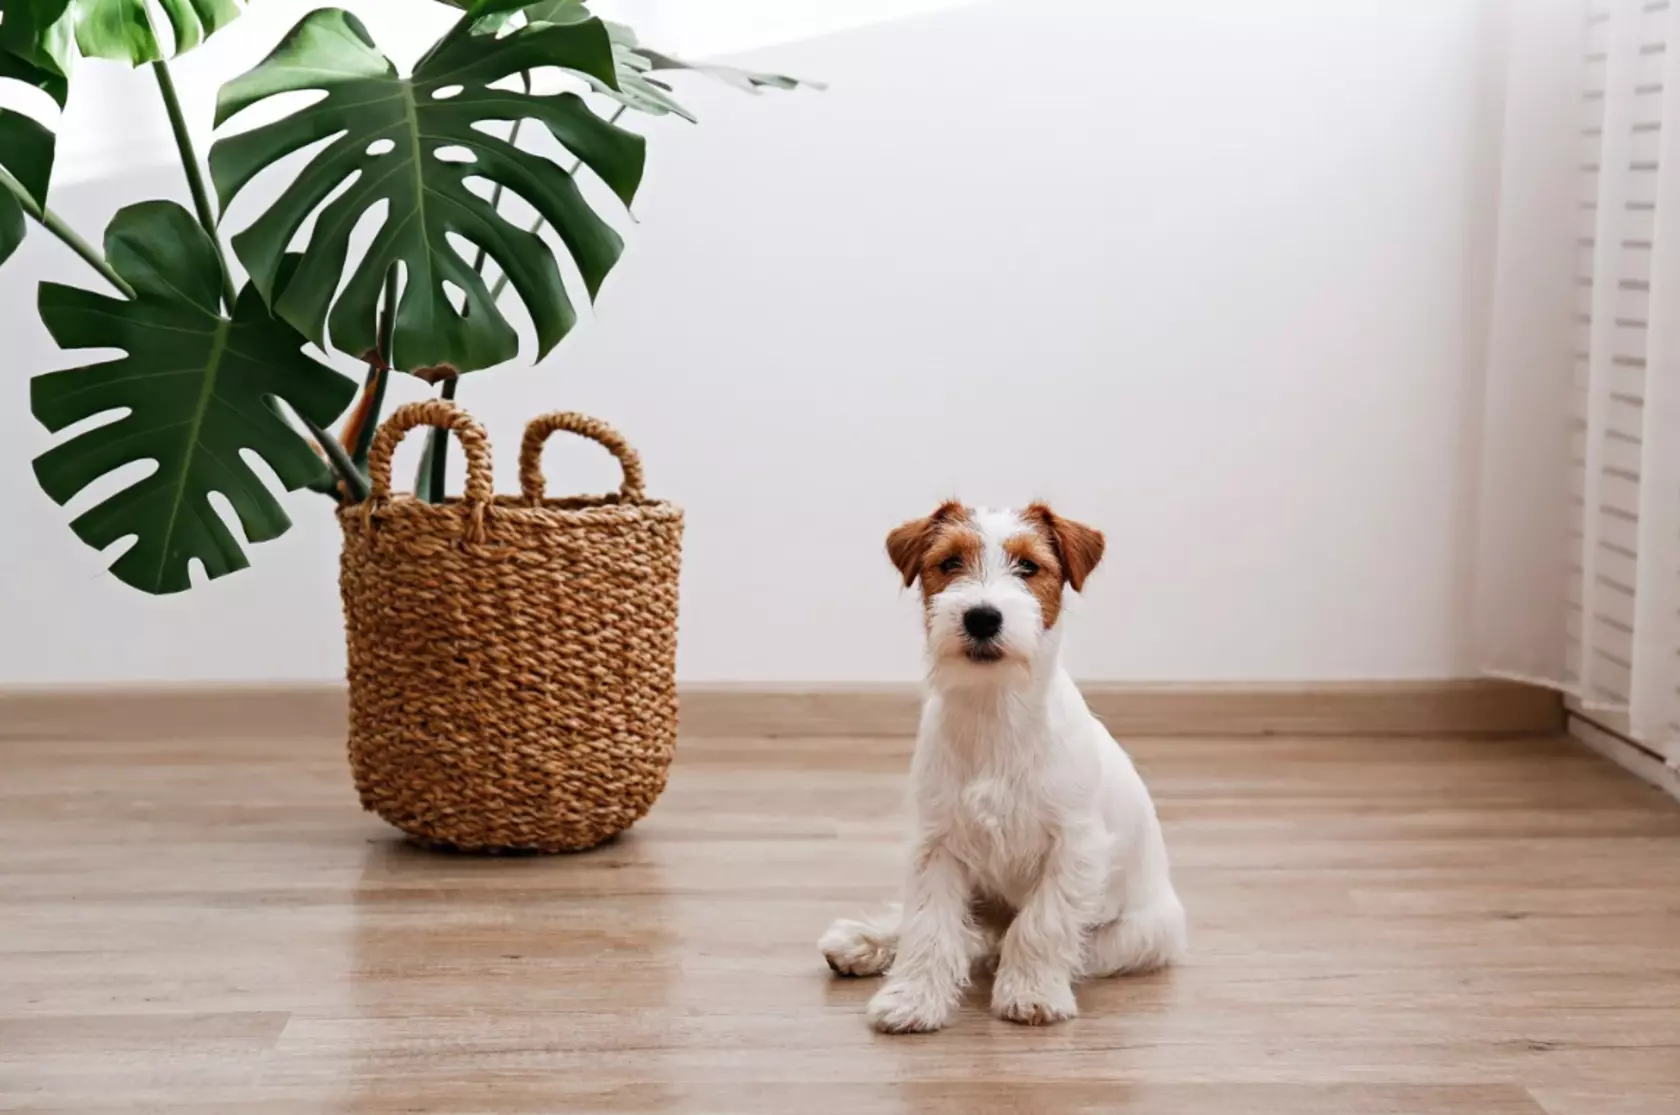
Indoor plants and pets:
Place drip pans under indoor plants to avoid water leakage.
Keep your pet’s nails trimmed, paws clean and free from dirt, grit, and other abrasives. Place a mat at the doors where your pet most commonly enters your home.
Be attentive to spills and get them cleaned quickly. Puddles of water from spilled water bowls or the unfortunate pet accident can damage your floor. Place a mat or tray under food or water dishes to prevent splashing or spillage onto the floor. Also be sure to clean up any pet accidents as soon as you see them.
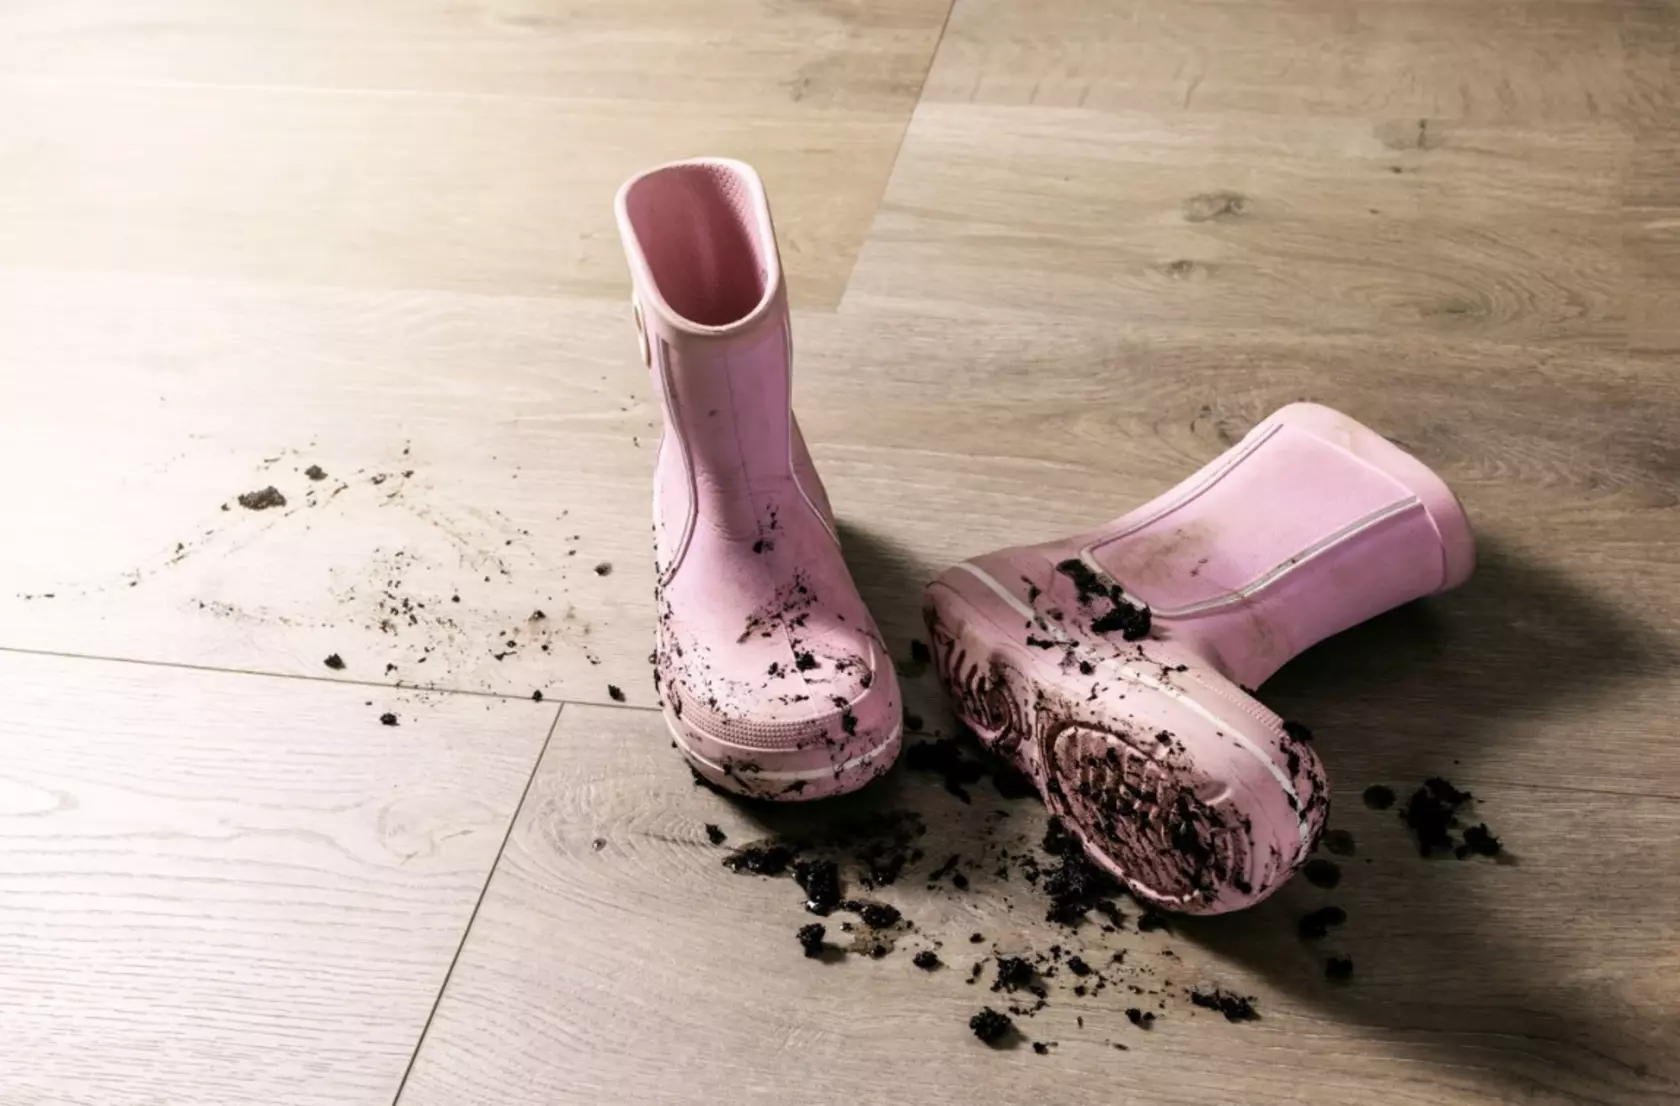
Spills and leaks:
Take care to avoid staining. Mop up excess moisture from spills or splashes within 1 hour.
Remove soaked objects such as carpets, rugs, and furniture. Ensure they are completely dry before you place them back on your floor.
Address any leaks immediately. Failing to attend to leaks can result in severe damage to your floor.
Shoes:
Be cautious when wearing shoes on a timber floor. Uncapped stilettos, cleats and sports shoes, or stones embedded in the sole of a shoe can damage the surface of the floor.
Encourage guests to remove shoes on arrival to preserve your floor.
Cleaning your timber floor
Caring for your timber floor is a lot easier than you might think. In fact, simple cleaning is the main ingredient to keeping timber floors in tip-top shape.
Regular cleaning (weekly)
Step 1: Vacuum
Clean the floor from sand, dust and other debris with a vacuum cleaner with a soft bristle head. To prevent damage to the lacquer finish of your floor, ensure the wheels of the vacuum are clean and freewheeling.
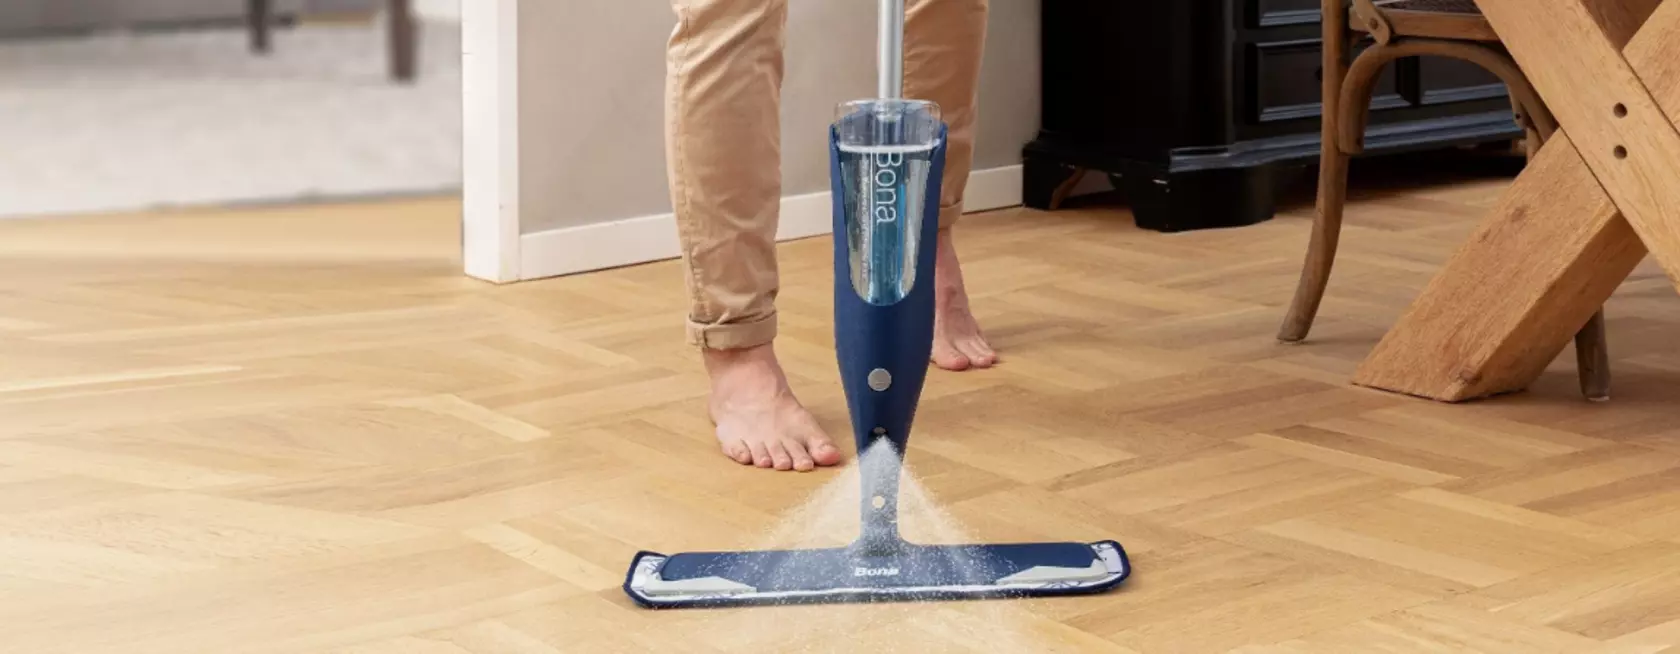
Step 2: Mop
Clean with a Bona® Spray Mop with microfiber pad using Bona® Wood Floor Cleaner solution. Mop along the length of the board. Wipe the surface using a microfiber mop until the floor is nearly dry. Alternatively, use a Kärcher FC5 Floor Cleaner.
We recommend:
Sweeping, anti-static mopping and/or vacuuming the floor as often as possible.
Only using Bona® cleaning products. Other products may lead to inferior results or leave harmful residue.
Only using a dry to damp mop or cloth when cleaning. We do not recommend the use of wet or steam mops on timber flooring.
Avoiding over-wetting the floor. The floor should be dry in 2-3 minutes after cleaning.
Taking the microfiber pad off your mop and washing it regularly to ensure it can clean effectively.
Taking Care Of Scratches
While engineered timber floors are an excellent option for durability, they can still get scratched. There are several ways to make the damage less noticeable - and less likely to cause further issues.
Shallow dents and scratches
For a quick fix, remove the outer shell (and any of the brown paper-like coating) of an oily nut, such as a Brazil nut. Rub the nut across the scratch, up and down, and side to side. The natural oil in the nut together with small pieces of flesh that scrape off during the process should fill most shallow scratches. Wipe with a clean rag to remove any excess oil.
To help disguise the 'white mark' of a light scratch, apply a clear polyurethane to the scratch using an artist's brush.
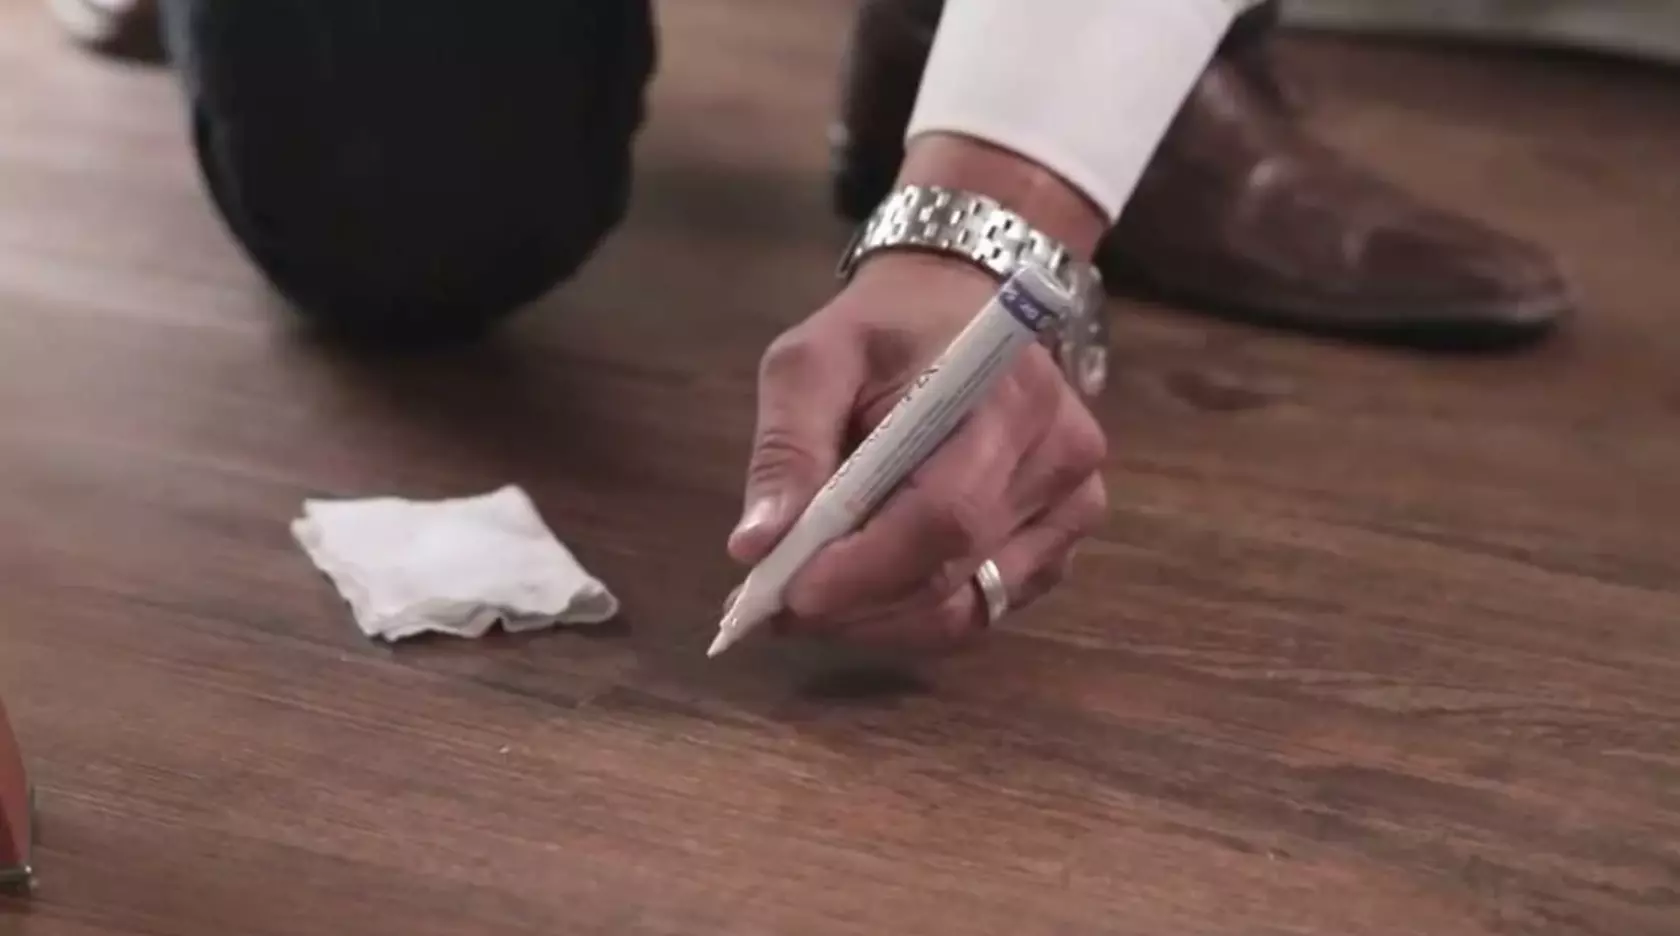
A car scratch repair pen can be used for very shallow scratches - it will not fill the scratch, but can provide a coating like a polyurethane or lacquer. Draw over the scratch with a Mantis scratch repair pen, wipe off any excess liquid from the edges of the scratch if required, and allow to dry.
A wax pen is a longer-term solution for most scratches, from minor to serious. Lightly sand the area to be repaired with an abrasive pad to ensure adhesion of the wax. Sweep the wax pen over the scratch several times. Burnish the surface with rags to remove any wax pen excess.
Furniture repair pens can be useful when a scratch has removed the floor colour. Find a furniture repair pen that matches the colour of your floor and colour over the scratch you wish to recolour. A car scratch repair pen may be used after the furniture repair pen to seal in the colour.
Alternatively, email support@forte.co.nz with photos of the dent/scratch and any information about how the damage occurred for more specific advice.
Deep dents and scratches
Melt a wax pen into the dent or scratch using a soldering iron pen with a flat head. Apply a polyurethane over the top to seal the wax. To ensure a good result, we recommend you engage a professional floor installer to conduct this repair.
Major dents and scratches
Major damage will require removal of the damaged plank and installation of a new one. This should only be carried out by a professional floor installer.
Protect your floors from scratches: Providing a barrier between your floor and furniture is the best way to reduce any damage being done. Apply protective felt pads to furniture to protect your floors no matter how often the piece of furniture is moved.
Periodic Care & Maintenance
Even with a regular cleaning routine, dirt and grime can build up over time – that’s just part of using your floors. See below for a few deep cleaning and maintenance methods you can use periodically to keep your floors looking like new.
Deep cleaning (2-4 years)
Deep cleaning your wood floors is an important step to having floors that last a lifetime. It removes dirt, grime and scuff marks that regular cleaning may leave behind and is an effective way to keep your floor looking beautiful, even after a few years of wear.
To keep your floors looking their best, we recommend that a deep clean is completed by a professional* every 2-4 years, using either a Bona® or Kärcher Wood Floor Scrubber and Bona® Deep Clean Solution.
Light sand and refurbishment coat (5-8 years)
If your wood floor’s protective coating is starting to show signs of wear, slight staining and light scratches, a light sand of the coating can effectively restore its original beauty.
To be sure of the perfect result, we recommend you engage a professional* to lightly sand the surface coating of your floors with a Bona® Diamond Abrasive Pad to remove scratches or wear. The sanded surface should then be recoated with two coats of Bona® Traffic HD Extra Matte to give the floor a new layer of durable protection.
Full sand and recoat (7-10 years)
If your wood floor is looking discoloured, deeply scratched or lifeless, it may be time for a full sand and recoat.
To restore your floors to their former glory, we recommend you engage a professional* to sand your floor back to bare wood. The sanded surface should be refinished in your desired colour and coated with a protective coating system.
To discuss any aspect of care and protection of your Forté floor, please contact our Forté Care team on support@forte.co.nz
Download the Forté Care Guide in PDF here

Why This Architect Designs Homes With Indoor Air Quality in Mind — A Conversation with Keiron O'Connell
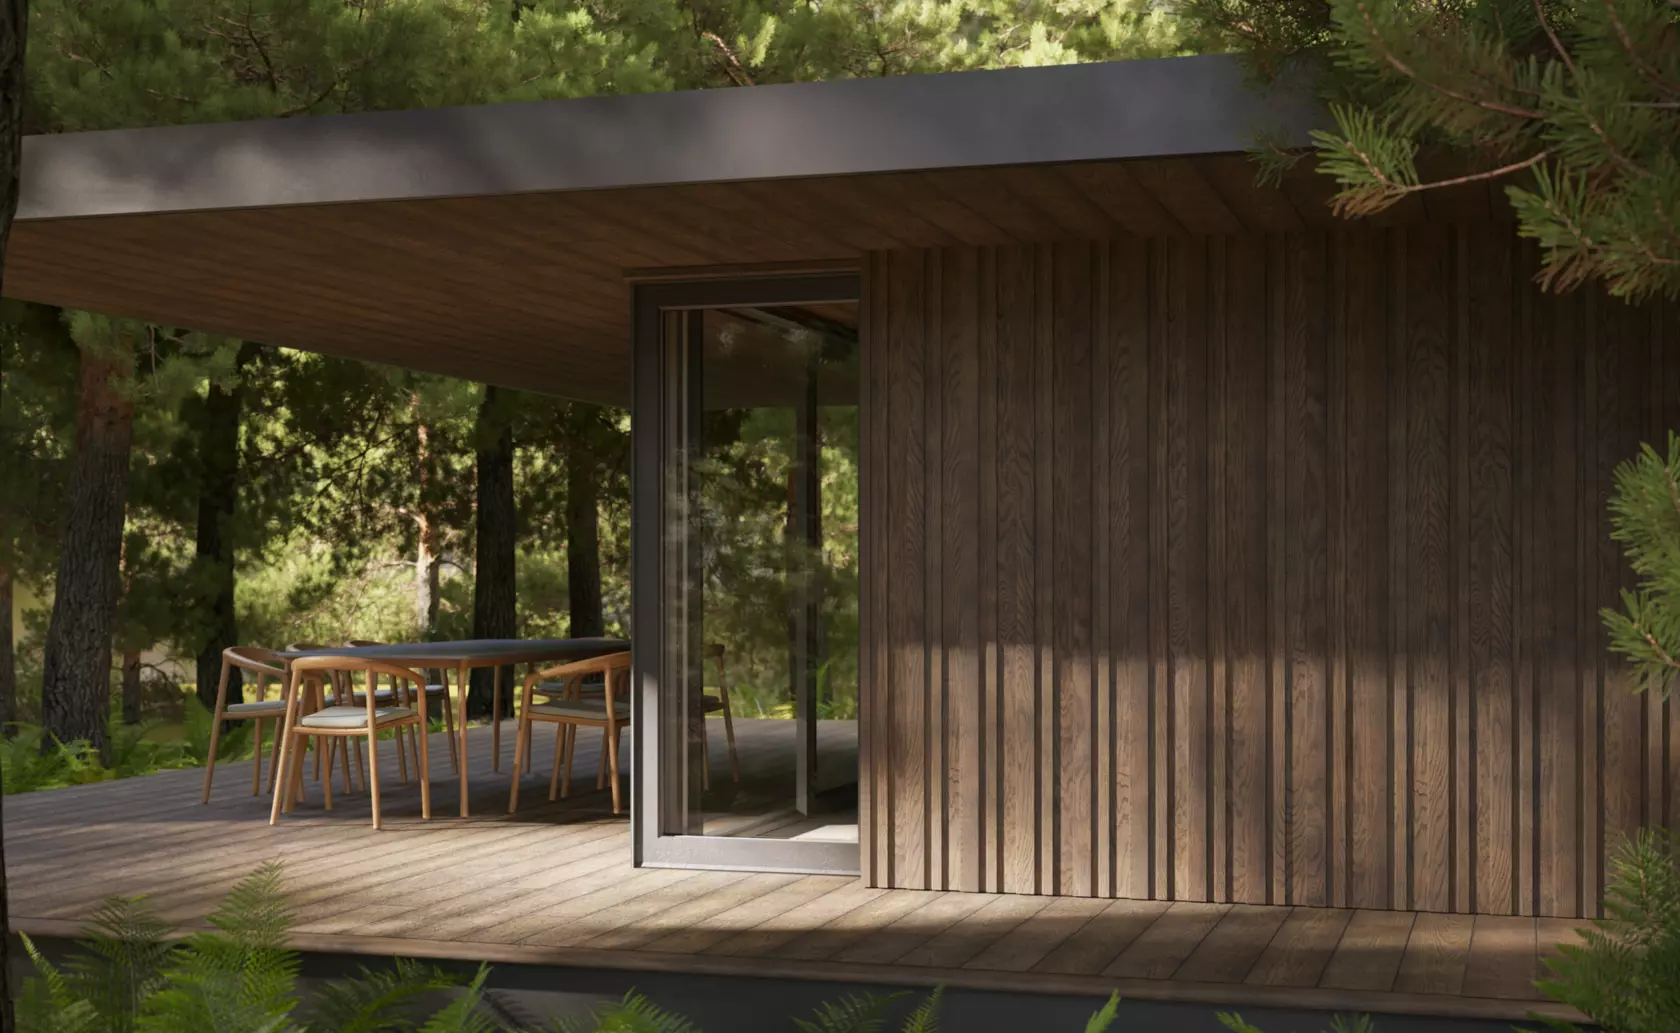
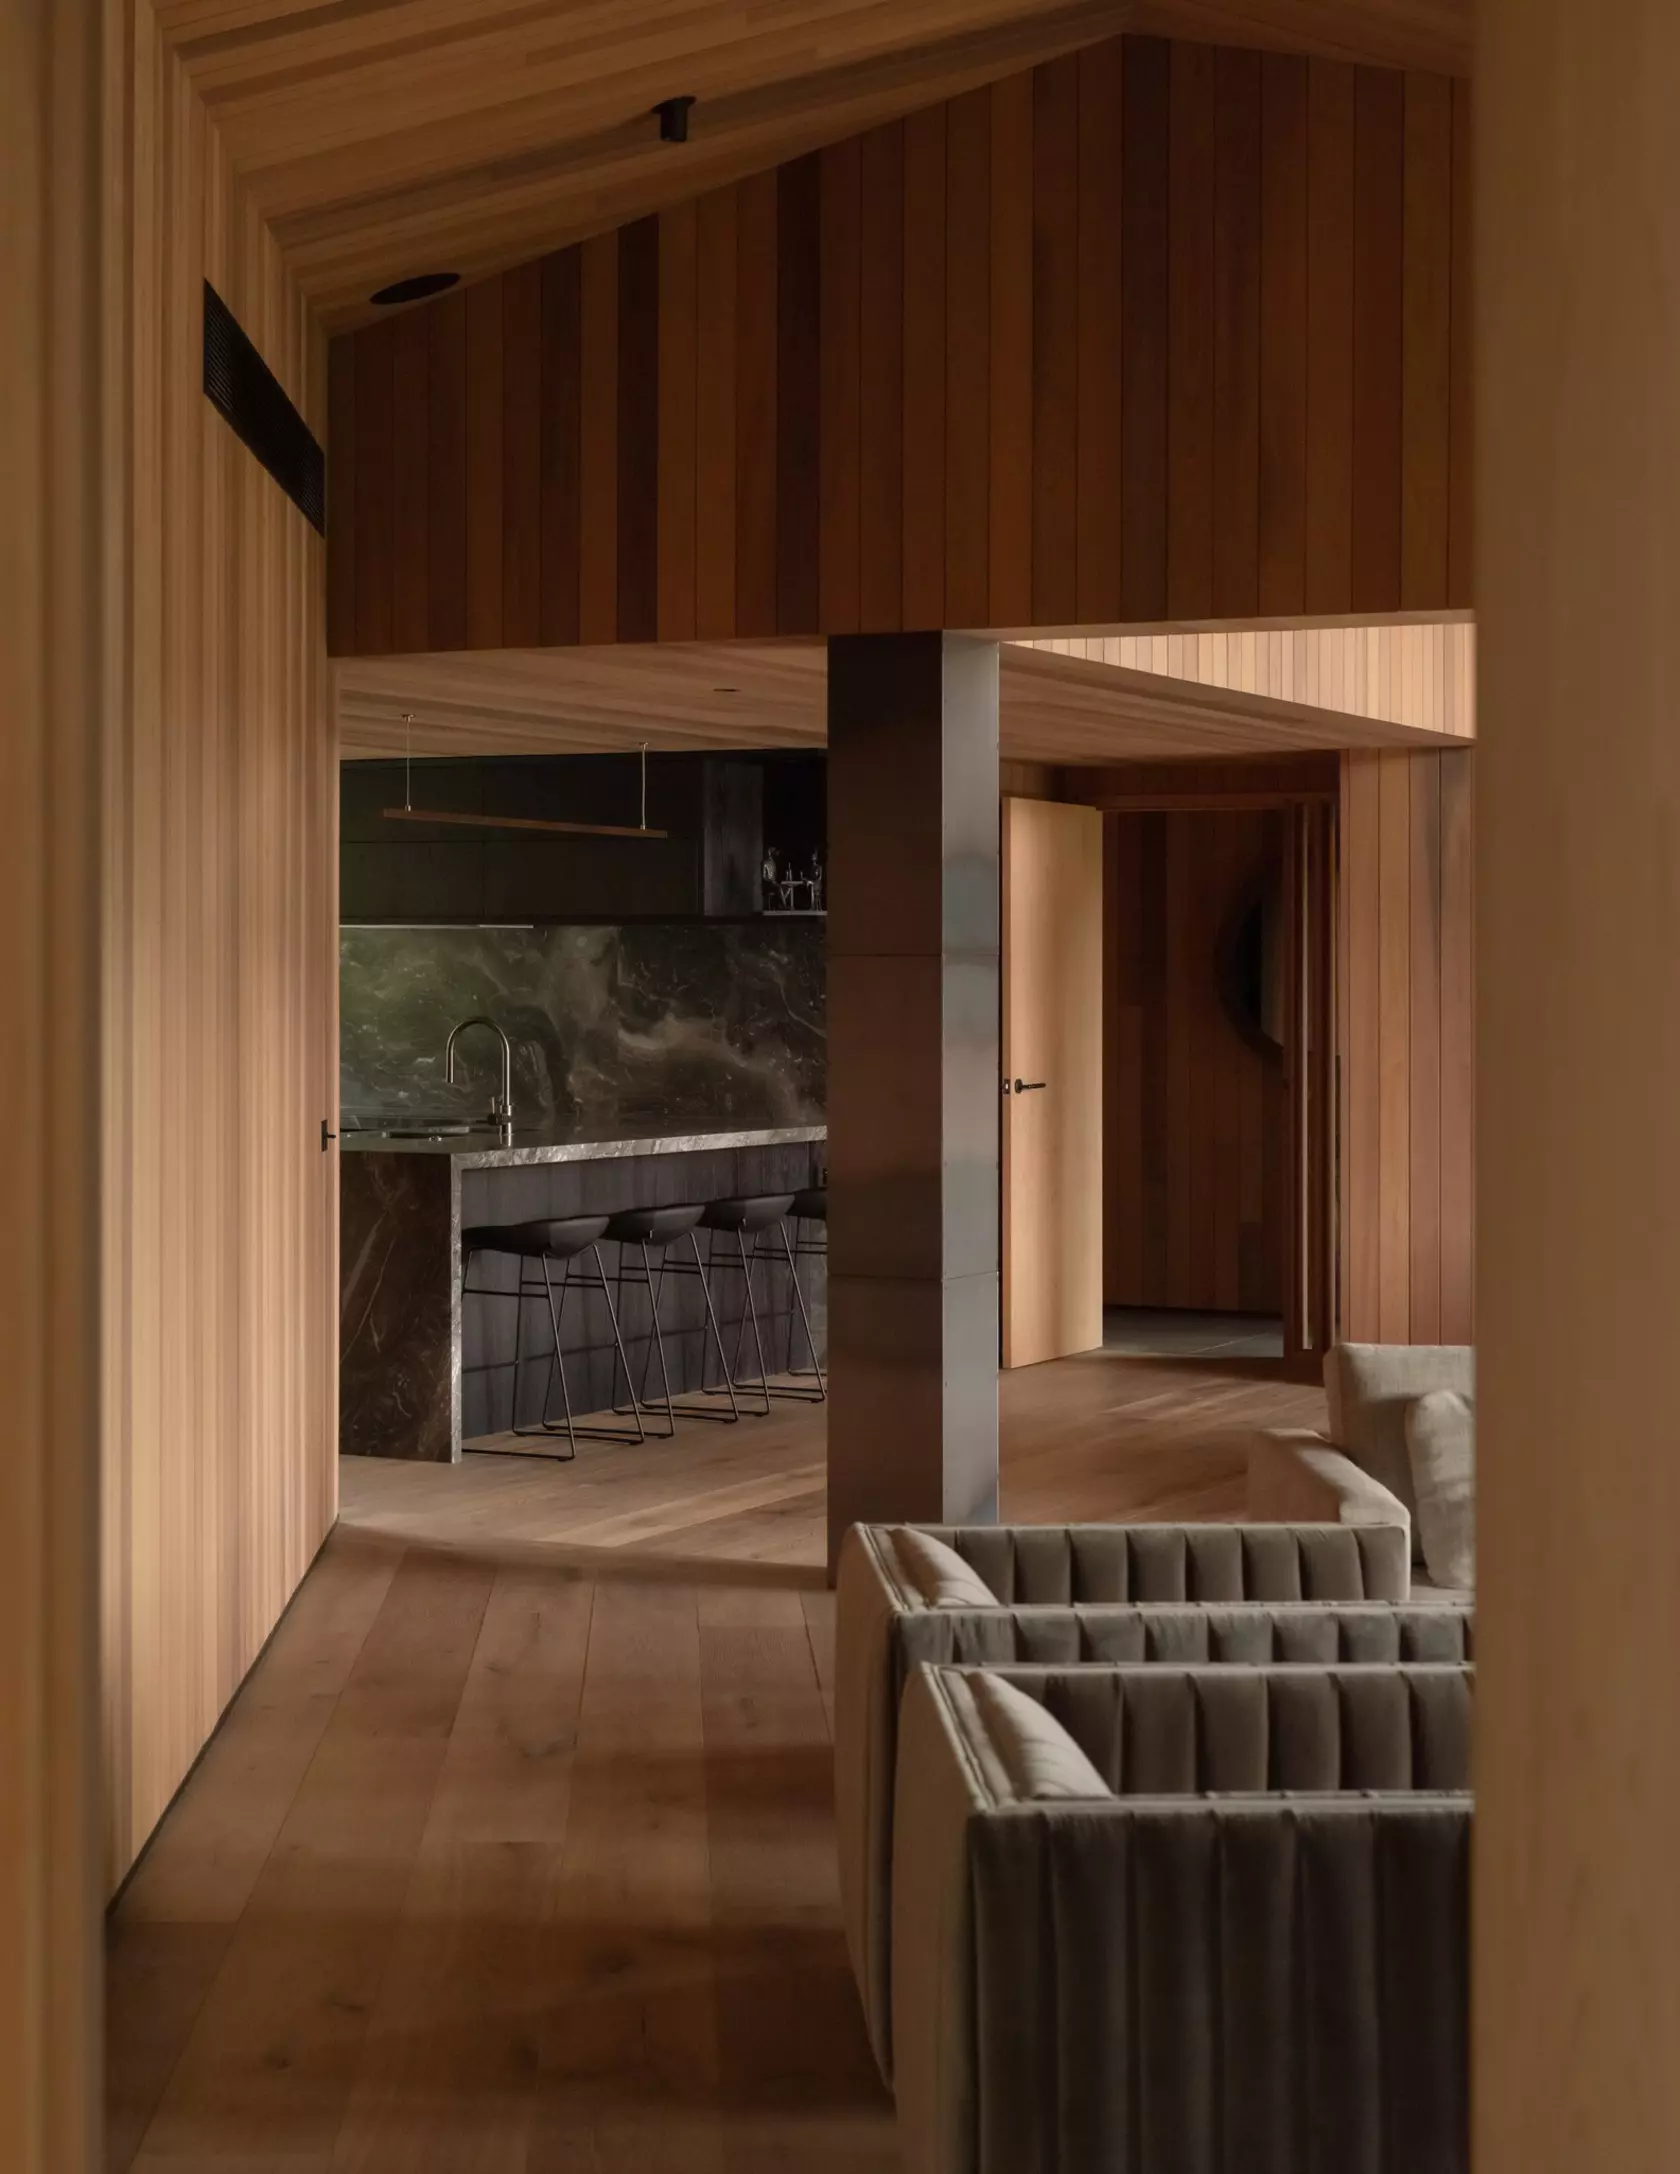
Timber Inside and Out: How to Create Visual Continuity Between Your Interior and Exterior
A Clearer Path to Consent: Envello Exterior Cladding System Achieves CodeMark Certification