


Top Tips to Achieving a Quality Install
January 22, 2018
Work with a reputable installer
This may sound obvious but we cannot express its importance enough. Timber flooring is an investment that you don't want to get wrong. A professional, experienced installer will get the job done right the first time and you will be far less likely to experience issues down the track.
Choose your installation method carefully
- INSTALLING OVER CONCRETE, PARTICLE BOARD, PLY OR EXISTING TIMBER FLOORING
For the best quality timber flooring installation, we always recommend to glue down (aka direct fix) your timber flooring. Although gluing is usually more expensive than floating, it results in a lovely solid-feeling floor that is very quiet to walk on. For more information on why we recommend glue down click here.
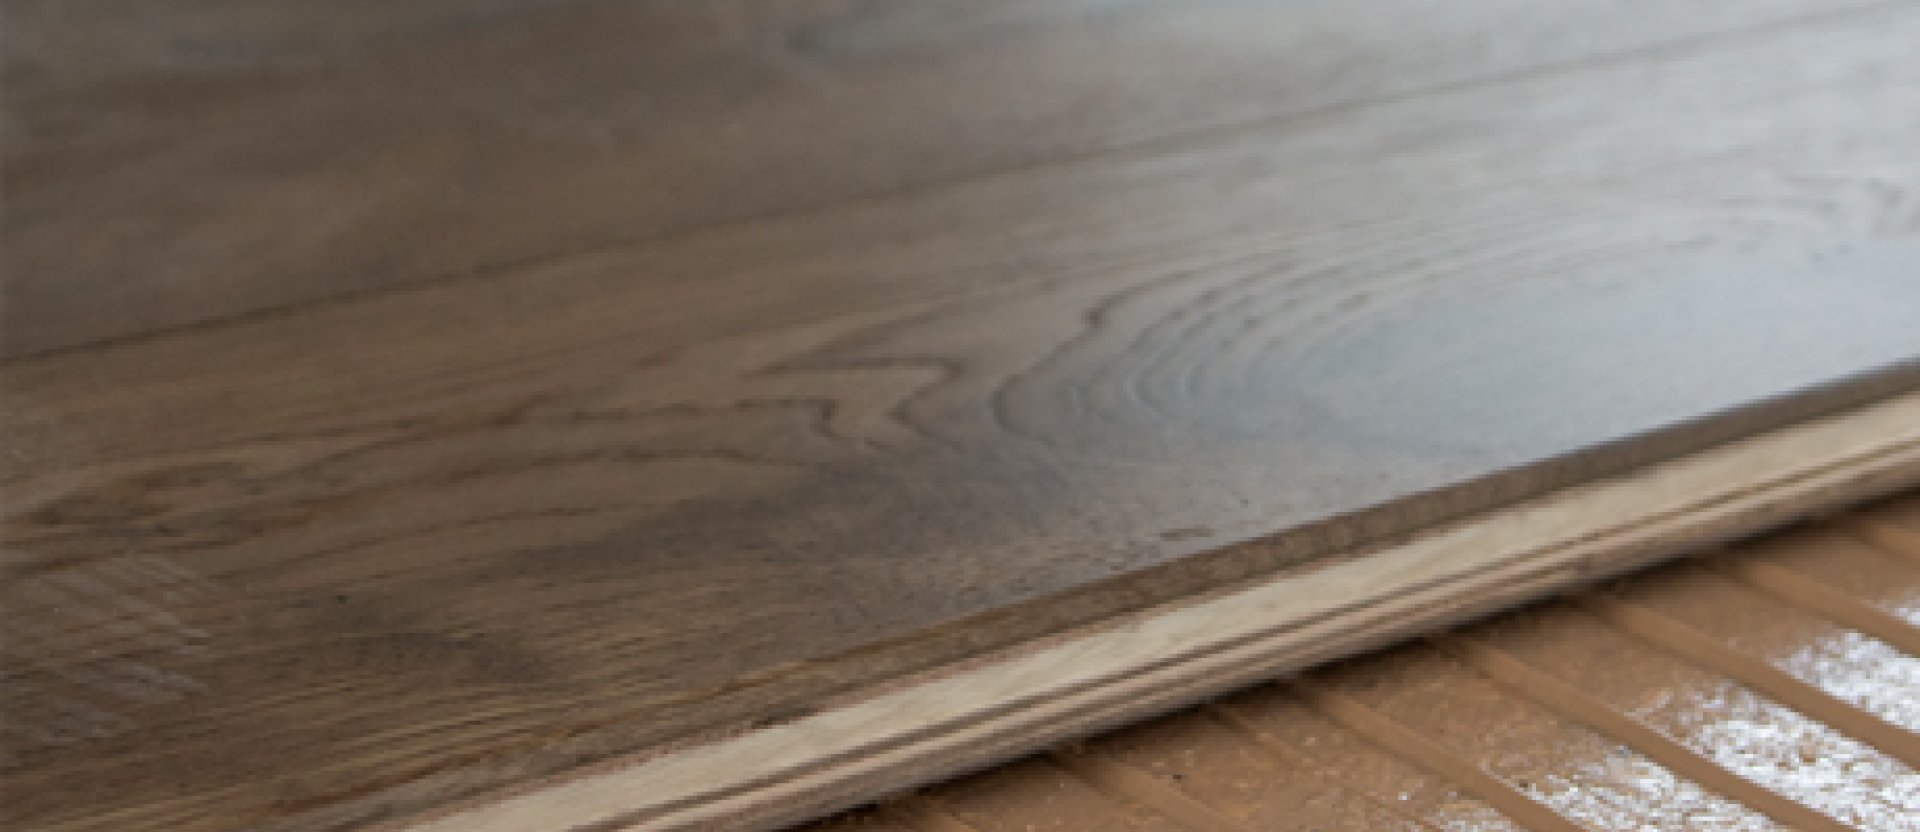
- INSTALLING OVER EXISTING CORK OR VINYL FLOORING
These substrates are not suitable for direct fixing to so the flooring will have to be floated. Be sure to use a high quality underlay as this will do a lot to minimize the footfall noise, resulting in a more quality sounding floor
Ensure correct subfloor preparation
A floor is only as good as its foundations. As the installer is usually responsible for the floor prep, it is again so important that you get someone that knows what they are doing. Many floor movement issues come down to poor or incorrect subfloor preparation. For example; - No moisture barrier, not enough moisture barrier, the wrong type or incorrect application can lead to moisture coming up in the surface which can result in the flooring cupping or warping. Leveling the floor can be an expensive process but it is integral in achieving a quality install. If the substrate is uneven, you could experience creaking, squeaking, hollow spots etc in your flooring.
Use a good underlay
If floating your timber floor be sure to choose a good quality underlay - the last thing you want is to have to pull your flooring up to replace faulty underlay. If installing over under floor heating the underlay will need be compatible with the heating system you are using. It is also important that the underlay be installed correctly - if not installed right it could result in your under floor heating being less effective or less efficient. If installing in a multi-level building, it is NZ regulation that you must use an acoustic rated underlay. Keep an eye out for density ratings and thickness - generally the denser the underlay, the quieter it will be and the thickness multiplies this effect.
Don't forget to acclimatize
Acclimatization is an important pre-installation process of letting the flooring materials breathe and become accustomed to the surroundings in which they will spend their life. We recommend storing the unopened packs of flooring in the installation area for 48 hours to acclimatize. Failure to properly acclimatize flooring before installation begins may compromise the integrity of your floor. Excessive gaps, warping or cupping can occur after the installation is complete; the expansion joint may also be compromised, which will result in further damage. Failure to acclimatize the flooring will also void the manufacturer's warranty if such problems arise.
Order of installation
Timber flooring should be installed before your carpet. Kitchen cabinetry can be installed over a direct fixed timber floor. If floating your timber floor, the cabinetry must be installed before the flooring is laid - heavy units can create pressure on the timber and potentially lift the floor in a different area if it is not fixed.
Correct & careful installation
Again, the installation is usually left completely up to the installer so it is important to get someone that knows what they are doing. If installed incorrectly you are likely to experience issues with your floor in the future and your warranty may also be voided. Never use any adhesive tape (even low tack) - for more information, click here.
Don't overlook the finishing details
Matte black finishing bars.. brass inlays.. inset stair treads... LED strip lighting... it's the small details that make all the difference! Stylish finishing details can really enhance the look of the room - whilst unsightly details can be a real eyesore. The finishing details are often left in the hands of the installer as with a building project they are usually the last thing on your mind. If you want to have control over your finishing details, we recommend discussing them with your installer right from the beginning so there's no surprises. If you'd like some inspiration we suggest checking out our articles Transitioning from Timber to Other Surfaces. We also have a range of trims and transitions available for purchase. If you want something other than what we supply your installer may know where to get it, alternatively contact us and we'd be happy to help.
Protect your floor post-installation
If trades people are going to be working in the area after the flooring has been laid, we recommend using a temporary protective system such as "Ram Board" or similar to cover the entire timber floor. Be sure not to fix the product with tape on the floor - tape to skirting boards instead using a low tack tape. In addition, covering the entire floor is important as timber flooring can change colour with exposure to UV light - you don't want to cover only one area and find it is a different colour to the uncovered area afterwards!
Take care when moving furniture
All too often floors get damaged at the last stage when the furniture or appliances are being moved in. For heavy items make sure you have enough people to help with lifting. It is important not to drag heavy item such as fridges across your timber floor - instead, consider using furniture sliders or laying down a solid protective surface beforehand. If sliding is necessary, ensure your floor is clean and free of grit and debris or you risk scratching it. For more tips on how to prevent damage to your floor, click here.

