


Flush Entry Mats: A Small Design Detail That Makes a Big Difference
If you're in the middle of building or renovating your home, there's a seemingly small detail that deserves more attention than it typically gets: how you handle your indoor entry mat. This overlooked element can be the difference between a polished, functional entryway and a daily source of frustration.
The Two-Mat System: Understanding the Basics
Most homes employ a two-mat system at their main entrance:
The exterior mat sits outside your door with a coarse, aggressive texture designed to scrape mud, dirt and debris from shoe soles before anyone steps inside.
The interior mat serves as the second line of defense, absorbing moisture and capturing the finer particles that made it past the first mat. It's this interior mat that presents a persistent, and frequently annoying, design challenge in most homes.
The Problem with Traditional Interior Mats
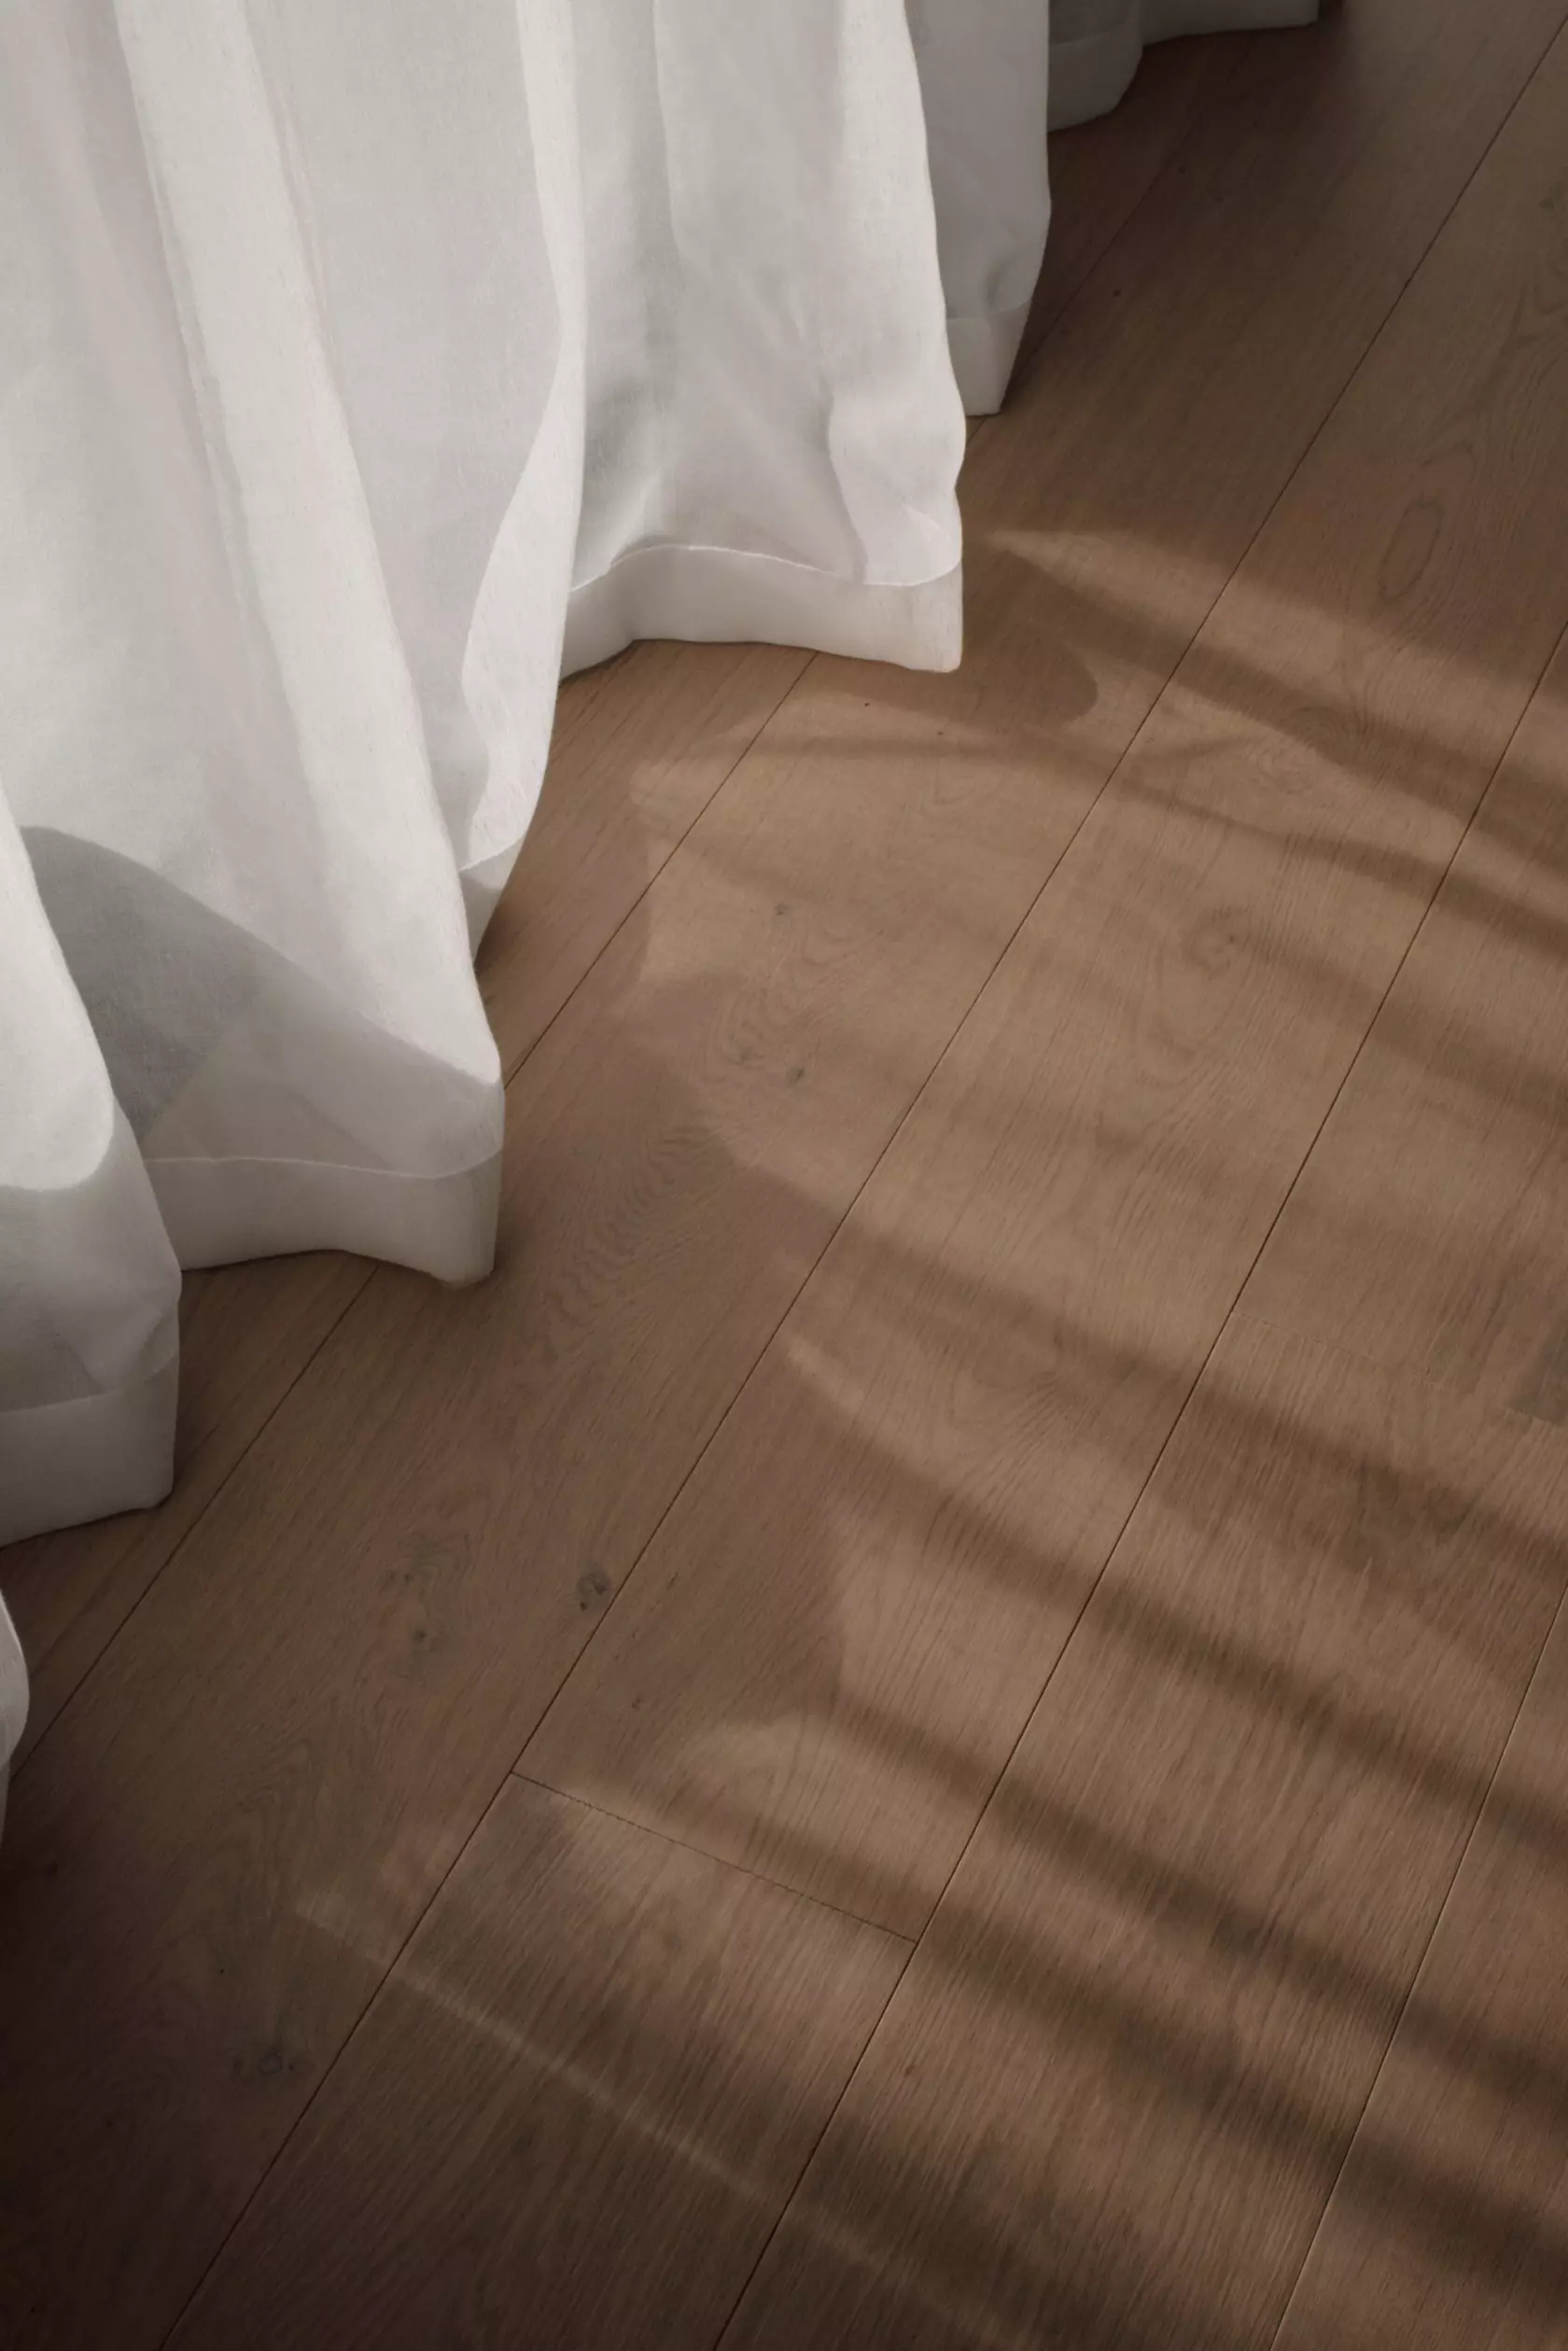
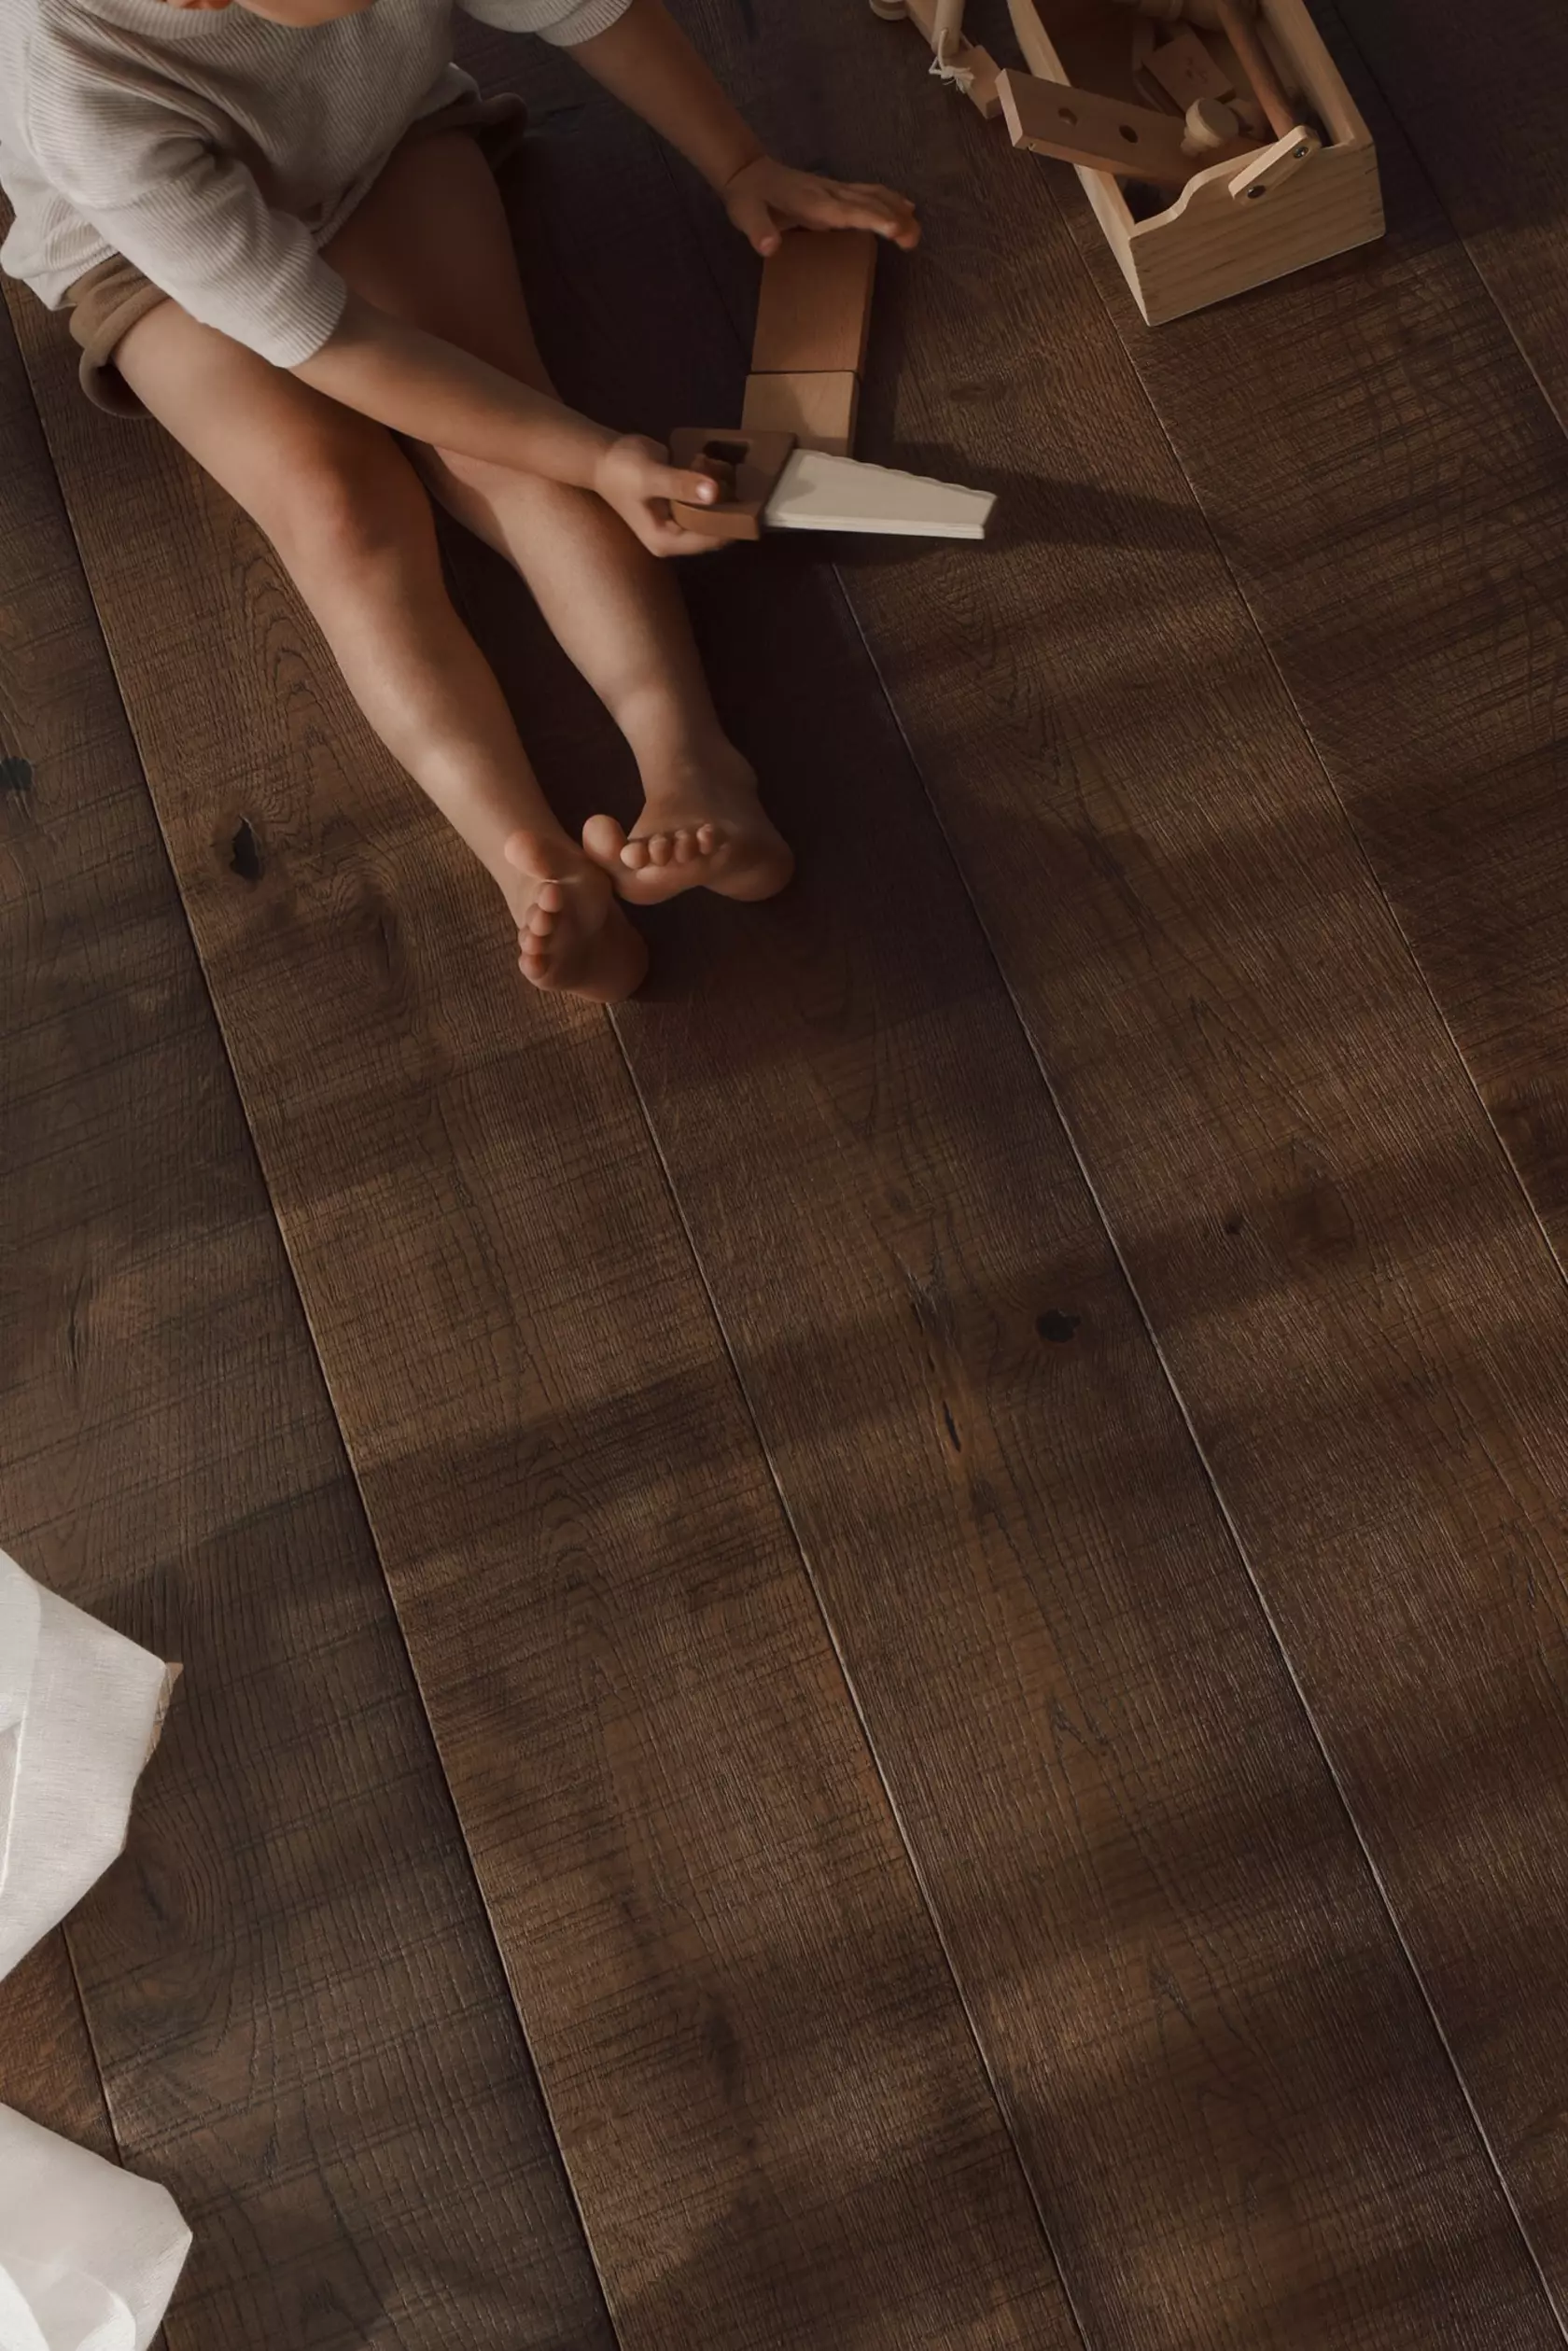
Walk into nearly any residential entryway, and you'll encounter the same frustrating scenario: the interior mat sits on top of the finished floor, creating a raised edge that becomes a household nuisance.
The door constantly catches the mat's edge, bunching it up each time someone enters or exits. You're left perpetually straightening and adjusting it, fighting a battle you can never quite win.
The raised edges create a tripping hazard, particularly dangerous for elderly family members, young children, or anyone carrying groceries or luggage.
The aesthetic suffers too. No matter how carefully you position it, a surface-mounted mat disrupts the clean lines of your flooring and announces itself as an afterthought rather than an integrated design element.
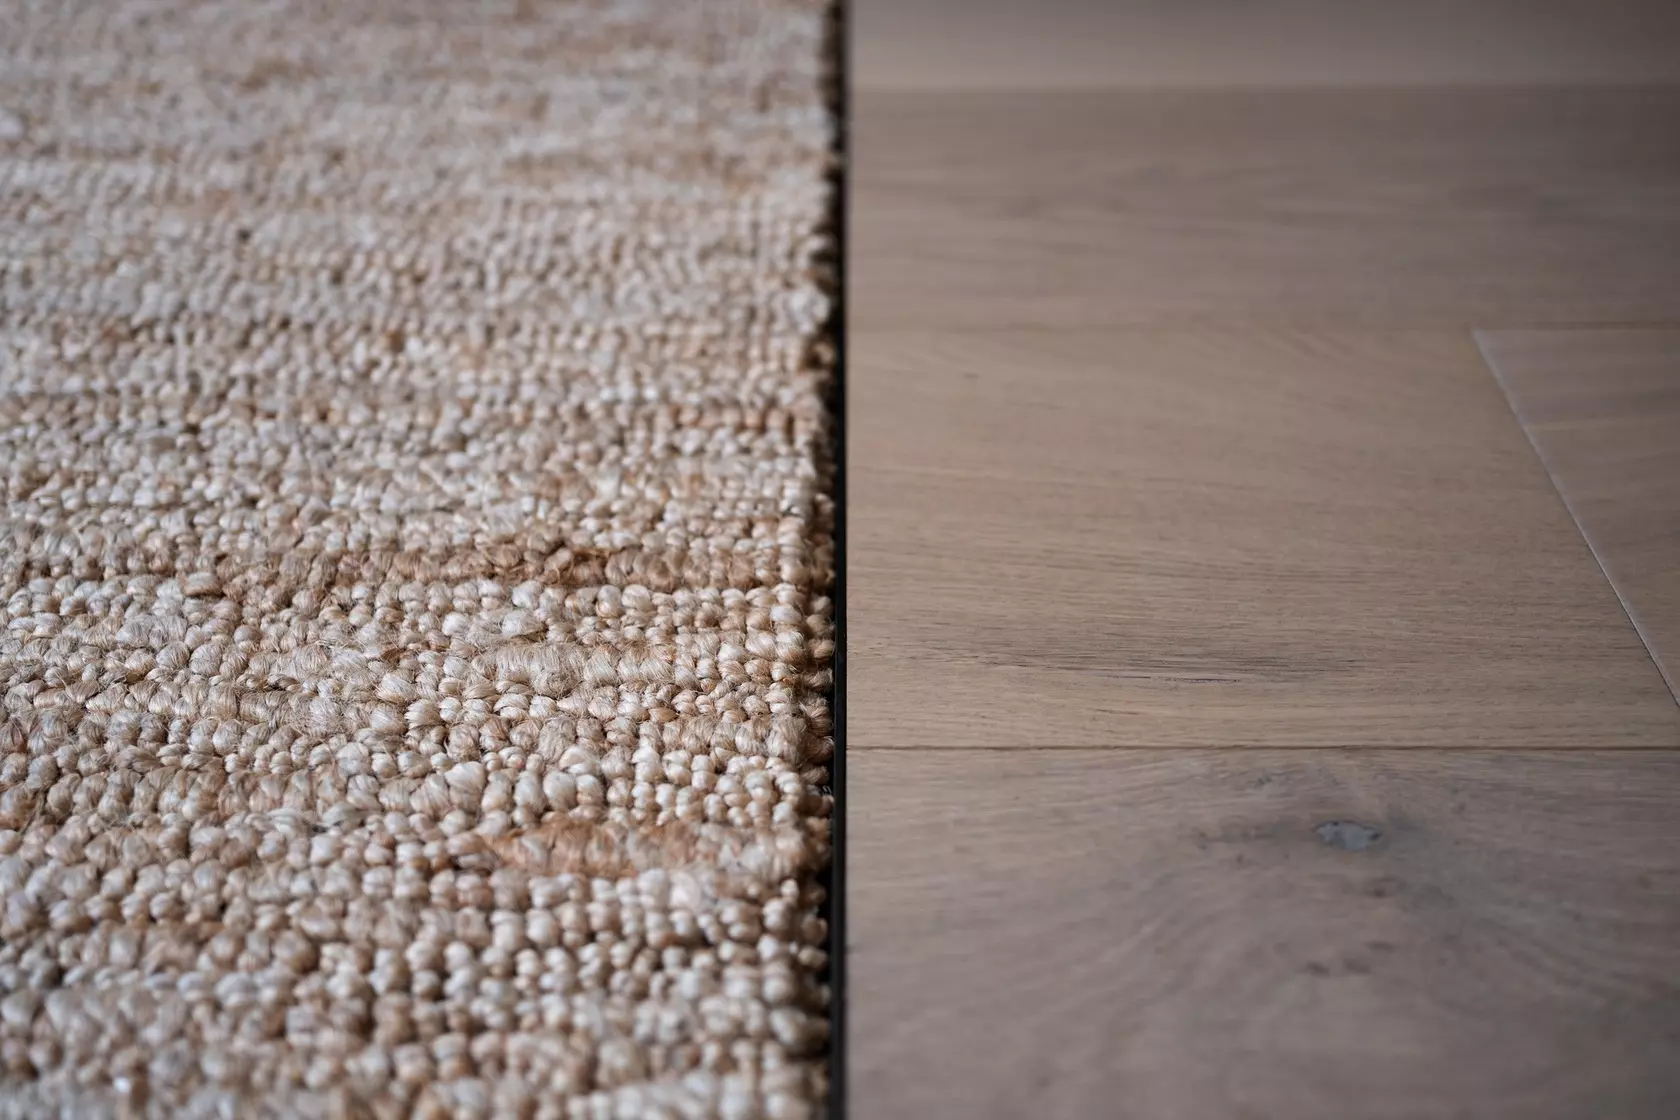
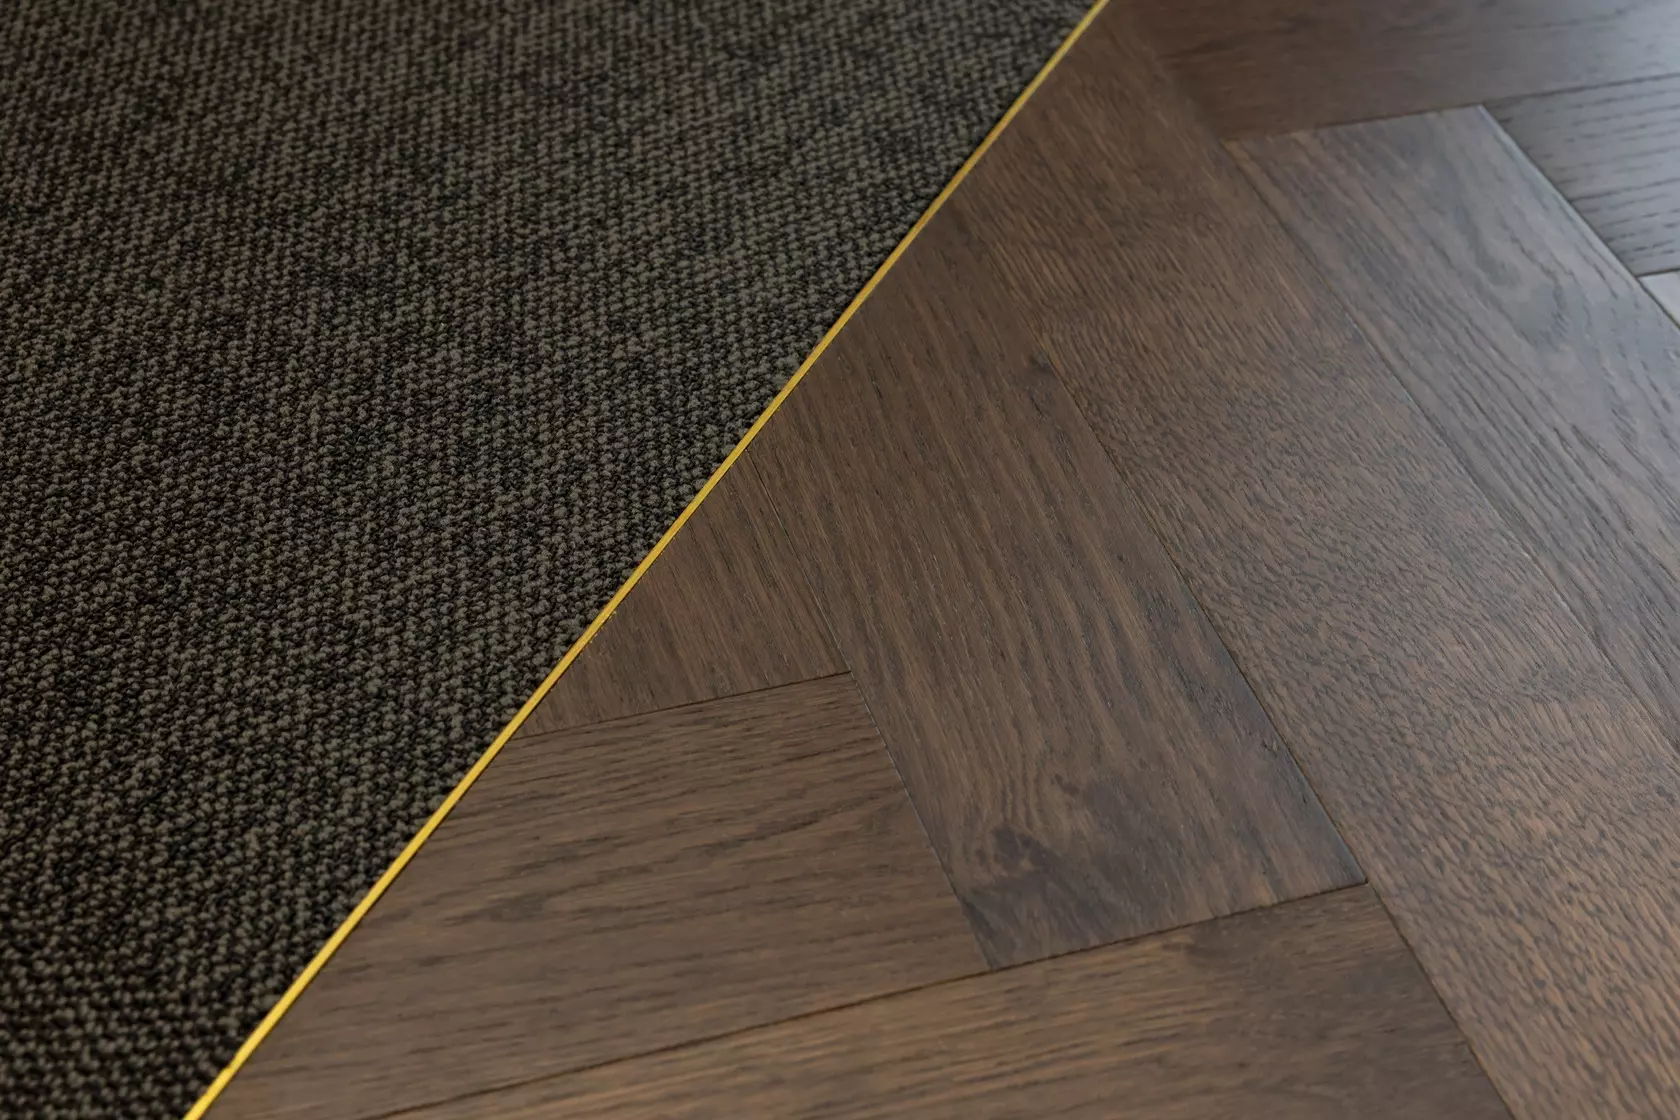
The elegant answer to these problems is remarkably straightforward: recess the mat into the floor itself, creating a flush transition that eliminates every issue associated with traditional placement.
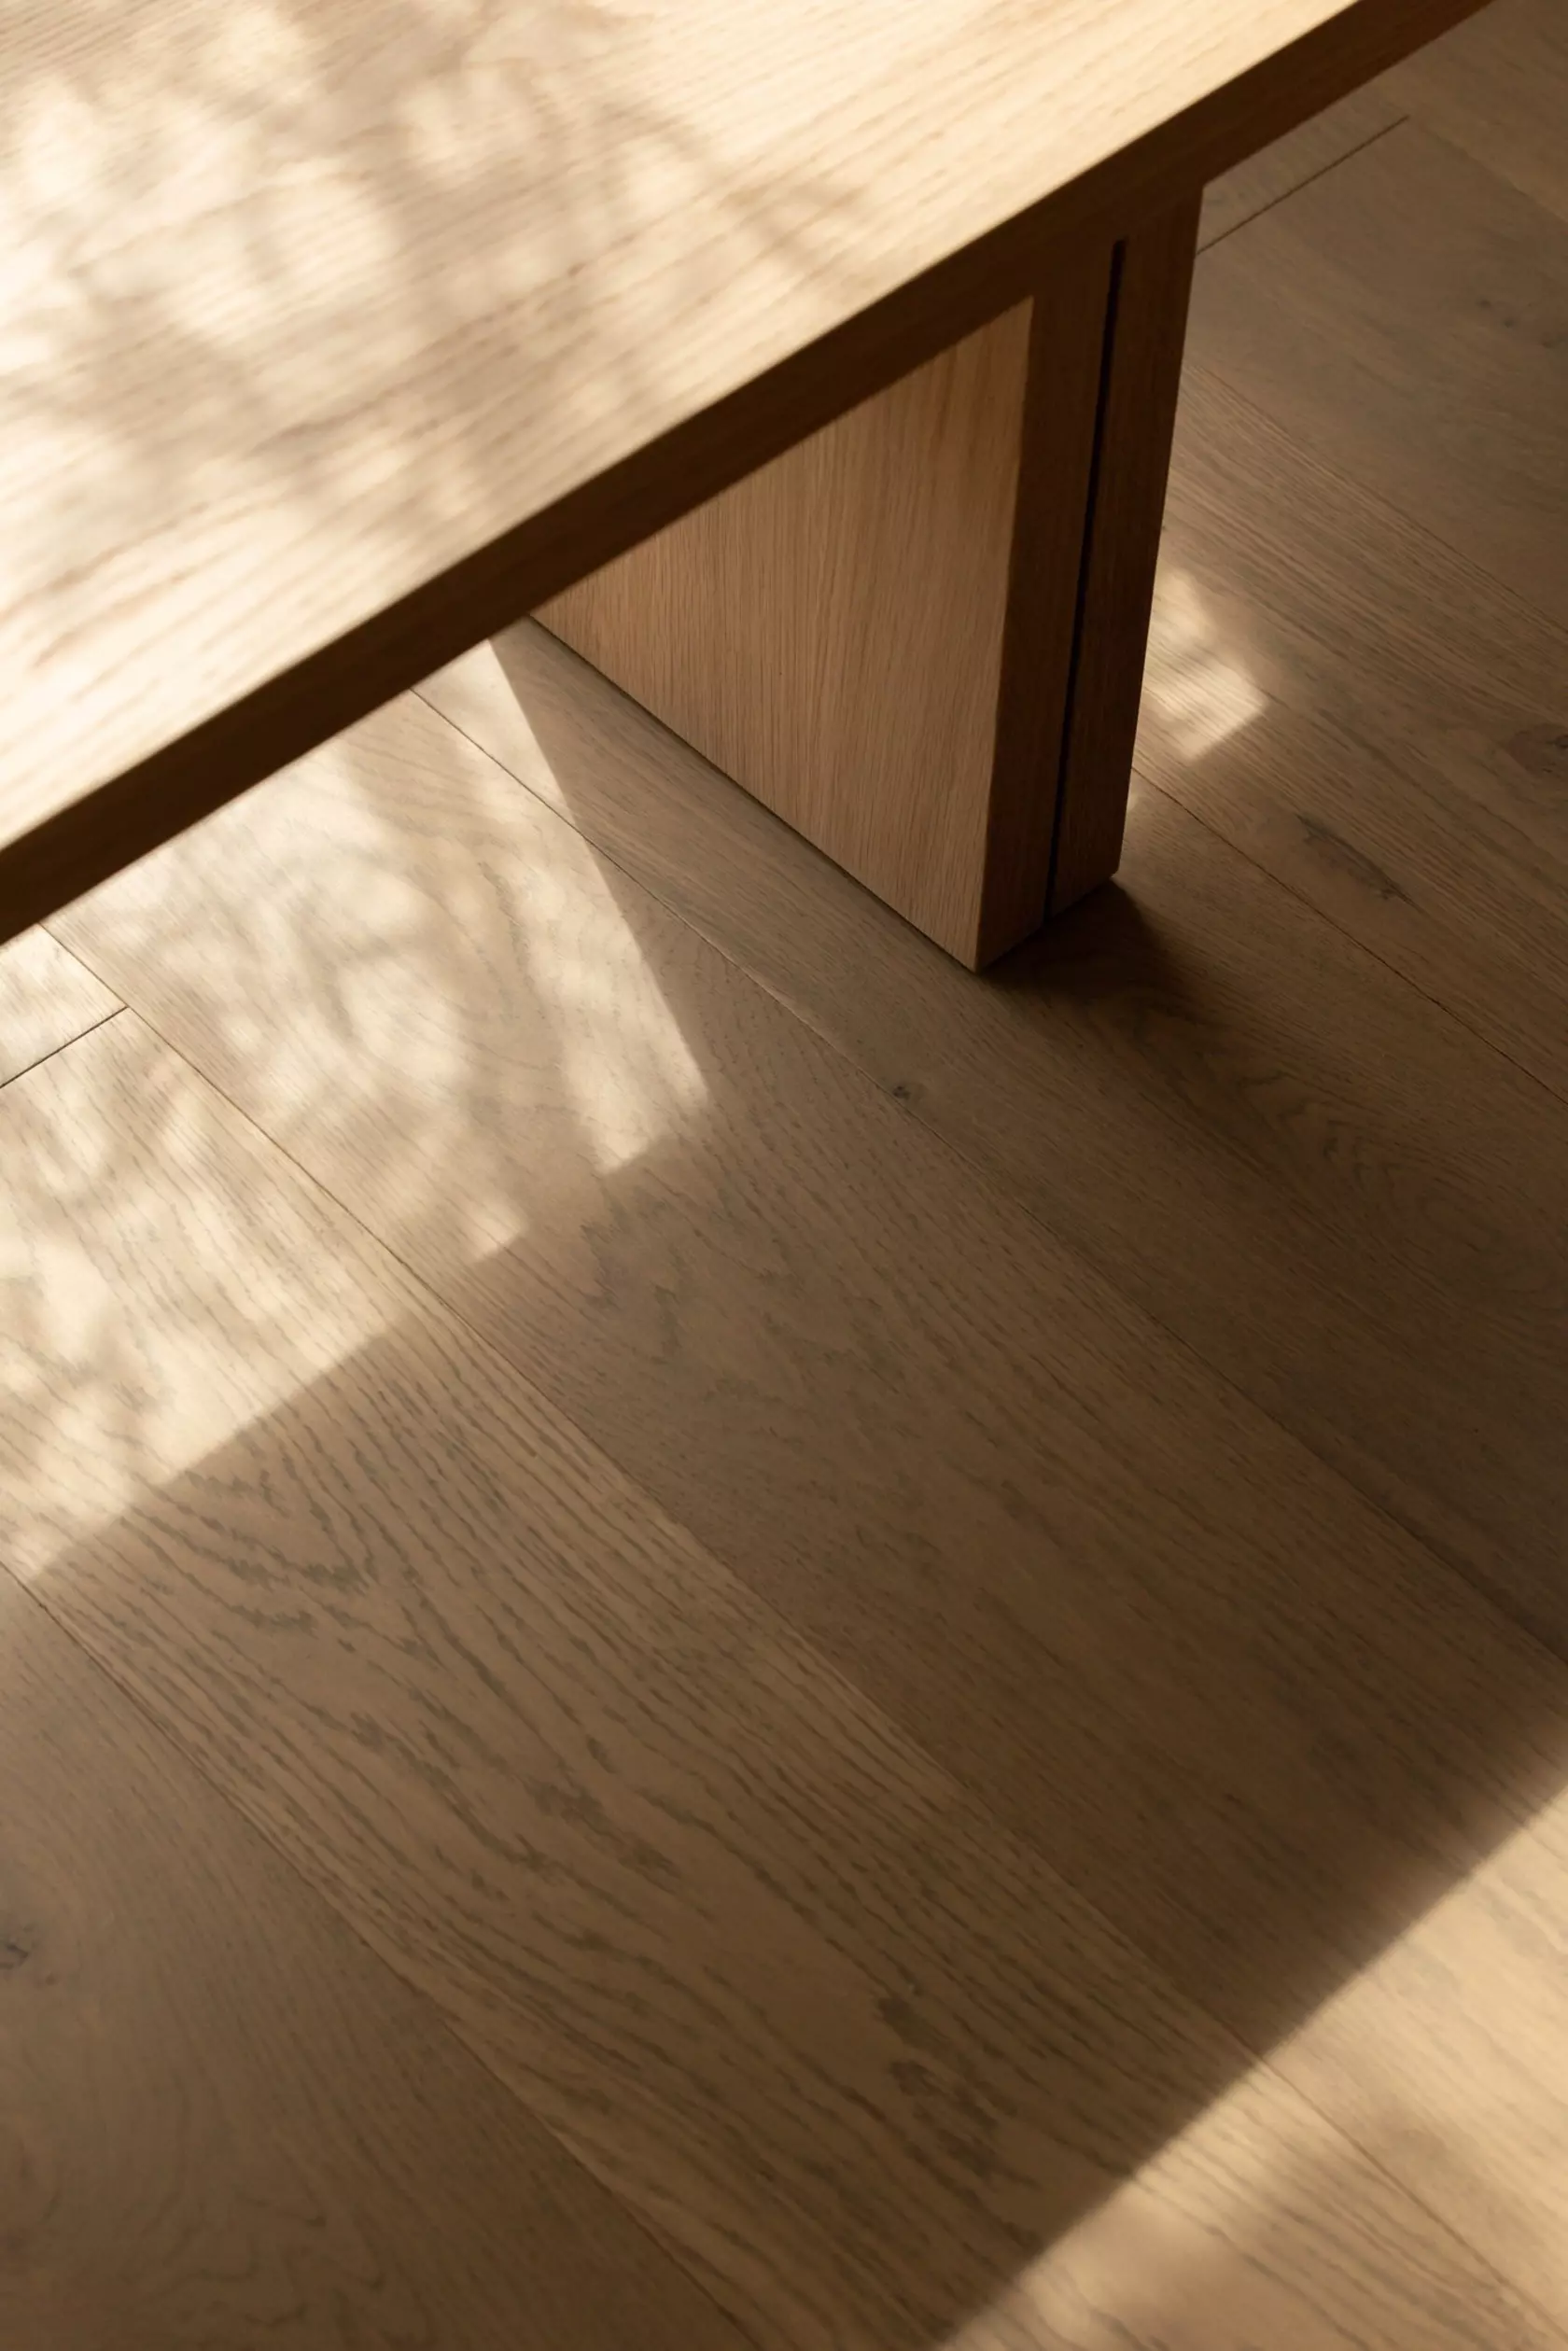
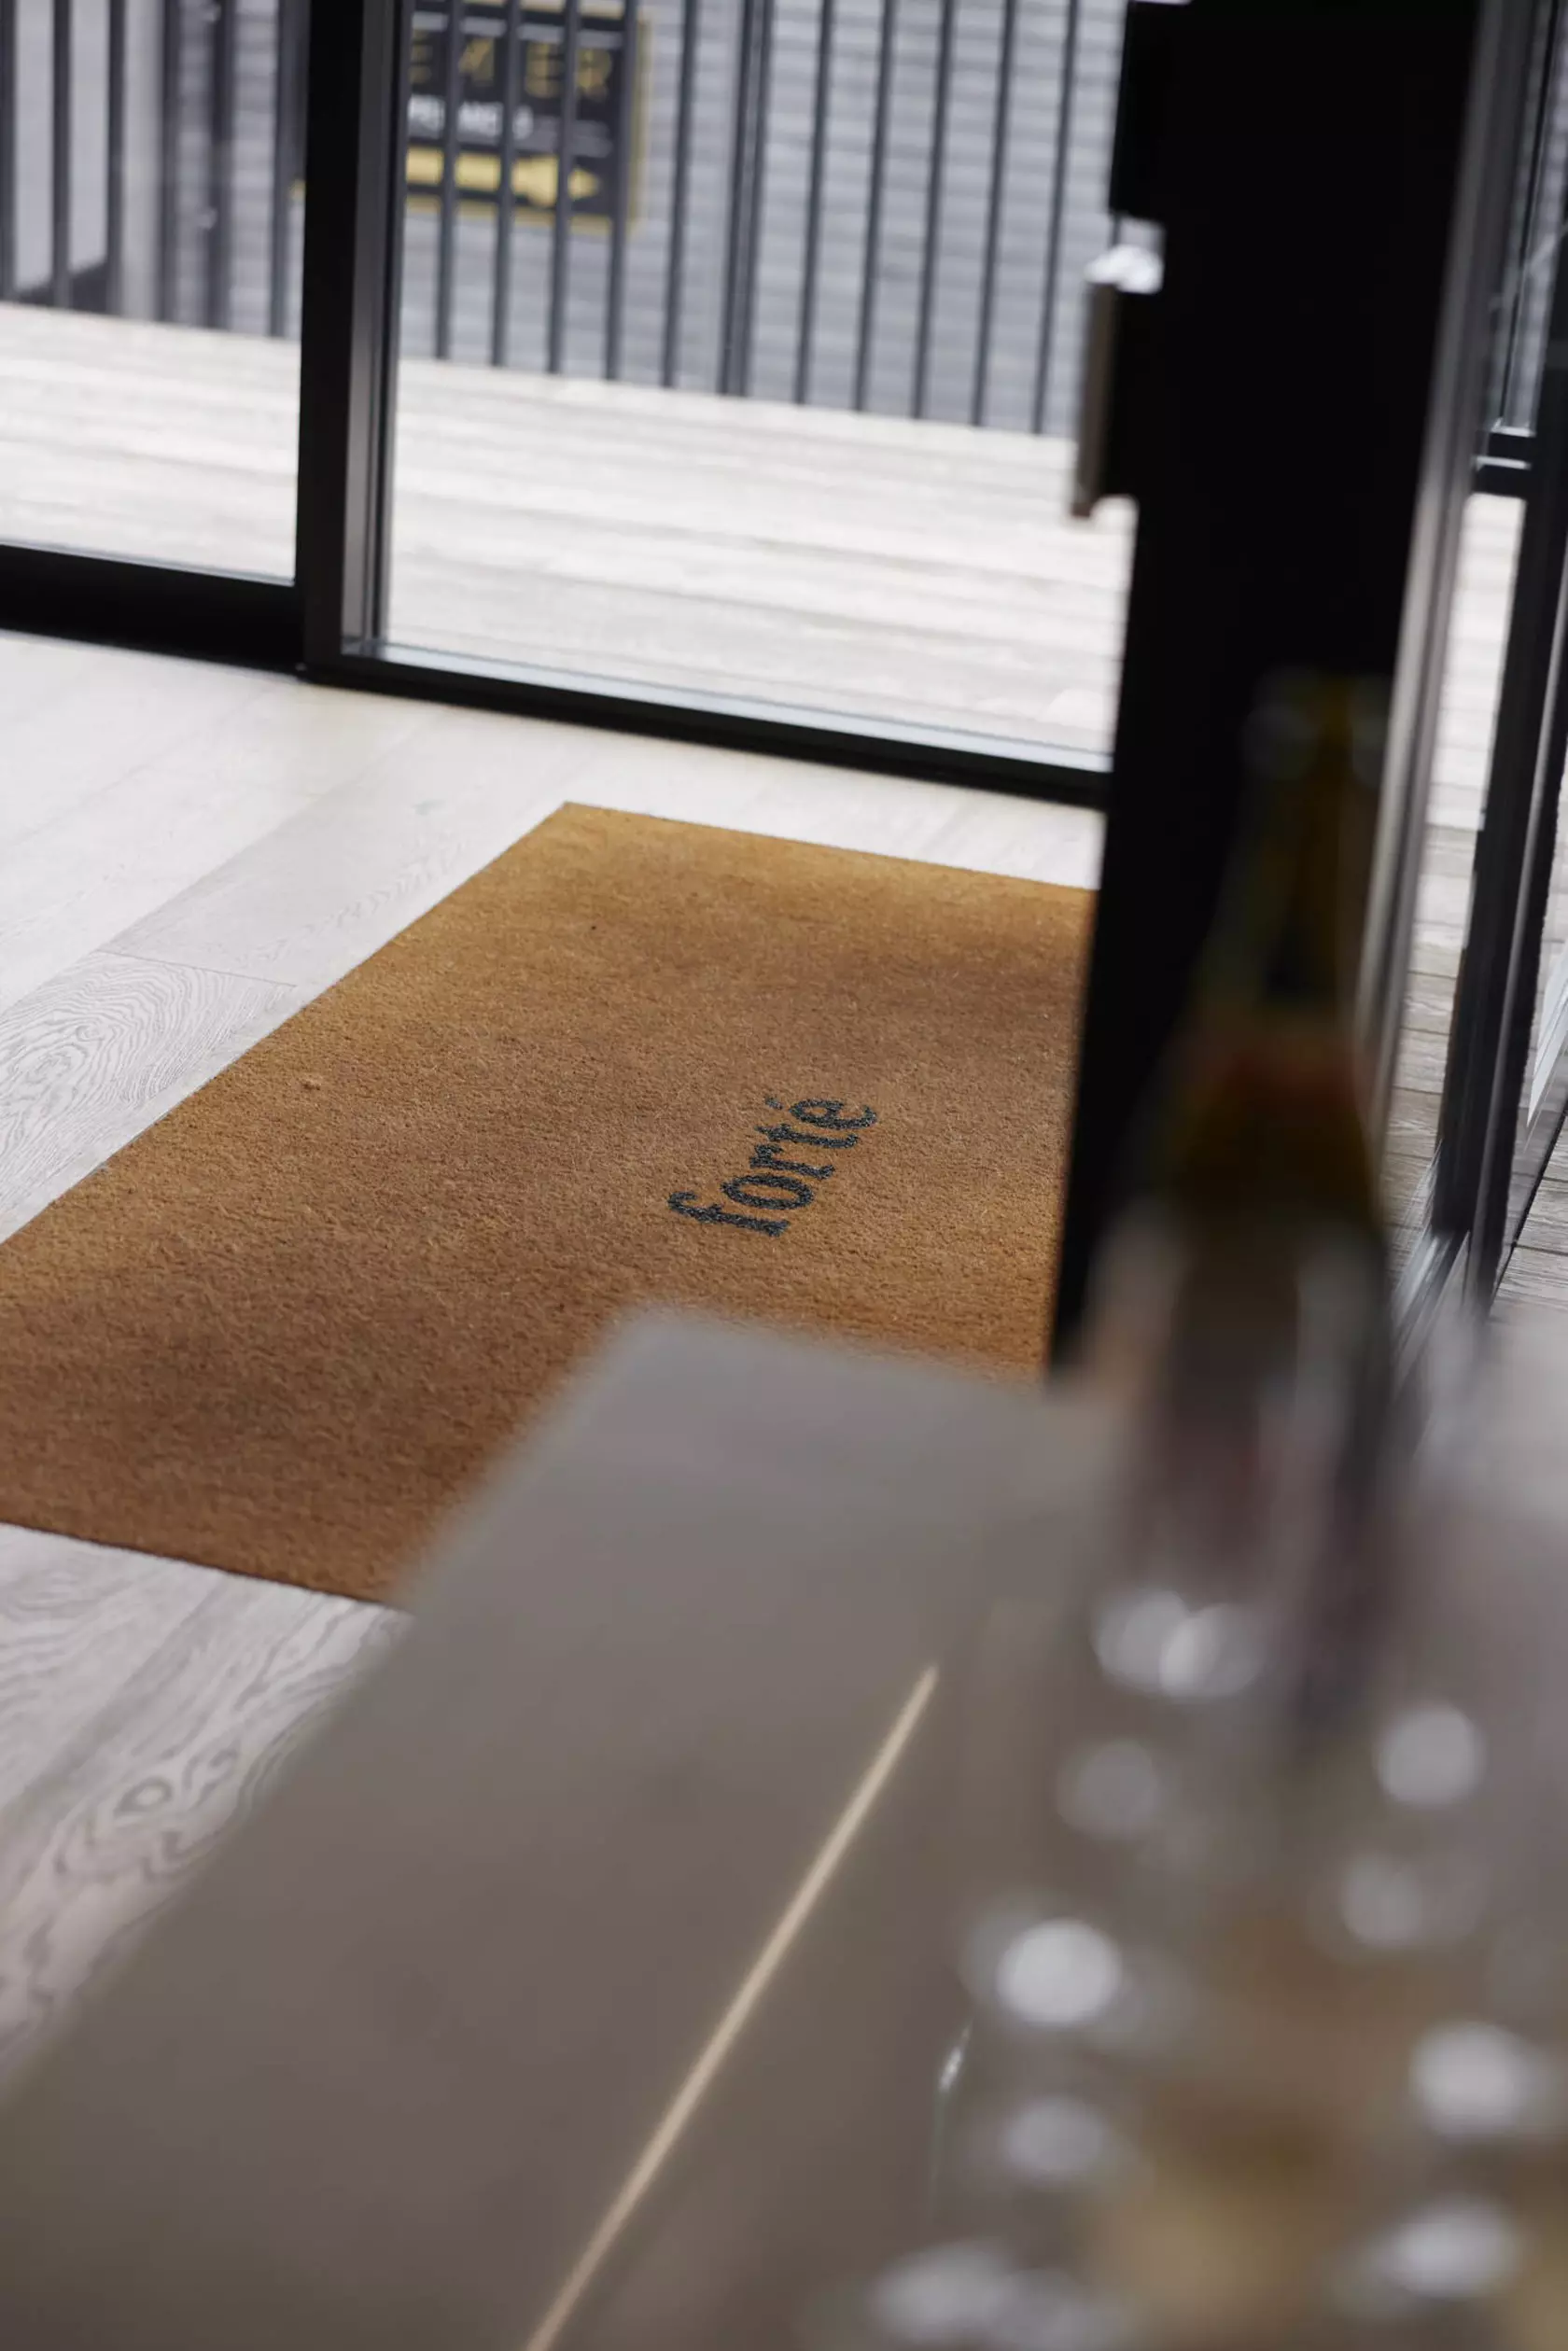
When executed properly, a flush entry mat sits perfectly level with your surrounding floor. Doors glide over it without catching. Feet transition from hard flooring to mat without any change in elevation. The visual result is clean, intentional, and infinitely more refined.
Planning Your Flush Entry Mat Installation
The critical element of a successful flush mat installation is early planning. This isn't a detail you can retrofit easily after your floors are installed; it requires coordination from the early design stage of your project.
Step 1: Select Your Mat
Begin by deciding on your mat and identifying the mat dimensions. You can choose from standard off-the-shelf sizes or have a mat custom-cut to your exact specifications.
Ensure your chosen mat has a proper non-slip backing. The backing should be grippy enough to prevent any movement once installed.
Measure the mat's thickness carefully, as this measurement will determine the depth of your floor recess. Most residential entry mats range from 8mm to 15mm thick.
Step 2: Communicate with Your Flooring Installer Early
This is where many projects falter. Your flooring installer needs to know about the flush mat before they begin laying your floors, not after. Include the mat dimensions and thickness in your flooring plans and have a conversation about the approach well in advance.
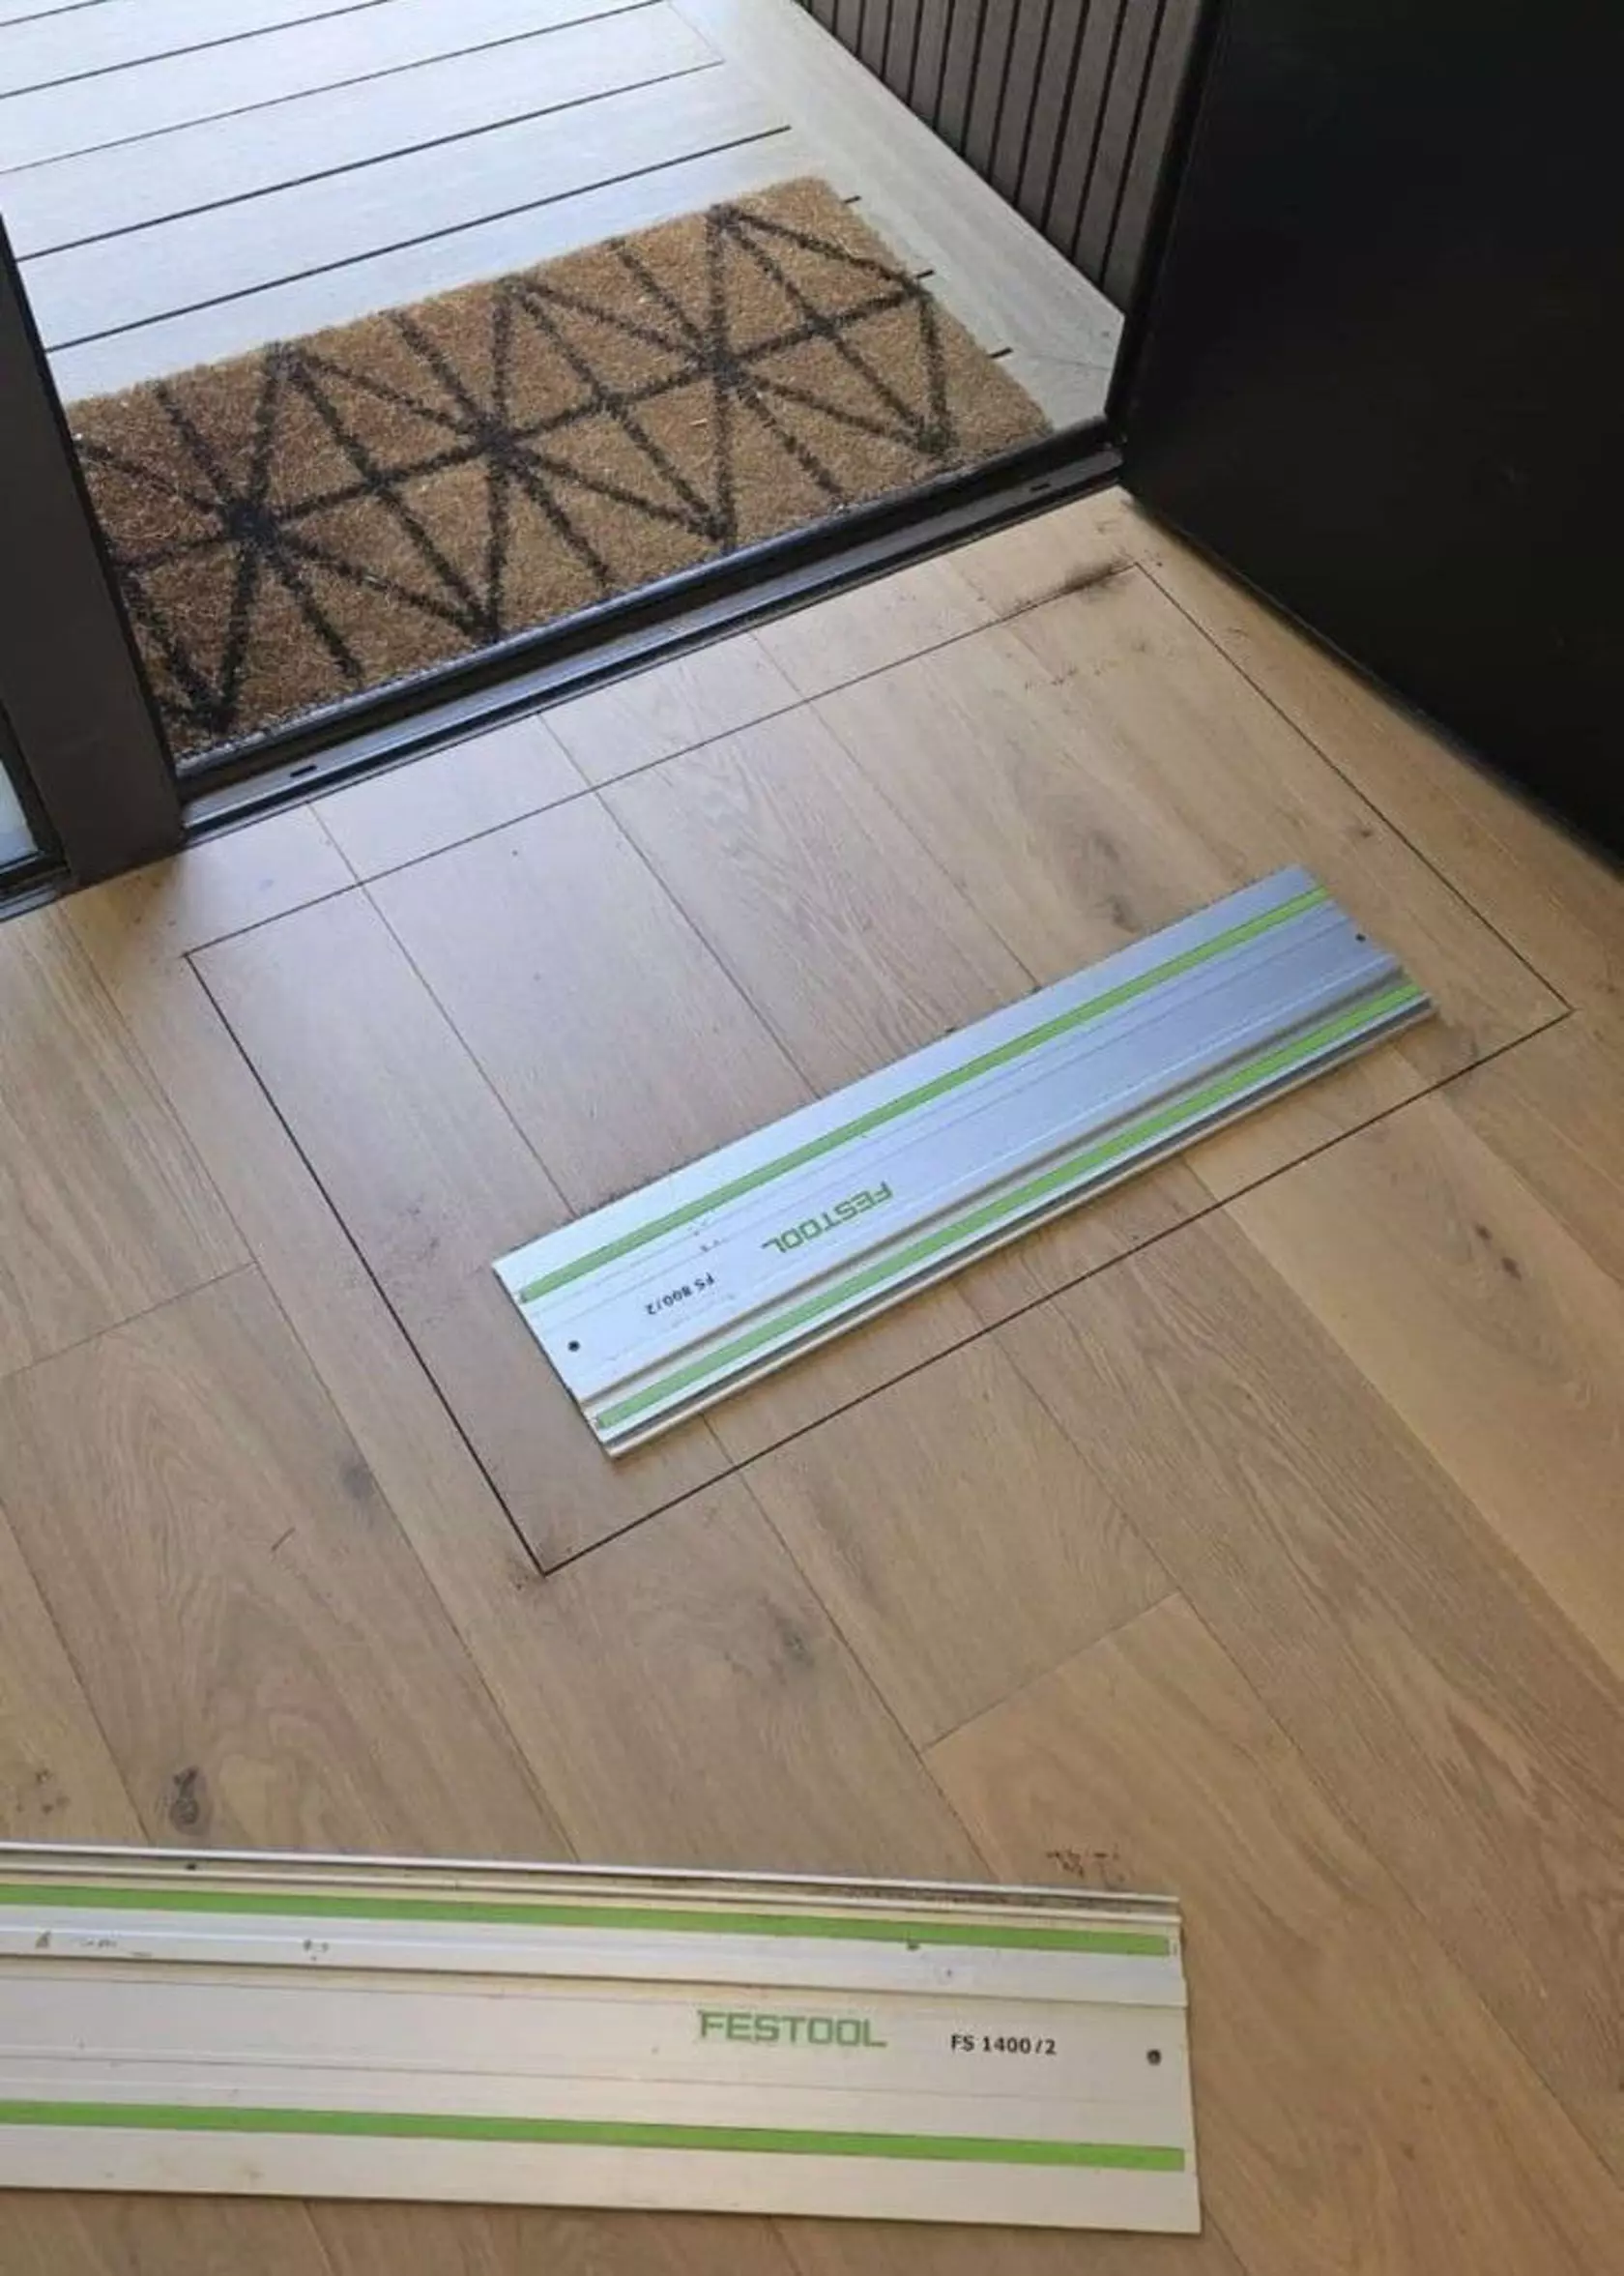
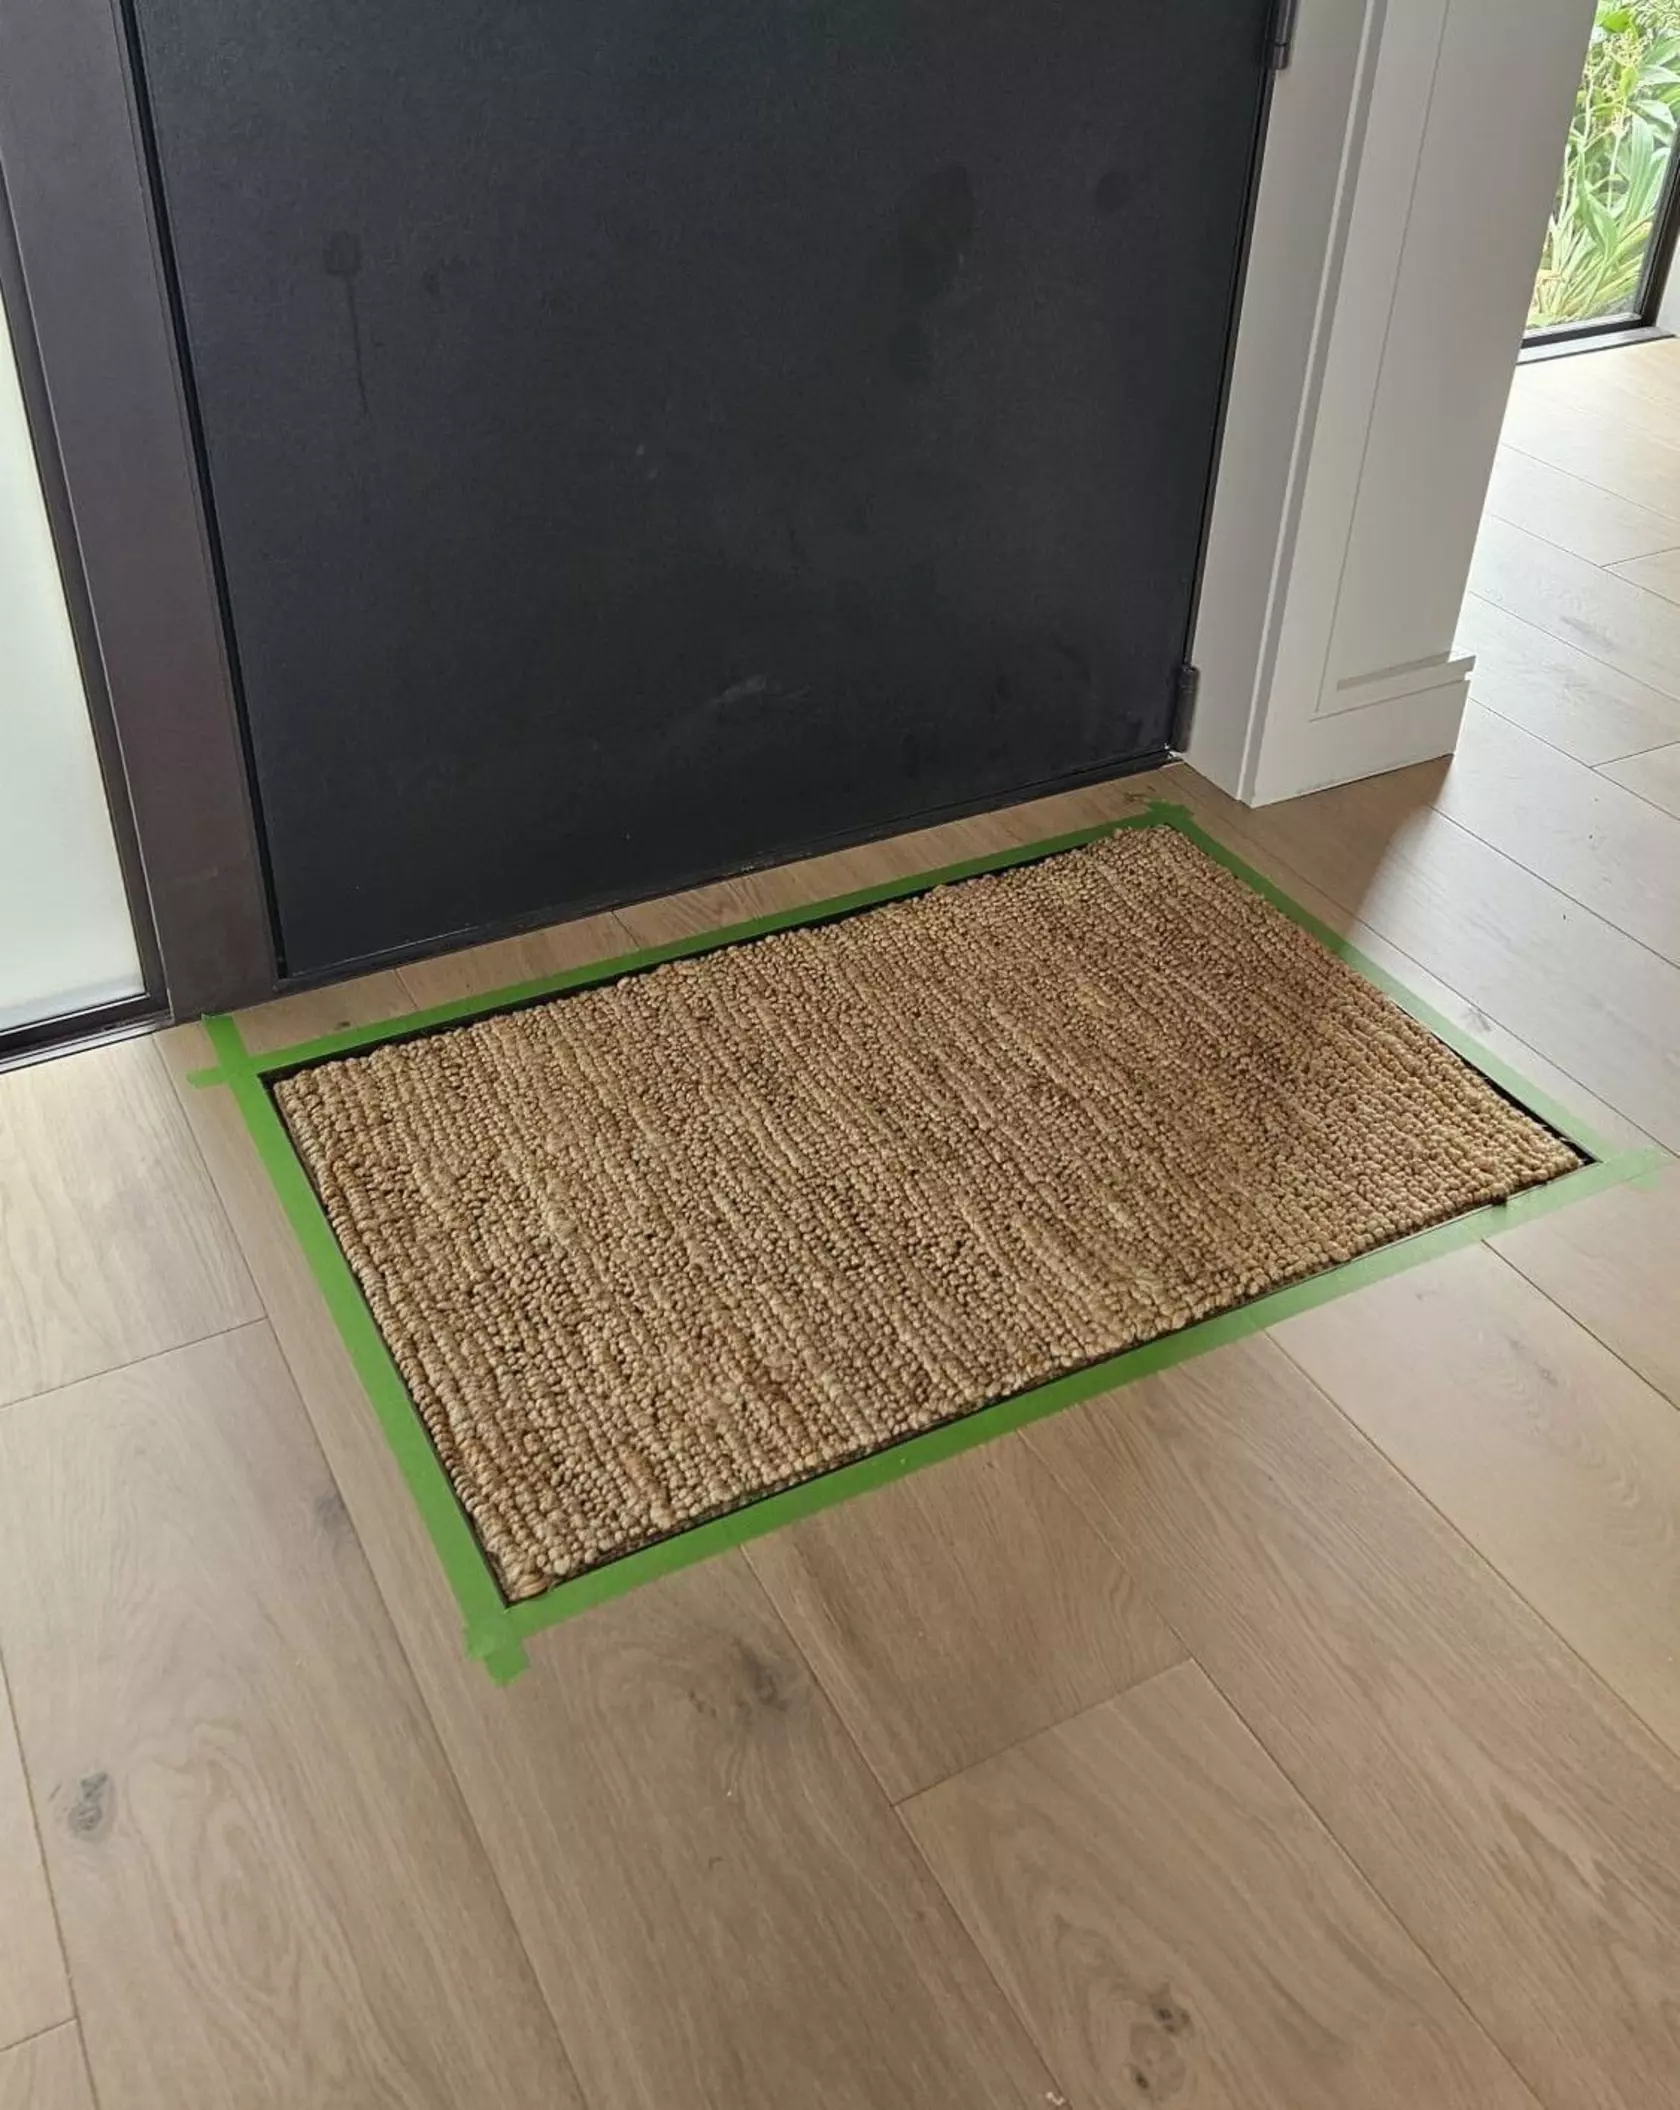
The installer will need to create a precise cutout in the timber flooring at your designated mat location. This cutout should match your mat dimensions exactly, with perhaps 1-2mm tolerance around the perimeter for the finishing trim.
Step 3: Create the Proper Substrate Level
Here's where the technical precision matters. Because entry mats are typically thinner than standard timber flooring (which usually sits at 12-20mm), the subfloor within your mat recess will need to be built up to the correct height.
This is accomplished with a leveling compound – a self-leveling cement based material that creates a smooth, flat surface. Your installer will pour this compound into the recessed area, calculating the depth needed so that when the mat is placed on top, it sits flush with the surrounding timber floor.
Step 4: Install the Perimeter Trim
To create a clean, finished edge around your mat recess, install a flat bar (also called a transition strip or edge trim) around the entire perimeter. This metal or composite strip serves multiple purposes:
Creates a neat visual boundary between the timber floor and mat area
Protects the cut edges of your timber flooring
Helps secure the mat and prevent any edge lifting
Adds durability to a high-traffic transition point
The flat bar should be secured to the subfloor and sit flush with both the timber floor and the leveling compound surface.
Step 5: Install the Mat
Once your floors are completely finished, cleaned, and ready to go, you can drop your mat into its custom recess. It should fit snugly within the perimeter trim with no gaps and sit perfectly level with your surrounding floor.
The mat's non-slip backing will grip the leveling compound surface, preventing any movement during use.
Why This Detail Matters
The difference between a flush-mounted mat and a traditional surface-mounted one might seem minor in description, but the daily experience is transformative.
Functionally, you eliminate the door-catching, mat-bunching frustration that characterises most entryways. You remove a genuine tripping hazard. You create a surface that's easier to clean around, as vacuum heads and mops can glide smoothly over the transition.
Aesthetically, the result is immeasurably more refined. Your entryway looks intentional and considered. The mat becomes an integrated design element rather than an obvious addition. The clean lines and flush transitions contribute to a sense of quality throughout your home.
Practically, a flush mat installation is more durable. Without exposed edges to catch and curl, without the constant movement and readjustment, your mat will maintain its position and condition far longer than a surface-mounted alternative.
When to Consider This Approach
Flush entry mat installation makes the most sense in these scenarios:
New construction: When you're building from scratch, incorporating this detail adds minimal cost and complexity to your project.
Major renovations: If you're replacing flooring in your entry area anyway, it's the perfect opportunity to implement a flush mat design.
High-traffic entries: Homes with busy main entrances, multiple family members, or frequent guests will see the most dramatic improvement in daily function.
Accessibility considerations: For households with mobility challenges, eliminating even small elevation changes can meaningfully improve safety and ease of movement.
The additional cost of flush mat installation compared to simply laying a mat on your finished floor is modest, particularly when planned from the beginning. Expect to pay:
$50-150 for a quality flat bar/trim material (depending on perimeter length)
$30-80 for leveling compound materials
$150-300 in additional labour for the custom cutout, compound installation, and trim work
Total additional cost: approximately $250-530 beyond the price of the mat itself.
When weighed against the daily convenience, safety improvements, and aesthetic upgrade, this represents exceptional value – particularly in the context of a larger building or renovation budget.
If you'd like more information about how this sort of detail can be achieved in your next build or renovation, reach out to our team.