


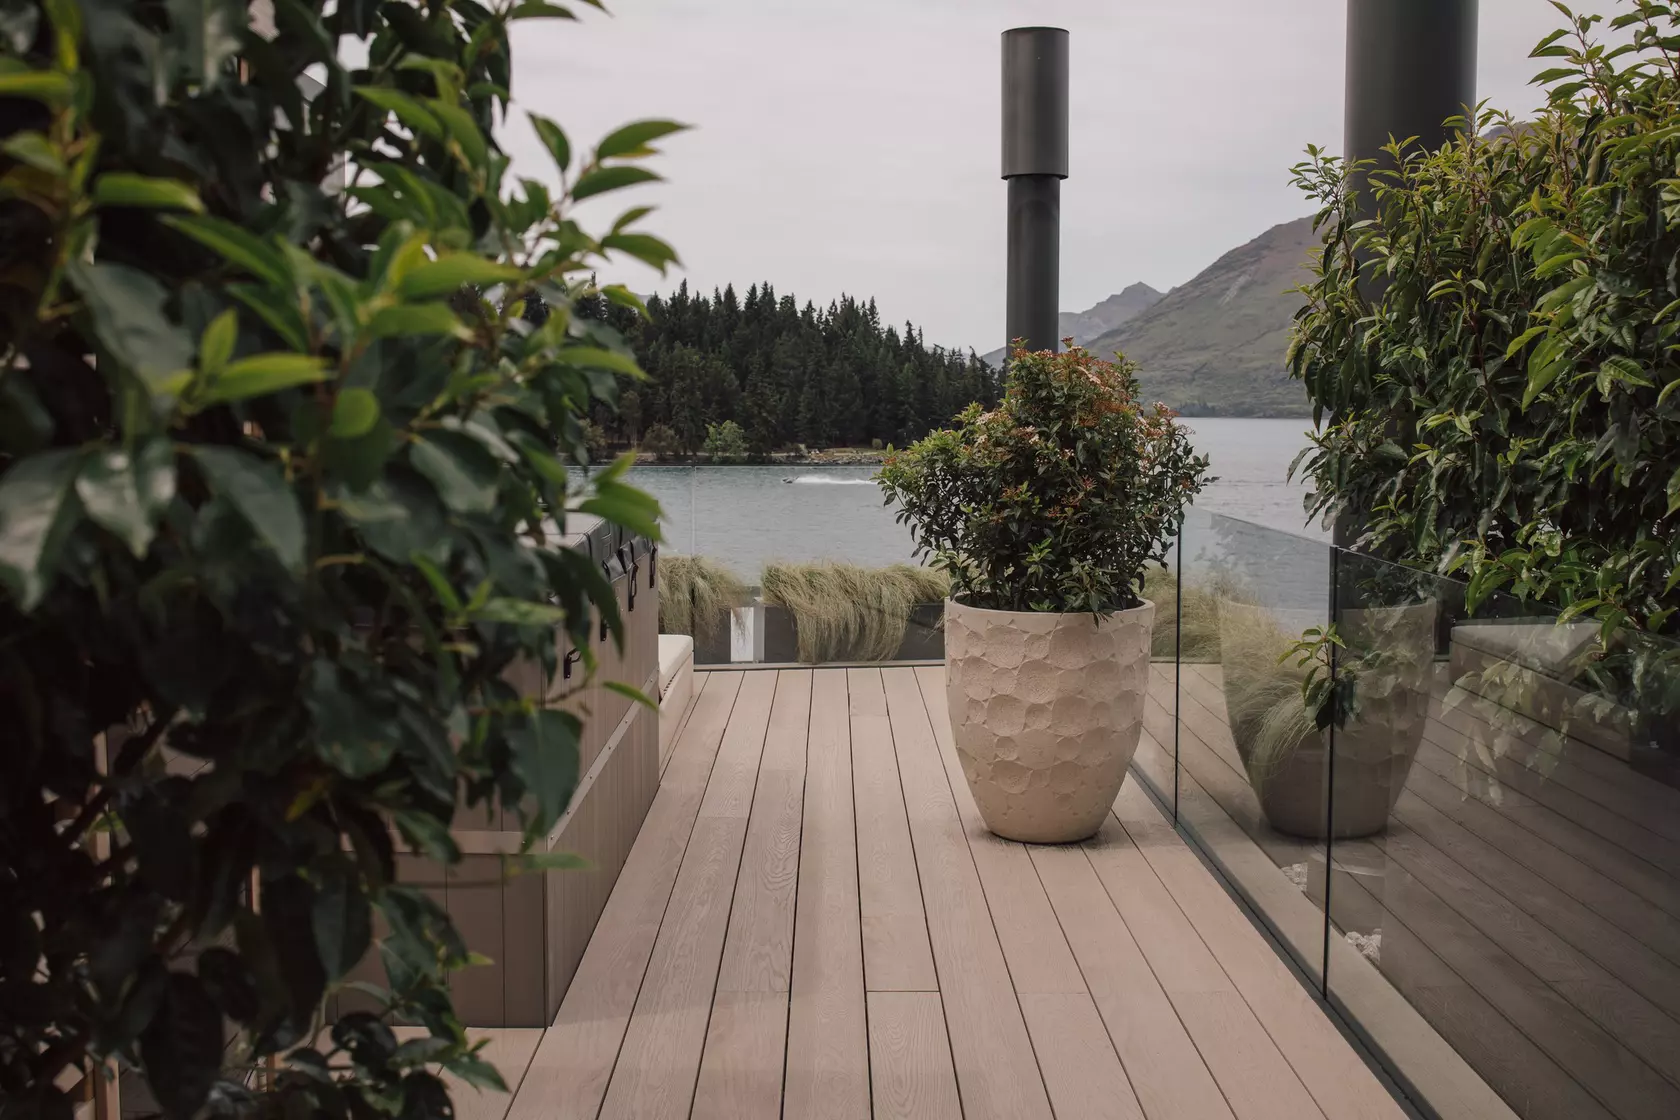
How to Install Millboard Decking
Millboard mineral board decking is incredibly easy to install. Using standard tools and this basic 'How to' video to guide you, you'll be able to construct an amazing outdoor space that will last for years to come! We recommend also reading the full Millboard Installation Guide before installing your boards.
Points covered in the above video
Storage and handling
Millboard should always be stored on a flat surface or level bearers, a maximum of 400mm apart and stacked face to face, not back to face
Be careful not to drag the boards off the pallet or over each another, as this could cause abrasion or marking on the surface
Colour
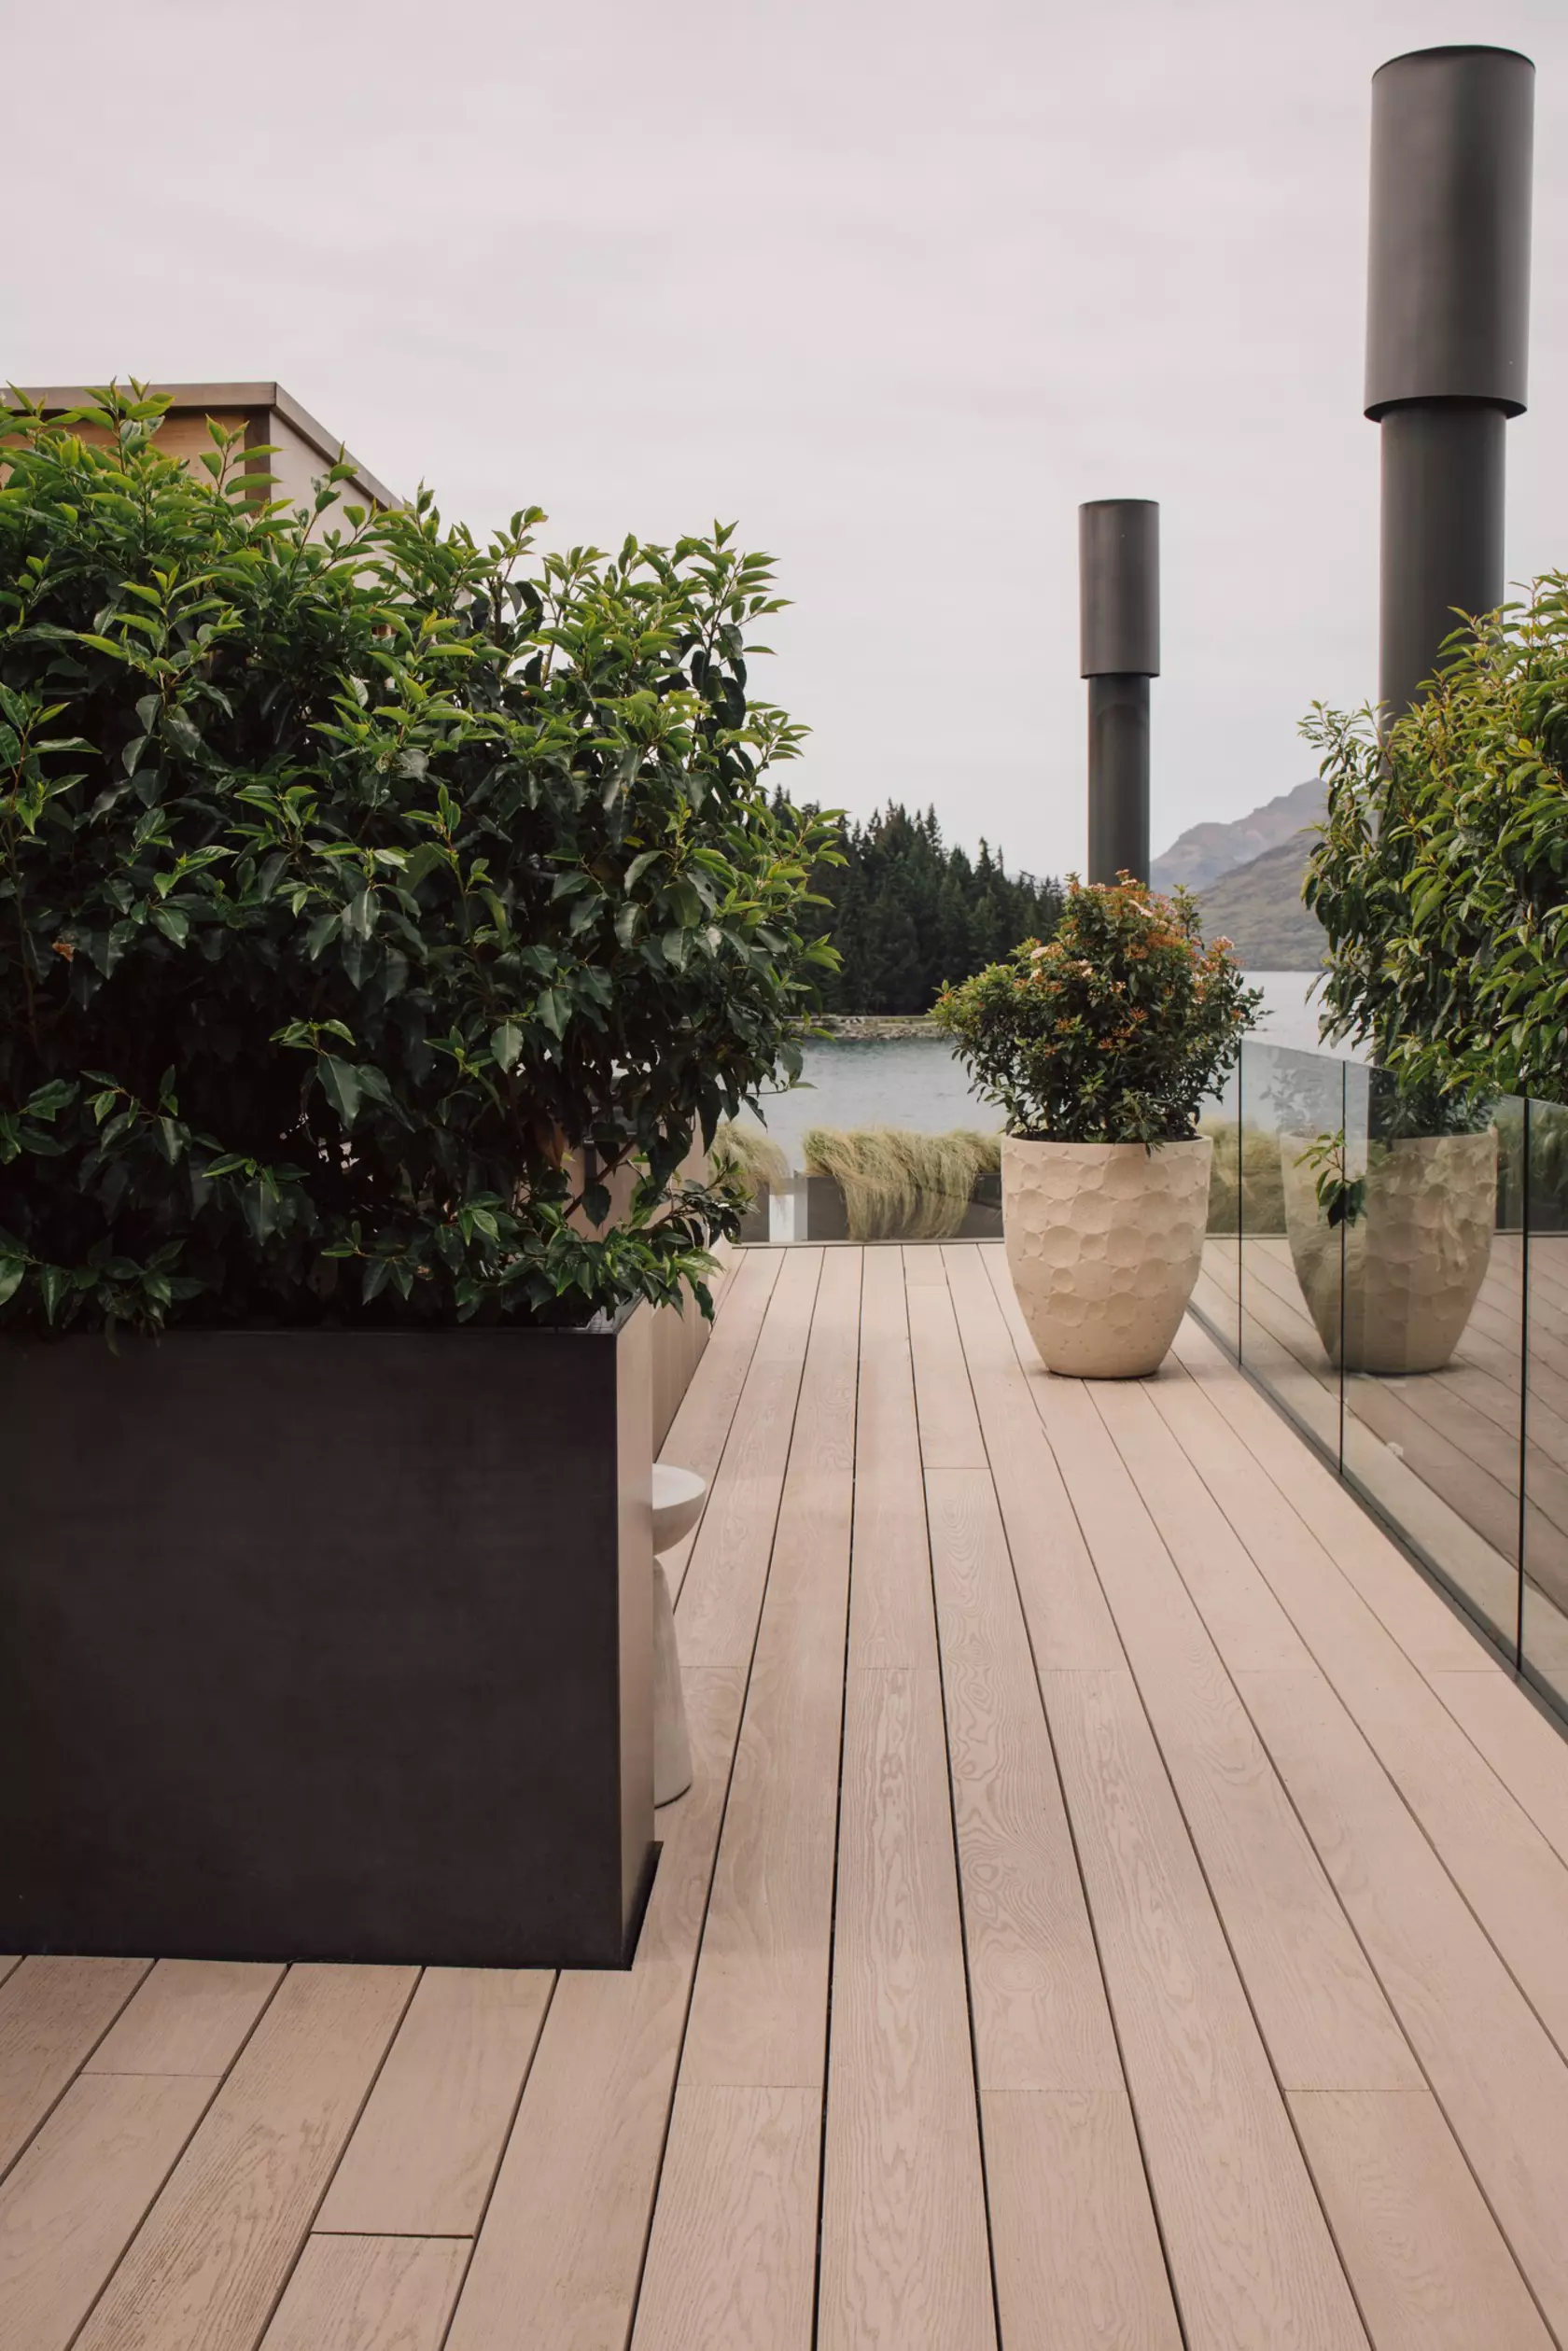
Millboard has been designed to replicate the natural variances of timber, and is manufactured to have tonal variance in the colour.
It is best to lay boards out the day before installation to ensure tone and grain variation is accounted for, and also to help the boards adjust to the climate of the project location
If there are any foreseen issues with the boards this should be highlighted with the supplier before installation - call us on 0800 445 494
Pre-install and framework
Millboard is a hand-moulded product, therefore slight variances in the board dimensions should be expected. Tolerances we deem as acceptable are; a length of +- 5mm a width of +-3mm at the top, and a thickness of +-2mm in the middle
We recommend that boards are laid to a slight fall away from the building to aid drainage
Joist spacing of 400mm centres is recommended for normal residential use. For commercial use we recommend 300mm centres
A minimum span of 3 joists is required for any cut boards
Cutting
Millboard decking and edging products can be cut with standard wood cutting tools. We recommend a carbon-tipped saw-blade.
When cutting the boards wear an FFP3 dust mask, safety glasses, long sleeves and protective gloves
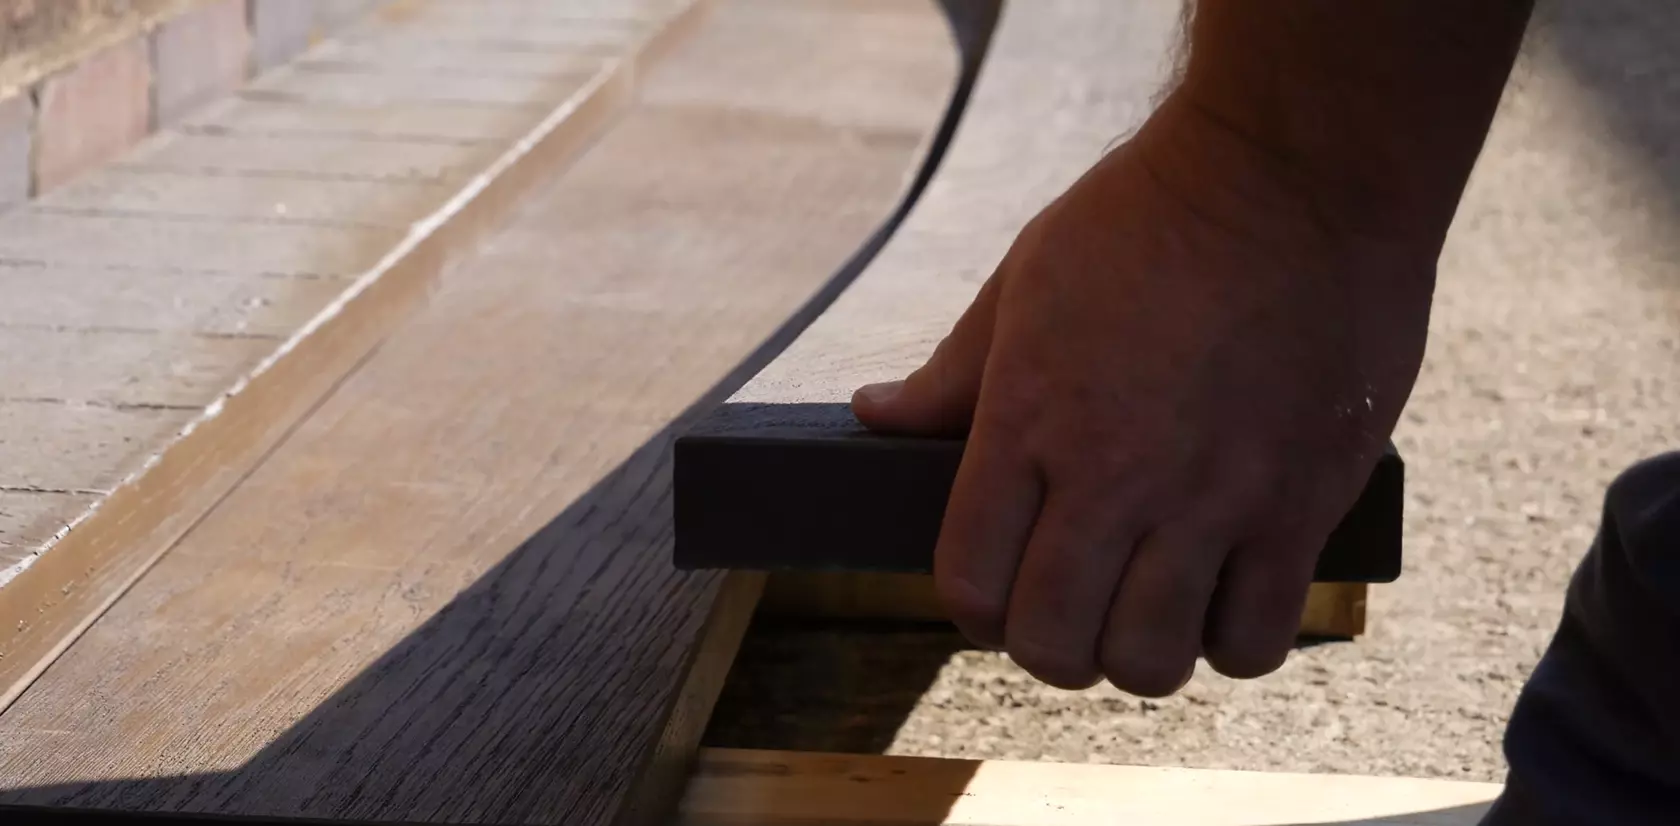
Fastening to the subframe
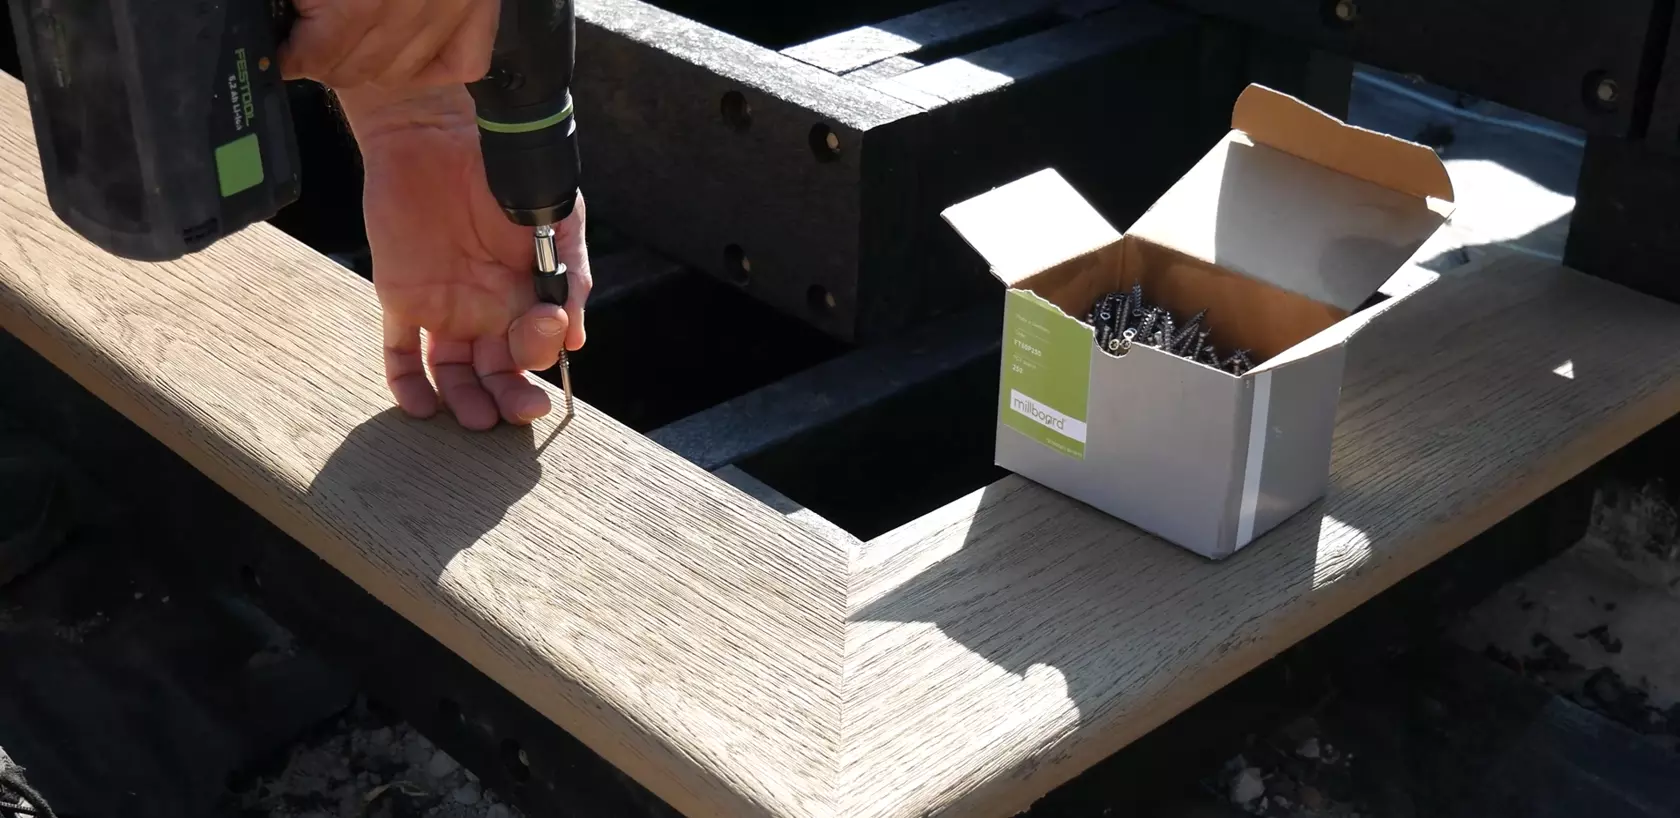
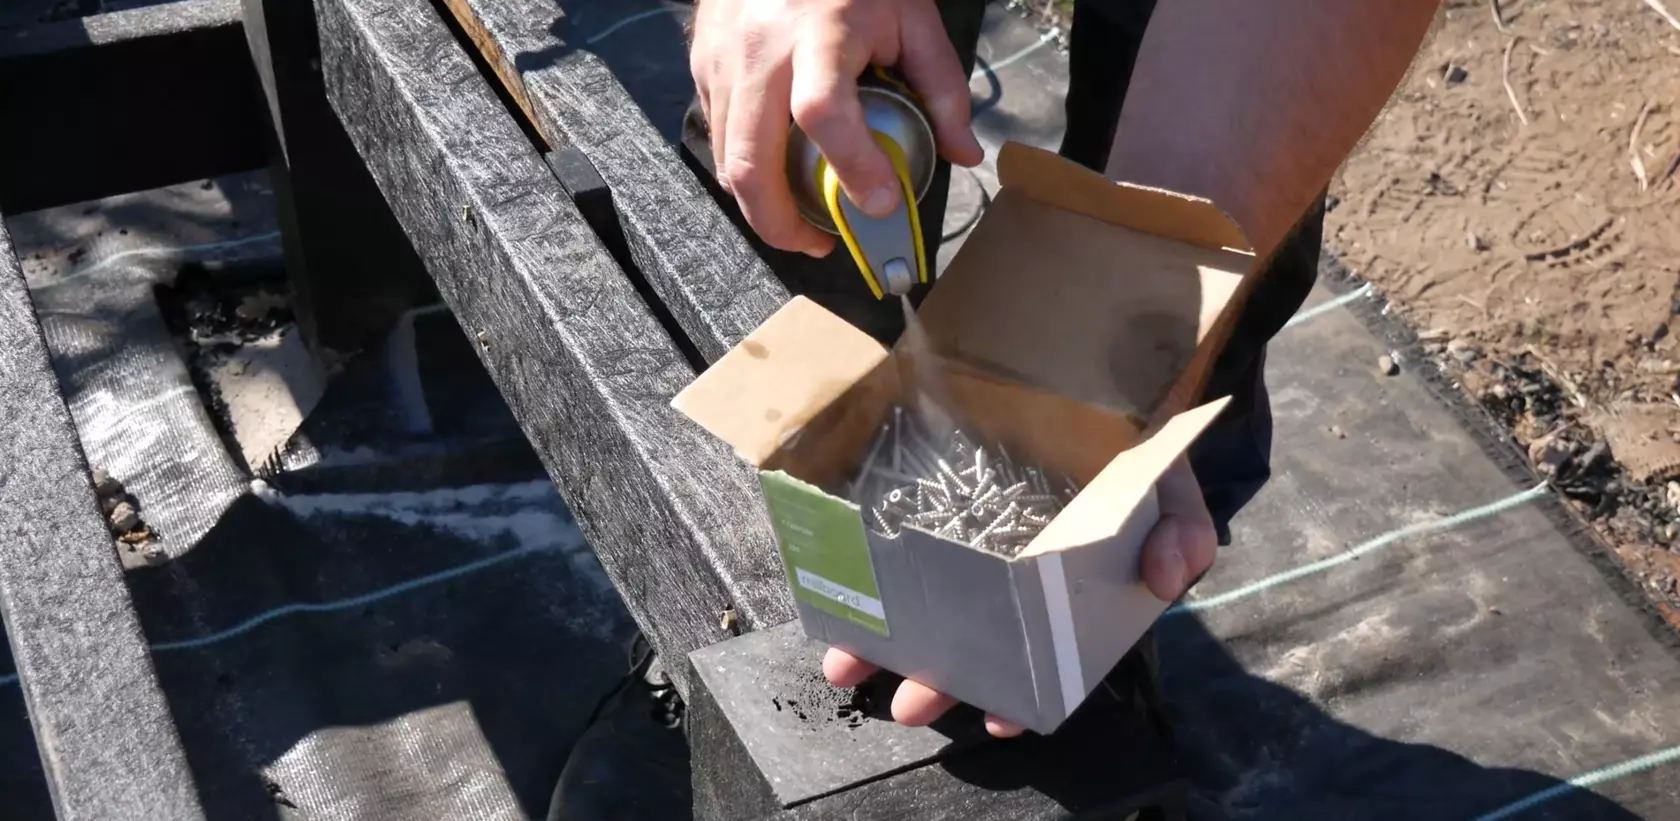
Millboard Durafix stainless steel fixings mean that there's no need to pre-drill or counter-sink - you can just screw straight in
We advise using a standard driver with the bit provided - not an impact driver, as this can break the drive bit and screw head, as well as impede the board from being fixed directly against the subframe
The Durafix 45mm screws should be used when using the Duo-Span framework
For best results, coat the fixings in silicone spray before use
When screwing in, push firmly on the screw whilst applying pressure to the board, finishing the screw head 5mm below the lastane surface. This should leave a minimal witness mark
Failure to use our Durafix fixings with the bit provided or not fitting according to these guidelines may invalidate the warranty and affect the overall look of the deck
2 fixings per board should be used where the board crosses a joist. We advise to use 3 at the ends of the boards
The fixings at the ends of the boards should be fixed at slight angle, positioning the screws 20-25mm from the ends and 20mm minimum from the sides of the boards
Board ends should be supported by a minimum of 20mm
As the boards are manufactured through a molding process we recommend that all ends are squared off with a slight back-cut of around 2-3° before they are installed
We recommend a 4mm space between the sides of boards and a 1mm gap at the ends on butt-joints
A 10mm gap should be left between the boards and any solid surface to facilitate drainage
Starting to lay
Start installing the first row of boards to a string-line, fixing the boards at one end and affixing in the middle, adjusting spacing as necessary with the Millboard multi-spacers. Then fix to the remaining joists
We recommend checking the boards against a string-line every 4th-5th row
As there may be variations in width, length and thickness, packers can be used to create a flat finish between boards. Therefore it is best for screws to be left in butt-joints until both boards are together
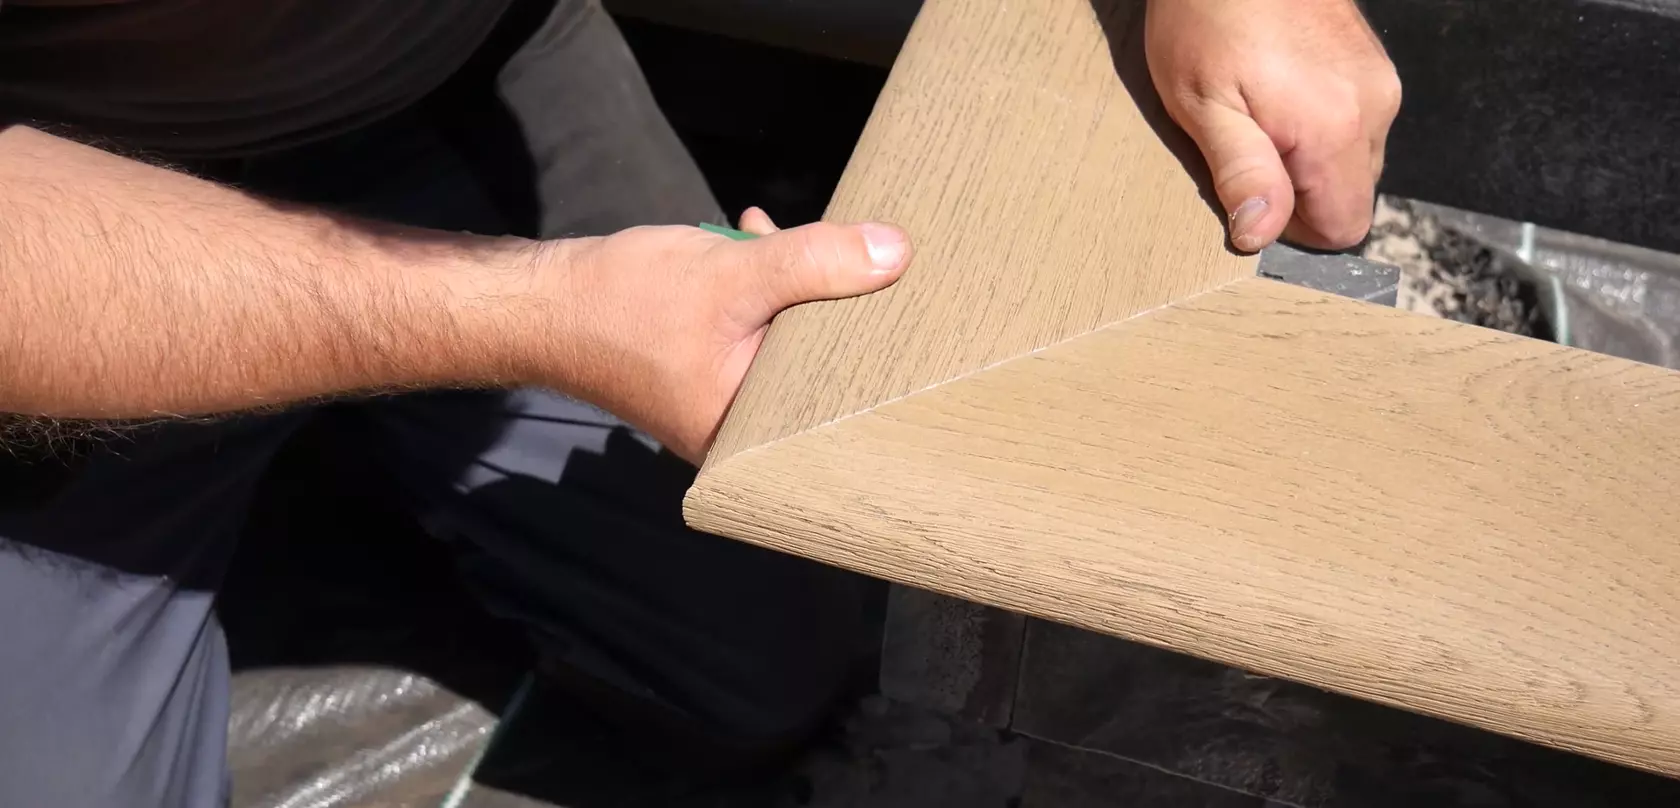
Fascia boards, steps and edges
We recommend that our purpose-made edgings are fitted to all steps and perimeters of the deck. If the decking profiles aren't being used, any visible cuts need to be coated with Millboard touch-up coating
When mitering the edging or fascia profiles for a corner, it is best to cut the miter from the center of the board to account for natural variance in grain and sizing
When gluing the mitered edges together we recommend using a PU wood glue for the core and a superglue for the lastane surface
When 2 edging or fascia lengths come together along the deck, these should be put together on a 20° angle back-cut so that one piece slides over the top of the other. These angles should be painted with touch-up coating before being fixed to the framework and should not be glued together
If using the 50mm wide edgings, ensure they are supported on a joist by a minimum of 25mm
The flexible bullnose and standard fascias will bend to a radius of 1.2m. These profiles need to be a least room temperature or 20°c to bend to this radius
When fixing the flexible edging and fascia, start from the end with a double fixing point, and work along fixing at 200-300mm intervals as you go
Some fixing holes may be partially visible. All edging and fascia profiles need to be fully supported along their length and fixed at 300mm centres
Care and protection
If the board's surface becomes dirty during installation, this should be cleaned as soon as possible using warm soapy water and a brush
Clean your decking when required to remove leaves and dirt particles
Cover the boards from any surrounding building works or painting that could mark the surface of the boards
Stubborn marks may be removed with a range of different cleaners, depending on the mark. For more information see our video How to Clean Millboard Decking linked below
Disclaimer
The information in this video is subject to a full disclaimer which can be found at Millboard Disclaimer.